Advertisement
Quick Links
EstesRockets.com
IMPORTANT: Please record date found on decal and keep for future reference. ______________
Read all instructions. Make sure you have all parts and supplies. Test fit all parts before applying glue.
SCISSORS
PENCIL
RULER
N
X
V
C
D
E
T
S
S
090052-7309
Laser cut card stock
GG
035004
Yellow spacer tool
Body tube
FF
035802
Parachute
YELLOW GLUE
X
N
N
X
090051A-7309
Laser cut wood sheet
W
P
Q
090058-7309
Printed index stock
A
031396
Engine mount tube
x 3
K
L
x 3
030408
073229
Nose cone
EE
038363
Shock cord
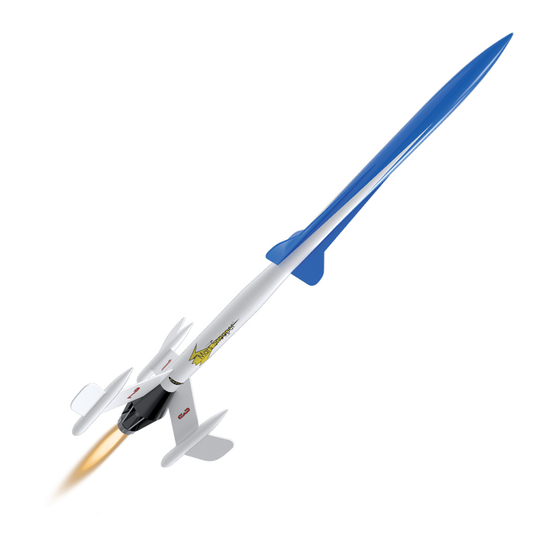
SUPER MARS SNOOPER
MODEL ROCKET INSTRUCTIONS
KEEP FOR FUTURE REFERENCE
SUPPLIES
HOBBY KNIFE
MASKING TAPE/
PRIMER (WHITE)
PAINTERS TAPE
Z
Z
F
Z
I
R
031398
030164-2
Launch lug
Green engine block
Y
031395
Body tube
J
x 3
073228
Nose cone
© 2020 Estes Industries, LLC • All Rights Reserved.
Made in Guangdong, China • PN 090001-7309 (11-20)
1
BLACK, WHITE,
CLEAR COAT
WAX PAPER
AND BLUE
(OPTIONAL)
U
F
U
B
H
B
M
M
090051B-7309
Laser cut wood sheet
B
BB
073227
Transition
O
030472
Main body tube
DD
072417
Engine retainer set
090001-7309
Waterslide decals
7309
™
FINE SANDPAPER
SAND BLOCK
AA
G
M
U
CC
073226
Nose cone
SHOCK CORD MOUNT
Make a copy if you want
to keep instructions.
3
2
1
Advertisement

Subscribe to Our Youtube Channel
Related Manuals for Estes SUPER MARS SNOOPER 7309


Summary of Contents for Estes SUPER MARS SNOOPER 7309
- Page 1 073229 073228 072417 Yellow spacer tool Body tube Nose cone Nose cone Engine retainer set © 2020 Estes Industries, LLC • All Rights Reserved. Made in Guangdong, China • PN 090001-7309 (11-20) 038363 090001-7309 035802 Parachute Shock cord Waterslide decals...
- Page 2 PREPARE WOOD PARTS, ASSEMBLE ROCKET CRADLE AND MAIN FINS Apply glue to and attach as shown. Apply glue to and attach as shown. Sand both sides. Apply glue to and attach as shown. Carefully remove with hobby knife. LET DRY Round edges.
- Page 3 MARK LOWER BODY TUBE LOWER TUBE MARKING GUIDE Make a copy if you want to keep instructions. LINE LINE LINE LOWER TUBE MARKING GUIDE Masking tape. Remove guide. Use door frame to extend all lines. DOOR FRAME. ASSEMBLE PRINTED PAPER SHROUDS NOTE: Apply glue to one edge Use this procedure...
- Page 4 ASSEMBLE LOWER SECTION OF MODEL NOTE: Carefully remove with scissors. Apply glue to one edge of will most likely be Test t to con rm the alignment of openings. Paper shroud and apply below edge of NOTE: 3 marks face up. Cut launch lug hole out with hobby knife.
- Page 5 ASSEMBLE LOWER DETAIL PARTS AND LAUNCH LUG ATTACHMENT Carefully remove Cut launch lug hole out with hobby knife. Apply glue llets with scissors. Apply glue as shown. as shown. NOTE: to con rm alignment Always test fit parts of openings. before gluing.
- Page 6 MARK UPPER BODY TUBE UPPER TUBE MARKING GUIDE Make a copy if you want to keep instructions. Masking tape. LINE LINE LINE Remove guide. Use door frame to extend all lines. DOOR FRAME UPPER TUBE MARKING GUIDE ATTACH UPPER FINS Apply glue to edge of and attach Round edges of fins.
- Page 7 ATTACH SHOCK CORD Push recovery wadding down towards end of body tube. 5-6 SQUARES ESTES® RECOVERY WADDING Wrap shroud lines loosely and insert parachute into body tube. Insert nose cone into body tube. NOTE: Recovery wadding and parachute must slide easily into body tube.
- Page 8 A burned starter means the starter tip was not touching engine propellant. Install a new starter; be sure the tip is touching propellant inside the engine. Push the plug in place. Repeat steps under Countdown and Launch. © 2020-2021 Estes Industries, LLC. All rights reserved. Estes Industries, LLC, 1295 H Street, Penrose, CO 81240-9698. Made in Guangdong, China. PN 090004-7309 (4-21)
Need help?
Do you have a question about the SUPER MARS SNOOPER 7309 and is the answer not in the manual?
Questions and answers