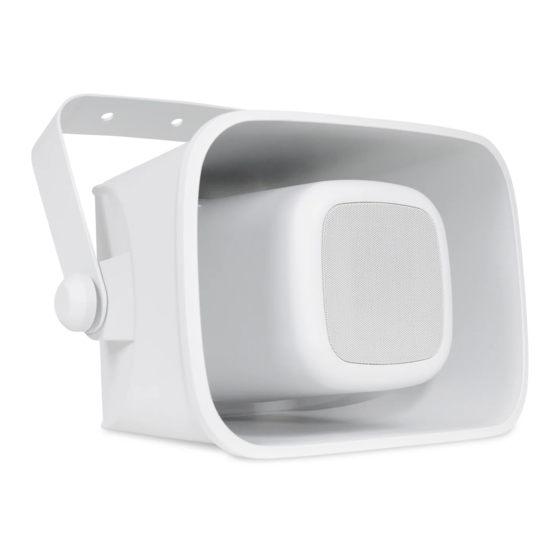
Summary of Contents for Pure Resonance Audio H6
- Page 1 INSTALLATION AND OPERATION MANUAL Caution: Please read this manual carefully before operating. Damage caused by misuse is not covered by the warranty.
-
Page 2: Safety Precautions
SAFETY PRECAUTIONS • Be sure to read the instructions in this section carefully before use. The included conventions of safety symbols and messages are regarded as essential precautions. • We recommend that you keep this instruction manual handy for future reference. SAFETY SYMBOL AND MESSAGE CONVENTIONS Safety symbols and messages described below are used in this manual to prevent bodily injury and property damage that could result from mishandling. - Page 3 DESCRIPTION The Pure Resonance Audio H6 is a robust and durable 2-way horn loudspeaker designed for clear voice reproduction and wide dispersion, making it ideal for applications where voice intelligibility over long distanc- es is essential. This speaker horn is built to withstand harsh environmental conditions with an IP66 rating. It features a 6.5"...
-
Page 4: Specifications
SPECIFICATIONS Power Rating 60 Watts RMS; 120 Watts Peak Frequency Response (±10 dB) 120Hz - 18kHz Sensitivity (@ 1w/1m) 93 dB Max SPL 110 dB Dispersion 90° x 90° Impedance 4 Ohms 70V: 7.5W, 15W, 30W, 60W Transformer Taps 100V: 15W, 30W, 60W 4 Ohm Bypass Woofer 6.5"... - Page 5 INSTALLATION & OPERATION GUIDE SPEAKER INSTALLATION INSTRUCTIONS 1. First, use the mounting bracket as a guide to mark and drill three mounting holes. 2. Insert an M10 bolt into each hole. 3. Align the holes on the bracket with the M10 bolts in the wall and secure the bracket with the M10 nuts. 4.
-
Page 6: Circuit Diagram
CIRCUIT DIAGRAM... -
Page 7: Limited Warranty
SERVICE In the event of a malfunction, ensure the problem is not related to operator error or system devices external to this unit. Once it is certain that the problem is related to the product, contact your warranty provider as described in the warranty section of this manual. - Page 8 PURE RESONANCE AUDIO ® (866) 676-7804 sales@pureresonanceaudio.com Specifications may change without notice. www.PureResonanceAudio.com...


Need help?
Do you have a question about the H6 and is the answer not in the manual?
Questions and answers