
Related Manuals for Vivo DESK-V036K-M2


Summary of Contents for Vivo DESK-V036K-M2
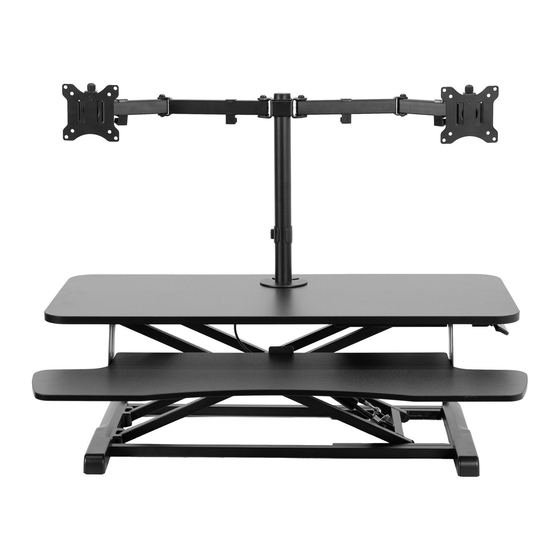
- Page 1 Desk Riser with Dual Monitor Mount SKU: DESK-V036K-M2 Instruction Manual Assembly Video & Product Info www.vivo-us.com/products/desk-v000k-m2...
- Page 2 If you do not understand these directions, or if you have any doubts about the safety of the installation, please contact our product support team at 309-278-5303 or help@vivo-us.com for further assistance. Check carefully to make sure there are no missing or defective parts. Improper installation may cause damage or serious injury. Do not use this product for any purpose that is not explicitly specified in this manual.
-
Page 3: Package Contents
Package Contents C (x1) D (x3) A (x1) B (x1) Stopper Desk Keyboard Tray G (x1) E (x4) F (x2) Swivel Arm Rubber Feet Cable Clip H (x1) I (x2) J (x1) K (x1) Pole VESA Plate Grommet Plate Clamp Bolt L (x1) M (x1) N (x4) -
Page 4: Included Hardware & Tools
Included Hardware & Tools S-A (x2) S-B (x4) S-C (x2) S-D (x2) ST4.2x12mm M5x10mm M3x8mm Knob Screw Screw Screw M-A (x8) M-B (x8) M-C (x8) M-D (x8) M4x12mm M4x16mm M5x12mm M5x16mm Screw Screw Screw Screw M-E (x8) M-F (x8) T-A (x1) M5 Washer Spacer 6mm Allen... - Page 5 ASSEMBLY STEPS STEP 1 Apply Pads (D) to underside of Keyboard Tray (B). Secure Stopper (C) to Keyboard Tray using ST4.2x12mm Screws (S-A) and a Phillips screwdriver.
- Page 6 STEP 2 2.1: Install Rubber Feet (E) to the bottom of Desk (A). 2.2: Remove Shipping Tie from desk and set right side up on solid surface. Shipping Shipping Handle Handle ** WARNING ** DO NOT squeeze the Handle on Desk (A) while cutting the shipping tie.
- Page 7 STEP 3 Raise Desk (A) by lifting the handle on the right side of the frame. Place Keyboard Tray (B) onto Metal Brackets. Metal Metal Brackets Brackets Secure Keyboard Tray to Metal Brackets using M5x10mm Screws (S-B) and tighten with a Phillips screwdriver. Metal Metal Brackets...
- Page 8 STEP 4 Install Pole Cap (O) onto top of Pole (H).
- Page 9 STEP 5 Remove Grommet Cap from Desk (A). Grommet Cap Grommet Cap Remove adhesive cover and install Rubber Pads (P) onto the underside of the Grommet Plate (J). Place Rubber Pads (P) in an evenly-spaced circular pattern.
- Page 10 STEP 6 Place Pole (H) onto Grommet Plate (J). Mounting Hole Mounting Hole Slide Support Plate (L) onto the Clamp Bolt (K). Thread Bolt through Mounting Hole in Desk (A), anchoring into Pole with Grommet Plate.
- Page 11 STEP 7 Slide Pole Cable Clip (M) and Swivel Arm (G) onto Pole (H). Secure in place using 6mm Allen Wrench (T-A). Attach Arm Cable Clips (N) to Swivel Arm.
- Page 12 STEP 8 Assemble VESA Plates (I) to the back of monitors using appropriate hardware for your screen type. FLAT BACK MONITORS: If using a flatback monitor, use appropriate Screws (M-A, M-C), M5 Washers (M-E), and a Phillips screwdriver. M-A, M-A, CURVED/RECESSED MONITOR: If using a curved/recessed back monitor, use appropriate Screws (M-B, M-D), M5 Washers (M-E), Spacers (M-F) and a Phillips screwdriver.
- Page 13 STEP 9 Slide monitors onto Swivel Arm (G). Place Knobs (S-D) on VESA Plates (I) and secure using M3x8mm Screws (S-C) and a Phillips screwdriver.
- Page 14 STEP 10 Adjust monitor tilt by using 6mm Allen Wrench (T-A) to loosen and tighten the joint.
- Page 15 STEP 11 Manage cables using Arm Cable Clips (N) and Pole Cable Clip (M).
- Page 16 STEP 12 Apply Cable Clips (F) to underside of Desk (A) and route cables.
- Page 17 Adjustments Adjust the monitor height by loosening Knobs (S-D) with 6mm Allen Wrench (T-A). Store 6mm Allen Wrench in Pole cable Clip (M). Adjust as desired.
- Page 18 ** WARNING ** For safety, avoid fully extending the monitor arm. This can create instability and risk tipping.
-
Page 19: Tension Adjustment
Tension Adjustment If your desk riser lifts up or down too easily, or is too difficult, the gas spring cable can be adjusted to your desired tension. The adjustment is located at the base of your riser. Getting Started (1) and Lower (2) Nuts using an adjustable wrench. Loosen Nuts Start by loosening the Upper until they are both on the opposite ends of the Gas Spring Cable. - Page 20 Option 1: Desk is Difficult to Raise/Lower | Increase Tension If the desk feels difficult to raise and lower, you will need to increase the Gas Spring Cable tension. (2) is firmly pressed against the Gently pull the cable away from the Lever until the Inner Nut middle divider.
- Page 21 Option 2: Desk is too Easy to Raise/Lower | Decrease Tension If the desk is raising or lowering without the handle being pressed, the tension will need loosened. (1) is firmly Gently push the cable down towards the base of the riser until the Upper Nut pressed against the middle divider.
- Page 22 [ THIS PAGE INTENTIONALLY LEFT BLANK ]...
- Page 23 [ THIS PAGE INTENTIONALLY LEFT BLANK ]...
- Page 24 LAST UPDATED: 7/02/24 REV1 v1.0 Need Help? Get In Touch Monday-Friday from 7:00am-7:00pm CST help@vivo-us.com www.vivo-us.com 309-278-5303 Chat live with an agent! FOR MORE GREAT VIVO PRODUCTS, CHECK OUT OUR WEBSITE AT: WWW.VIVO-US.COM VIVO-us @vivo_us...
Need help?
Do you have a question about the DESK-V036K-M2 and is the answer not in the manual?
Questions and answers