Advertisement
Quick Links
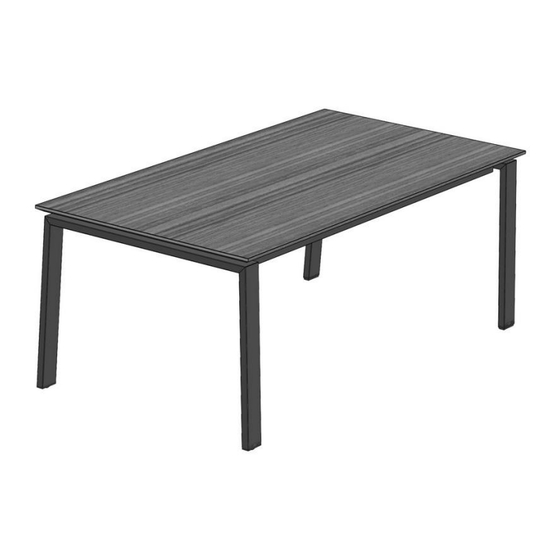
Aufbauanleitung / assembly instructions mod.
Q924 - Q927 & A924 - A927 mit Frontauszug
Q924-71
4x
8x
40 x 25
M8 x 45
Unterbaupaket
Unterbaupaket
1. Montagematerial
1. fitting material
3. Den Unterbaubügel der Festseite (Stopfen)
mittig ausrichten.
Nun die Unterbaubügel mit den Unterlage-
blechen und den Schrauben fixieren.
3. Centre the frame of the fixed side (pipe plug).
Now fix the frames with the reinforcement
plates and the screws.
Q924 - Q927 & A924 - A927 mit Frontauszug
8x
8x
5 x 60
M8 x 16
Unterbaupaket
Unterbaupaket
1.
SW6
Unterbau-
paket
2. Den Oberbau umgedreht auf gepolsterten
Montageböcken ablegen.
2. Lay the table top upside down on padded
assembling tressles.
2.
4x
3.
8x
4.
8x
1 / 6
40 x 25
M8 x 45
5 x 60
Änderungsdatum: 19/08/24
Advertisement

Related Manuals for Venjakob Q924


Summary of Contents for Venjakob Q924
- Page 1 Aufbauanleitung / assembly instructions mod. Q924 - Q927 & A924 - A927 mit Frontauszug Q924-71 40 x 25 M8 x 45 5 x 60 M8 x 16 Unterbau- paket Unterbaupaket Unterbaupaket Unterbaupaket Unterbaupaket 1. Montagematerial 2. Den Oberbau umgedreht auf gepolsterten 1.
- Page 2 (Rollen) mit den Schrauben fixieren. Dazu den mitgelie-ferten Inbusschlüssel benutzen. 5a. Fix the frame of the pull-out side (castors) with the screws. Use the supplied Allen key for this. 2 / 6 Q924 - Q927 & A924 - A927 mit Frontauszug Änderungsdatum: 19/08/24...
- Page 3 2 legs only, while turning can be replaced by plugs. it. Ready. 7. Fertig (nicht ausgezogen). 8. Fertig (ausgezogen). 7. Ready (not extended). 8. Ready (extended). 3 / 6 Q924 - Q927 & A924 - A927 mit Frontauszug Änderungsdatum: 19/08/24...
- Page 4 For this purpose the nut extenson-rod again. (SW13) can be loosened. Adjust the extension-rod by turning the inner socket screw. Then tighten the nut of the extension- rod again. 4 / 6 Q924 - Q927 & A924 - A927 mit Frontauszug Änderungsdatum: 19/08/24...
-
Page 5: Right Side
13c: Die Klappeinlage mit dem Ledergriff aus- leather belt. Check the hight again; if klappen, die Höhe rechts erneut kontrollie- necessary adjust again. ren und wenn nötig erneut einstellen. 5 / 6 Q924 - Q927 & A924 - A927 mit Frontauszug Änderungsdatum: 19/08/24... -
Page 6: Left Side
14c. Swing in both pieces of the table-extension at the same time. Use the leather-belt to swing out the table- extension and check the hight again. If necessary, adjust again. 6 / 6 Q924 - Q927 & A924 - A927 mit Frontauszug Änderungsdatum: 19/08/24...
Need help?
Do you have a question about the Q924 and is the answer not in the manual?
Questions and answers