Table of Contents
Advertisement
Quick Links
Advertisement
Table of Contents

Related Manuals for Growatt ACE 209H-2H


Summary of Contents for Growatt ACE 209H-2H
- Page 1 ACE 209H-2H Quick Guide Shenzhen Growatt New Energy Co., Ltd...
-
Page 2: Installation Environment
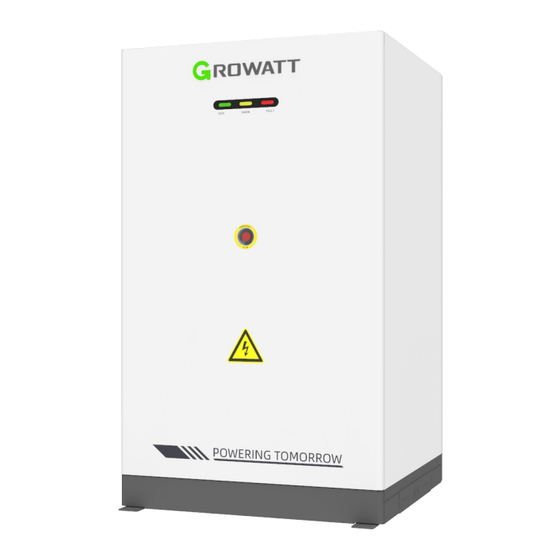
Installation environment Max.+55℃ RH+5%~+95% Min.-25℃ Installation tool Socket wrench Screwdriver Impact drill Drill bit Claw hammer Forklift Appearance & Dimensions Front view Side view Unit: mm 1165 1385 1200 Rear view 1. Inspection upon delivery 1- 1 Check the scope of delivery Item Item Battery cabinet... - Page 3 2. Battery cabinet introduction Panel description Component Description Indicates the operating status of the energy LED indicator storage system Green: running normally; yellow: alarm; red: fault Hydrogen exhaust vent Exhausts hydrogen Emergency stop switch Emergency power off Lock Safety gear Hydrogen exhaust Air inlet air inlet...
- Page 4 Internal distribution box description Please remove the cover before wiring RS485B_PCS RS485A_PCS RS485B_BAT RS485A_BAT Position Module Description Position Module Description Power supply terminals for 220V AC power AC220V the fans of the battery input terminal cabinet and PACKs SPD (Surge High voltage box (HVC) Protective Device) power supply input...
-
Page 5: Basic Installation Requirements
Internal battery pack panel description COM1 COM2 Position Module Description Position Module Description For communication Negative Negative COM1 between battery battery PACK battery PACK communication PACKs, and between terminal connector terminal the battery PACK and (black) the high voltage box. Positive Positive battery PACK... - Page 6 Description Description Front side of the cabinet Pre-buried the PVC pipe with a diameter of 50 mm Apply waterproof paint to the entire surface of the Rear side of the cabinet foundation, circled with the black/ yellow hazard tape Drainage pipe, diameter: Dotted line area, the cable outlet side to be sealed with 30 mm cement after pre-burying the pipes...
-
Page 7: Transportation And Installation
4. Transportation and installation Remove the decorative panel Step 1 Remove the decorative panels on the front and rear sides of the base to expose the positions for forklifting. Put away the panels as you need to re-install them upon completion of transportation. Transport the battery cabinet with a forklift Step 2 When using a forklift to move the equipment, place the forks under the equipment as far as possible to over 95% of the length of the forks. -
Page 8: Cable Connections
5. Cable connections Install the copper bars and power cables of the battery packs Step 1 Install the battery pack copper bars and connect the cascading cables between the battery clusters (pre-installed before delivery). power cable Connect the power cables and communication cable of the battery packs Step 2 Connect the power cables and communication cable of the battery packs (pre-installed before delivery). - Page 9 Install the panels of the high voltage box and the battery packs Step 3 Install the panels of the high voltage box and the battery packs Install the power cables and communication cables between the PCS and cabinet Step 4 Connect the communication cable 2.
- Page 10 Install the communication cable between battery cabinet and PCS Step 5 Connect the communication cable between battery cabinet and PCS (pre-installed at the top of the battery cabinet). Install the PCS cables Step 6 Connect the battery power cables between the PCS and battery cabinet. 1.
-
Page 11: Check Before Power-On
. Check before power-on Routine check Checking item Acceptance criteria The equipment is intact, free from damage, rust or paint Ÿ loss. If the paint flakes off, please re-paint the spotted Equipment area. appearance Equipment labels are clear and damaged labels should Ÿ... -
Page 12: Power On/Off The System
Air conditioner Power module High voltage box Socket Un:AC220V/230V 50/60Hz 9. Service and contact Shenzhen Growatt New Energy Co., Ltd. 4-13/F, Building A, Sino-German (Europe) Industrial Park, Hangcheng Blvd, Bao'an District, Shenzhen, China +86 755 2747 1942 service@ginverter.com www.ginverter.com Download GR-UM-427-A-00 (PN:044.0126900)
Need help?
Do you have a question about the ACE 209H-2H and is the answer not in the manual?
Questions and answers