Advertisement
Quick Links
*For further information, please consult your local SHOEI distributor or dealer.
*Pour plus d'informations, veuillez consulter votre distributeur ou revendeur local SHOEI.
*Para obtener más información, consulte con su distribuidor o proveedor local de SHOEI.
*Para mais informações, consulte o seu distribuidor ou revendedor SHOEI local.
shoei.com/worldwide/sales.html
HEAD OFFICE
1-31-7 Taito, Taito-ku, Tokyo 110-0016, JAPAN
Tel: +81 3 5688 5170 Fax: +81 3 3837 8245
www.shoei.com
126
Printed in Japan 20240129
Instructions for use
Thank you for purchasing this SHOEI product. For your enjoyment
and correct use of the product, we suggest that you read these
instructions fully.
Mode d'emploi
Merci d'avoir acheté ce produit SHOEI. Afin que vous puissiez profiter
pleinement de ce produit et l'utiliser correctement, nous vous
recommandons de lire ce mode d'emploi dans son intégralité.
Instrucciones de uso
Gracias por haber adquirido este producto SHOEI. Para poder
disfrutar del producto y utilizarlo correctamente, lea minuciosamente
las siguientes instrucciones.
Instruções de uso
Obrigado por ter adquirido este produto SHOEI. Para sua satisfação e
uso correcto do produto, sugerimos que leia estas instruções
integralmente.
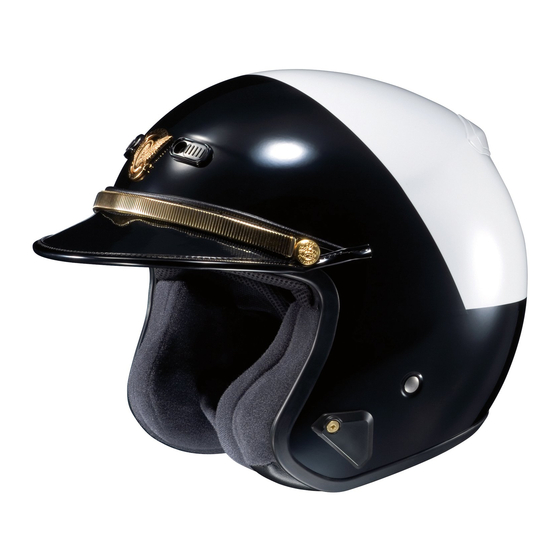
RJ Platinum-LE
Advertisement

Related Manuals for SHOEI RJ Platinum-LE


Summary of Contents for SHOEI RJ Platinum-LE
- Page 1 *For further information, please consult your local SHOEI distributor or dealer. *Pour plus d’informations, veuillez consulter votre distributeur ou revendeur local SHOEI. *Para obtener más información, consulte con su distribuidor o proveedor local de SHOEI. *Para mais informações, consulte o seu distribuidor ou revendedor SHOEI local.
- Page 2 English P3~10 Français P3~10 Español P11~18 Por t uguês P11~18...
- Page 3 Ventilation System Detachable Inner Parts Système de ventilation Pièces intérieures détachables 1. Front Air Intake Center Pad Absorption d’air frontal Coussinet central 2. Visor (Peak / Pointe) Cheek Pad (R) Cheek Pad (L) 3. Upper Air Intake Coussinet Coussinet ...
- Page 4 Removing the Inner Parts Installing the Inner Parts Comment changer les intérieurs Comment fixer les intérieurs ■ ● Removing the Cheek Pads Installing the Center Pad Comment changer les coussinets de joue Comment fixer le coussinet central ■ ● Unhook 3 snaps and pull out cheek pad of Slide a pad along a Plate Snap...
- Page 5 How to Remove / Fix Cheek Liner Comment retirer / remonter le calotin maxillaire Remove cheek pad before you remove Remove cheek pad before you fix Drawing A Drawing D cheek liner. Unsnap a side portion as cheek liner. Pass chinstrap through a Fig A Fig D per Drawing A and pull out a plate which...
- Page 6 Keys to Handling the Inner Parts Removing and Fixing Top Air Outlet Remplacer et remettre la Sortie d’air supérieure Conseils pour manipuler les éléments internes With the shutter in the middle position, insert a flat blade or When installing or removing the inner parts, hold near a snap and handle with care. Press a Drawing A screwdriver into the gap at the rear end of the shutter as per head of the snap firmly until you hear it clicks.
- Page 7 Sistema de ventilación Partes interiores desmontables Sistema de ventilação Interiores amoviveis 1. Entrada de aire frontal Almohadilla central Entrada de ar frontal Almofada central 2. Visor (Visera / Pala) Almohadilla de Almohadilla de 3. Entrada superior de aire mejilla derecha mejilla izquierda ...
- Page 8 Cómo desmontar los interiores Cómo colocar los interiores Como remover os interiores Como fixar os interiores ● Cómo desmontar los acolchados de las mejillas Cómo colocar el acolchado central ■ Como remover Almofada Facial Como fixar a almofada central ● ■ ...
- Page 9 Como desmontar y montar el forro de protección lateral Como retirar / substituir o casco maxilar Desmontar el acolchado lateral antes Para montar el forro de protección Figs. A Figs. D de desmontar el forro de protección lateral debe estar desmontado el Figuras A Figuras D lateral.
- Page 10 Como desmontar y montar la Salida de aire superior Pautas para manejar piezas interiores Remover e Colocar saida de ar pelo alto Chave para manipulação das peças internas Desplazar la pestaña de cierre al centro de la base. Insertar 1. Al colocar o retirar bujes o gatillos, sujete la pieza cerca de ellos y manéjelos con cuidado. Figs.
Need help?
Do you have a question about the RJ Platinum-LE and is the answer not in the manual?
Questions and answers