Advertisement
Quick Links
Advertisement

Related Manuals for Harvia Magnus


Summary of Contents for Harvia Magnus
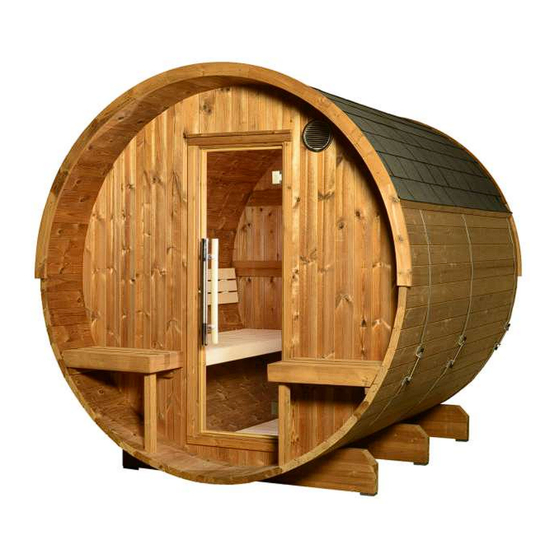
- Page 1 Magnus Barrel Sauna Installation & Owner’s Manual...
-
Page 2: Important Safety Instructions
IMPORTANT SAFETY INSTRUCTIONS DANGER: Indicates a hazardous situation that, if not avoided, will result in death or serious injury. WARNING: Indicates a hazardous situation that, if not avoided, could result in death or serious injury. CAUTION: Indicates a hazardous situation that, if not avoided, could result in minor or moderate injury. NOTICE: Indicates information considered important, but not hazard-related. - Page 3 • 3/4” Spade or Forstner Bit • Rubber Mallet Your Harvia barrel is designed for outdoor use although it is perfectly fine to • Hammer use it indoors. The lumber is naturally resistant to the elements. Rain and sun will not damage the wood, although natural weathering and coloring of the •...
- Page 4 FLOOR ASSEMBLY • Ensure sauna foundation is sturdy and level. If the foundation is not, the sauna could tilt, shift or fall leading to injury. Begin assembly by fastening the feet to the bottom of the cradles using 3.5 X 35 screws. Use two screws per foot, and place two feet on each end, and two in the middle (1-2).
- Page 5 Image 8 Image 9 Image 10 Locate and place the center back panel into the groove in the back (11). Orient so that the side panel with the hole will join it on the lower left hand side. Place a temporary stave on top to join it to the front panel to help stabilize them. Now place the two end panels and fasten through the overhanging bracing using one 3.5 X 50 screw in each brace (12).
- Page 6 BANDS Locate the three bands. Place a band around the front and rear of the sauna, over where the barrel ends are; place the third miday between those. Place the rod through the angle bracket on both ends of the band. If you fastened your staves using the 4 X 70 screws, you must remove all the screws.
- Page 7 Using the 3/4” bit, drill a hole through the rear panel and feed the cord through the hole (29). Place the power supply outside the back of the sauna and find the light bar cord (30). Connect the light bar to the power supply (31). The power supply can be mounted to your choosing. Image 29 Image 30 Image 31...
- Page 8 FLOOR KIT Place the first floor kit piece in the back and place a level on it to ensure its flat. Fasten in place using four 3.5 X 50 screws (39). Then place the second piece shifted towards the door so there is an gap between the two pieces. Fasten again using four 3.5 X 50 screws (40-41). Image 39 Image 40 Image 41...
- Page 9 Place the outer door trim over the gap around the door and the opening. Predrill the holes and fasten using 3.2 X 40 trim screws, three in the top and bottom and four in the two sides (49-50). Similar to above, depending on how the door sat in the opening, these screws might need to go in at a slight angle to fasten to the end panel.
- Page 10 ROOFING Measure up from the ground 63” and mark the barrel. Place the triangular drip edge at that mark and fasten using four 4 X 60 screws (63-64). Image 63 Image 64 When doing the shingles, always start the row at the front, and work towards the back. Start the roof by cutting a shingle in half at the notch and nail into drip edge using the provided roofing nails (65).
- Page 11 Once you get to the top, you will need to cut the tabs apart on your shingles. Cut the four tabs in the middle of the notch. Once you have the four tabs, cut a 45 degree on both corners (73). This will be on the side opposite of the notches. When installing the ridge shingles, you will want to work towards the direction the wind predominantly comes from.
- Page 12 ALTERNATE HEATER MOUNTING If the heater you are using in your sauna does not mount flat to the existing barrel end, there will be two 1” thick planks to fasten to the back wall to give you a flat surface to wall mount your heater. Fasten these to the back wall using three 4 X 60 screws in each board (81). Space them apart so they provide an adequate surface for the mounting brackets to fasten to.
Need help?
Do you have a question about the Magnus and is the answer not in the manual?
Questions and answers