
Related Manuals for Draper 53489


Summary of Contents for Draper 53489
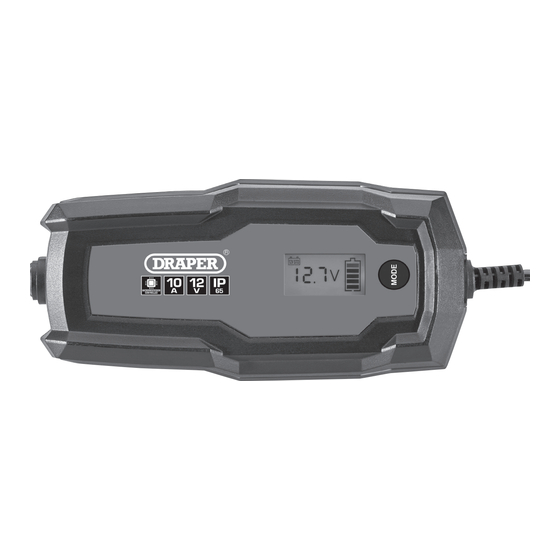
- Page 1 Original Instructions Version 3 12V INTELLIGENT BATTERY CHARGER 53489, 53490, 53491 53491 shown...
-
Page 2: Copyright © Notice
All photographs and drawings within this manual are document is part of the product; retain it for the life supplied by Draper Tools to help illustrate correct of the product, passing it on to subsequent holders. operation of the product. -
Page 3: Table Of Contents
7.5 Charging the Battery 7.6 Finishing Battery Charging 7.7 10 Steps of Charging (all charger models) 7.8 53489 – 10 Steps of Charging Chart 7.9 53490 – 10 Steps of Charging Chart 7.10 53491 – 10 Steps of Charging Chart 8. Maintenance and Troubleshooting 8.1 General Maintenance and Storage... -
Page 4: Product Introduction
Any other application beyond the conditions established charger designed to charge automotive maintenance for use will be considered misuse. Draper Tools accepts free lead acid and lithium batteries. It is also suitable no responsibility for improper use of this product. -
Page 5: Health And Safety Information
• ONLY use the clamps and accessories recommended and supplied by Draper Tools. • Never smoke or allow a spark or flame near the battery or engine. -
Page 6: Connection To The Power Supply
If the power supply cord is damaged, it must be replaced by Draper Tools, an authorised service agent or similarly qualified personnel in order to avoid a hazard. The damaged or incomplete plug, when cut from the cord, shall be disabled to prevent connection to a live electrical outlet. -
Page 7: Identification And Unpacking
5. Identification and Unpacking 5.1 Product Overview 53491 shown (14) (10) (11) (12) (13) LCD display 12V GEL battery Mode button 12V LFP battery Hanging keyhole (10) Charging voltage/fault indicator Power cord and plug (11) 6V battery Connector charging lead (12) Reverse polarity (13) Operating 12V DC consumer unit Display Screen (14) Battery charge status... -
Page 8: What's In The Box
Please contact the Draper Helpline; contact details occurred during shipment. If any part is damaged or can be found at the back of this manual. -
Page 9: Preparing The Battery Charger
• Check that the voltage of the battery matches that of the charger. Fig. 1 Fig. 2 Note: To avoid loss of audio or security codes before disconnecting the battery, connect a Draper 12 voltage memory saver (Fig.1) or an EOBD 16 pin diagnostic socket type (Fig.2). – 9 –... -
Page 10: Operating Instructions
7. Operating Instructions 7.1 Connection 7.2 Permanent Installation Of ‘O’ Rings to Battery • Before connecting the charger to the power supply ensure that the information on the rating label matches the supply voltage. • Refer to the instructions in the manufacturer ‘s manual for the car, radio and navigation systems etc. -
Page 11: Charging Modes
7.4 Charging Modes Mode Display Screen Battery Charging Standard (6) 12V Std Lead acid batteries (Wet, Ca/Ca and EFB) and GEL batteries. Note: When the charger is used for the first time it will default to 12V STD. (7) 12V AGM/C AGM batteries. -
Page 12: Finishing Battery Charging
7. Operating Instructions 7.6 Finishing Battery Charging With Battery Connected to Vehicle NOTE: All loads in the vehicle must be switched off 1. Unplug the charger from the power supply. during charging. 2. Disconnect the black charging lead first, 1. Connect the RED positive charger lead to the positive then disconnect the red charging lead from the (+) terminal of the battery. -
Page 13: 53489 - 10 Steps Of Charging Chart
7.8 53489 – 10 Steps of Charging Chart (Refer to section 7.7) STEP 0 STEP 1 STEP 2 STEP 3 STEP 4 STEP 5 STEP 6 STEP 7 STEP 8 STEP 9 STEPS Battery Activated Devulcanization Repair Floating Charge Flat Charge... -
Page 14: 53490 - 10 Steps Of Charging Chart
7. Operating Instructions 7.9 53490 – 10 Steps of Charging Chart (Refer to section 7.7) STEP 0 STEP 1 STEP 2 STEP 3 STEP 4 STEP 5 STEP 6 STEP 7 STEP 8 STEP 9 STEPS Battery Activated Devulcanization Repair Floating Charge Flat Charge Analysis Battery... -
Page 15: 53491 - 10 Steps Of Charging Chart
7.10 53491 – 10 Steps of Charging Chart (Refer to section 7.7) STEP 0 STEP 1 STEP 2 STEP 3 STEP 4 STEP 5 STEP 6 STEP 7 STEP 8 STEP 9 STEPS Battery Activated Devulcanization Repair Floating Charge Flat Charge Analysis Battery Pulse current charge Compensation Charge... -
Page 16: Maintenance And Troubleshooting
8. Maintenance and Troubleshooting 8.1 General Maintenance and Storage • When not in use store in a safe, dry, childproof location. Important: Always disconnect the charger from the WARNING! Servicing should only be carried out power supply before carrying out any maintenance or by qualified personnel. -
Page 17: Disposal & Warranty
9. Disposal & Warranty At the end of its working life, dispose of the product responsibly and in line with local regulations. Recycle where possible. • DO NOT dispose of this product with domestic waste; most local authorities provide appropriate recycling facilities. -
Page 18: Explanation Of Symbols
10. Explanation of Symbols Short-circuit-proof safety Read the instruction manual isolating transformer 130° Warning! Fuse protective device Caution! Polarity indication Rated voltage Do not incinerate or throw onto fire WEEE – Wear face mask and safety glasses Waste Electrical & Electronic Equipment Do not dispose of Waste Electrical &... - Page 19 Notes – 19 –...
- Page 20 Product Helpline: +44 (0) 23 8049 4344 Telephone Sales Desk: +44 (0) 23 8049 4333 General Enquiries: +44 (0) 23 8026 6355 Please contact the Draper Tools Product Helpline for repair and servicing enquiries. © Published by Draper Tools Limited © Published by Draper Tools Limited...
Need help?
Do you have a question about the 53489 and is the answer not in the manual?
Questions and answers