Sign In
Upload
Download
Table of Contents
Contents
Add to my manuals
Delete from my manuals
Share
URL of this page:
HTML Link:
Bookmark this page
Add
Manual will be automatically added to "My Manuals"
Print this page
×
Bookmark added
×
Added to my manuals
Manuals
Brands
Draper Manuals
Battery Charger
BCSD400T
Original instructions manual
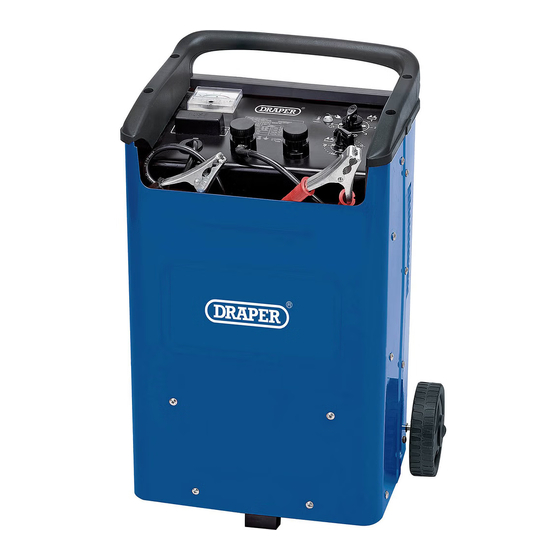
Draper BCSD400T Original Instructions Manual
Battery starter & charger
Hide thumbs
Also See for BCSD400T
:
Instructions manual
(22 pages)
,
Instructions manual
(23 pages)
1
2
Table Of Contents
3
4
5
6
7
8
9
10
11
12
13
14
15
16
17
18
19
20
page
of
20
Go
/
20
Contents
Table of Contents
Troubleshooting
Bookmarks
Table of Contents
Preface
Product Reference
Revisions
Understanding the Safety Content of this Manual
Copyright © Notice
Table of Contents
Contents
Product Introduction
Intended Use
Specification
Health and Safety Information
General Health and Safety Precautions
Additional Safety Instructions for Jump Starters and Portable Power Packs
Working with Lead-Acid and Other Vehicle Batteries
Connection to the Power Supply
Residual Risk
Identification and Unpacking
Product Overview
What's in the Box
Packaging
Preparing the Starter/Charger
Connecting a Plug
Attaching the Wheels and Foot
Connecting a Battery
Battery Sizes and Ratings
Connection Procedure
Charging a Battery
Charging Times
Charging Procedure
Notes on Charging
Fast Charging
Jump-Starting
Maintenance and Troubleshooting
General Maintenance and Storage
Replacing the Output Overload Fuses
Troubleshooting
Spares, Returns and Disposal
Warranty
Explanation of Symbols
Advertisement
Quick Links
Download this manual
EN
Original Instructions
Version 3 – March 2023
BATTERY
STARTER &
CHARGER
11967
Table of
Contents
Previous
Page
Next
Page
1
2
3
4
5
Advertisement
Table of Contents
Troubleshooting
Maintenance and Troubleshooting
16
Troubleshooting
17
Need help?
Do you have a question about the BCSD400T and is the answer not in the manual?
Ask a question
Questions and answers
Related Manuals for Draper BCSD400T
Battery Charger Draper BCSD300T Instructions Manual
Lead acid battery charger/starters (23 pages)
Battery Charger Draper BCSD300T Instructions Manual
Lead acid battery charger/starters (22 pages)
Battery Charger Draper BC14 Instructions Manual
Free electrolyte (wet cell) lead acid battery chargers & charger/starters (20 pages)
Battery Charger Draper BC14 Instructions For
(20 pages)
Battery Charger Draper BCS60 Instructions Manual
Battery charger/starter & tester (12 pages)
Battery Charger Draper BCSD130 Instructions Manual
Lead acid battery starter/chargers (22 pages)
Battery Charger Draper BCSD300T Original Instructions Manual
Battery starter & charger (20 pages)
Battery Charger Draper BCS230B Instructions For
Battery starter/chardger (22 pages)
Battery Charger Draper BC5 Instructions Manual
Battery charger and tester (13 pages)
Battery Charger Draper BC30A Instructions Manual
230v automatic (12 pages)
Battery Charger Draper BC15ACO Instructions Manual
230 v professional battery charger (6 pages)
Battery Charger Draper BCD5 Instructions For Use Manual
6v/12v (22 pages)
Battery Charger Draper BCD11 Instruction Manual
12v/24v (23 pages)
Battery Charger Draper 33861 Instruction Manual
6v/12v intelligent charger (16 pages)
Battery Charger Draper BCI5 User Manual
(16 pages)
Battery Charger Draper BCD18A Manual
(11 pages)
This manual is also suitable for:
11967
Table of Contents
Print
Rename the bookmark
Delete bookmark?
Delete from my manuals?
Login
Sign In
OR
Sign in with Facebook
Sign in with Google
Upload manual
Upload from disk
Upload from URL


Need help?
Do you have a question about the BCSD400T and is the answer not in the manual?
Questions and answers