Sign In
Upload
Download
Table of Contents
Contents
Add to my manuals
Delete from my manuals
Share
URL of this page:
HTML Link:
Bookmark this page
Add
Manual will be automatically added to "My Manuals"
Print this page
×
Bookmark added
×
Added to my manuals
Manuals
Brands
ARRI Manuals
Lighting Equipment
L Plus Series
Operating manual
ARRI L Plus Series Operating Manual
Hide thumbs
Also See for L Plus Series
:
User manual
(40 pages)
1
2
3
4
Table Of Contents
5
6
7
8
9
10
11
12
13
14
15
16
17
18
19
20
21
22
23
24
25
26
27
28
29
30
31
32
33
34
35
36
37
38
39
40
page
of
40
Go
/
40
Contents
Table of Contents
Bookmarks
Table of Contents
Table of Contents
About this Document
How to Use this Manual
About this Product
Introduction
Audience and Intended Use
Identification
Environmental Conditions
Technical Data
Dimensional Drawings
Scope of Delivery and Warranty
To Replace the Light Source
Certifications and Safety Standards
Safety Instructions
Structure of Safety and Warning Messages
Warning Symbols and Product Labels
General Safety Instructions
Product Overview
Overview Manual Version
Overview P.O. Version
Mounting and Assembly
To Install a Safety Rope
To Adjust the Yoke
To Mount the Spigot
To Mount the Device
Basic Operation
Pan and Tilt
To Adjust the Beam Angle
Use of Accessories for Beam Shaping
Switching on and off
Control Network
Menu Operation
Maintenance, Cleaning and Repair
Maintenance
Cleaning
Repair
Transportation, Storage and Disposal
Transportation
Storage
Disposal
ARRI Service Contacts
Advertisement
Quick Links
Download this manual
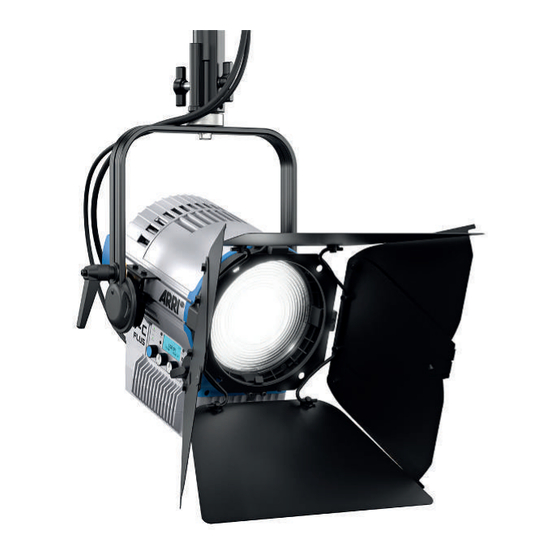
L-Series Plus
OPERATING MANUAL
July 2024 • 1.1 • English
L5.0048799 / L04225
Table of
Contents
Previous
Page
Next
Page
1
2
3
4
5
Advertisement
Table of Contents
Need help?
Do you have a question about the L Plus Series and is the answer not in the manual?
Ask a question
Questions and answers
Related Manuals for ARRI L Plus Series
Lighting Equipment ARRI L Plus Series User Manual
(40 pages)
Lighting Equipment ARRI L7 User Manual
(28 pages)
Lighting Equipment ARRI L1.31230TA Service Manual
(25 pages)
Lighting Equipment ARRI L Series Short Instruction
(17 pages)
Lighting Equipment ARRI L5 User Manual
L-series (52 pages)
Lighting Equipment ARRI L5 Series Short Instruction
(6 pages)
Lighting Equipment ARRI EB 400/575 Universal Operating Instructions Manual
Electronic ballast (14 pages)
Lighting Equipment ARRI L10-C User Manual
(52 pages)
Lighting Equipment ARRI L7-T Short Instructions
(6 pages)
Lighting Equipment ARRI M18 Service Manual
(19 pages)
Lighting Equipment ARRI EB MAX 2,5/4 Operating Instructions Manual
Electronic ballast (28 pages)
Lighting Equipment ARRI EB MAX 1.8 Operating Instructions Manual
Electronic ballast (28 pages)
Lighting Equipment ARRI Orbiter L2.0039438 User Manual
Dome mini (8 pages)
Lighting Equipment ARRI Orbiter User Manual
(12 pages)
Lighting Equipment ARRI L5-C Plus Operating Manual
(40 pages)
Lighting Equipment ARRI L7-C Plus Operating Manual
(40 pages)
This manual is also suitable for:
L5-c plus
L7-c plus
Table of Contents
Print
Rename the bookmark
Delete bookmark?
Delete from my manuals?
Login
Sign In
OR
Sign in with Facebook
Sign in with Google
Upload manual
Upload from disk
Upload from URL


Need help?
Do you have a question about the L Plus Series and is the answer not in the manual?
Questions and answers