Table of Contents
Advertisement
Help Guide
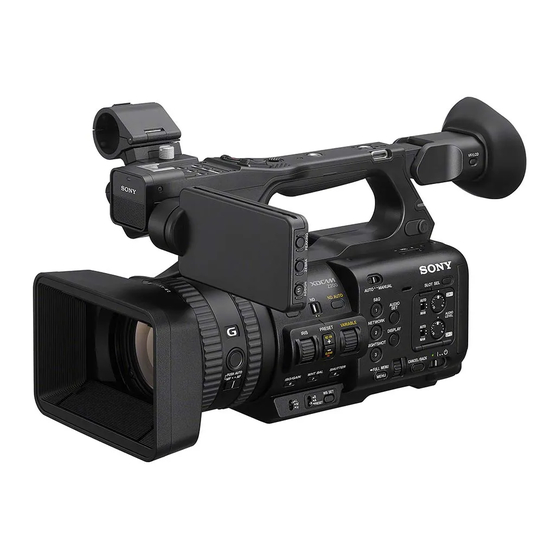
Solid-State Memory Camcorder
PXW-Z200/HXR-NX800
Help Guide Recommended Pages
Basic Operation Procedure
Describes the basic shooting procedure for the camera.
Recommended Memory Cards
Provides information about the memory cards supported by the unit.
Support Information
PXW-Z200/HXR-NX800: Support Information
Describes basic information about the camera, information about accessories, and FAQ for troubleshooting.
Monitor & Control Help Guide
"Monitor & Control" is an application that connects to a single camera, supports remote control of the camera, and
displays/operates the camera clips.
Read This First
How to Use This Help Guide
Usage Precautions
Name of Parts
System Configuration
Left Side/Front Side
Right Side
Rear Side/Connector Block/Card Slots
Top Side/Handle
Bottom Side
Removing the Microphone Holder
Attaching the Accessory Shoe
1
Advertisement
Table of Contents


Need help?
Do you have a question about the PXW-Z200 and is the answer not in the manual?
Questions and answers