
Related Manuals for Honeywell Kaliza 51907


Summary of Contents for Honeywell Kaliza 51907
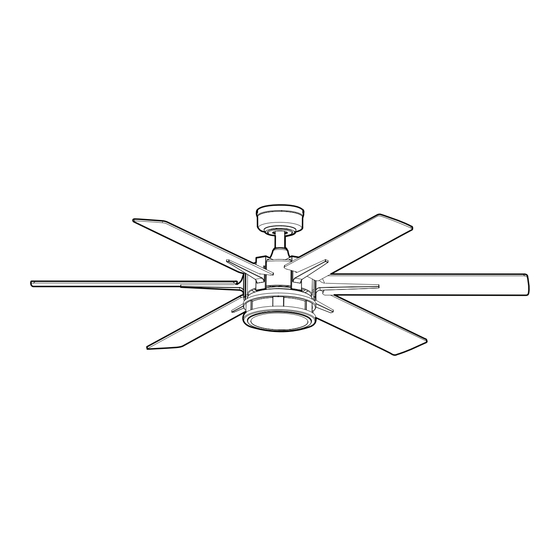
- Page 1 Home Kaliza Ceiling Fan User Manual Read and save these instructions before use Model #51907...
-
Page 2: Package Contents
PACKAGE CONTENTS Mounting Bracket Mounting Bracket Screw (x 4) Canopy Downrod Downrod Pin Downrod Clip Yoke Cover Yoke Set Screw (x 2) Blade (x 6) Motor Assembly Blade Arm (x 6) Fitter Plate Screw (x 3) Fitter Plate Light Pan Light Pan Screw (x 3) Light Kit 36-inch Lead Wire (optional) (x2) -
Page 3: Safety Information
THANK YOU Honeywell Ceiling Fans feature a collection of fans in various sizes and specifications to ensure your choice of indoor or outdoor fan delivers optimum performance for your room’s size. You can trust the quality of Honeywell Ceiling Fans to deliver maximum airflow and stylish lighting options. -
Page 4: Care And Maintenance
SAFETY INFORMATION CAUTION: CAN ICES-003 (B) / NMB-003 (B) CAN ICES-005 (B) / NMB-005 (B) This device complies with Industry Canada license-exempt RSS standard(s). Operation is subject to the following two conditions: (1) this device may not cause interference, and (2) this device must accept any interference, including interference that may cause undesired operation of the device (if applicable). -
Page 5: Initial Installation
PREPARATION Before beginning the assembly of this product, ensure all parts are present. Compare all parts with the package contents list and hardware contents list. If any part is missing or damaged, do not attempt to assemble the product. Estimated assembly time: 2 hours Tools required (not included): Electrical tape, Phillips Screwdriver, Safety Glasses, Step Ladder, and Wire Strippers. - Page 6 INITIAL INSTALLATION 4. Remove the downrod clip and downrod pin from the downrod. Then partially loosen the set screws in the yoke at the top of the motor assembly (Figure 2.4). 5. Insert the downrod through the canopy and yoke cover. Feed the wires and braided cable from the fan through the downrod Depending on the length of downrod you use, you may need to use the 36-inch lead wires to accomodate a 36 or 48- inch downrod (sold separately).
- Page 7 SECONDARY HANGING SYSTEM INSTRUCTIONS For installation in the United States: Building codes in the U.S.A. do not require installation of a Secondary Hanging System. If desired, the braided cable can be cut and removed using wire cutters (sold separately). Skip to FINAL INSTALLATION. For installation in Canada: In compliance with building codes in Canada, installation of the Secondary Hanging System is required.
-
Page 8: Final Installation
FINAL INSTALLATION 1. Make the following wire connections according to the diagram and these steps (Figure 4.1): • Lift the lever and then push the White (neutral) supply wire into the empty hole of the wire connector preassembled to the white wire from receiver and then lower the lever to secure wire. - Page 9 FINAL INSTALLATION 7. Lift the glass assembly into the light kit and twist in a clockwise direction to secure (Figure 4.7). Note: Remove the rubber shipping blocks from the glass assembly. CAUTION: Avoid cross-threading the glass during installation. Improper installation could cause the glass bowl to be difficult to remove or fall, which could cause serious injury.
- Page 10 OPERATING INSTRUCTIONS 1. To operate the fan using the remote, press and release the following buttons (Figure 5.1): LED Indicator - Indicates the six speeds of the fan. It should illuminate when any remote button is pressed. If not, replace the DC3V, CR2032 batteries.
-
Page 11: Troubleshooting
TROUBLESHOOTING If you experience any faults, please check the Troubleshooting section below. If a problem cannot be remedied or you are experiencing difficulty in installation, please contact Customer Service: 1-877-361-3883, Monday-Friday, 8am - 5pm, Central Time. WARNING: Shut off the power supply before you begin any maintenance task. PROBLEM CORRECTIVE ACTION 1. -
Page 12: Limited Lifetime Warranty
Blade (x 6) 4A086520001 Remote Pack 4A000026460 Hardware Bag 4A000026450 The Honeywell Trademark is used under license from Honeywell International Inc ™. Honeywell International Inc. makes no representations or warranties with respect to this product. This product is manufactured for Hong Kong China Electric Appliance, LTD.
Need help?
Do you have a question about the Kaliza 51907 and is the answer not in the manual?
Questions and answers