Kaisai KCA4U-12HRG32X Installation Manual
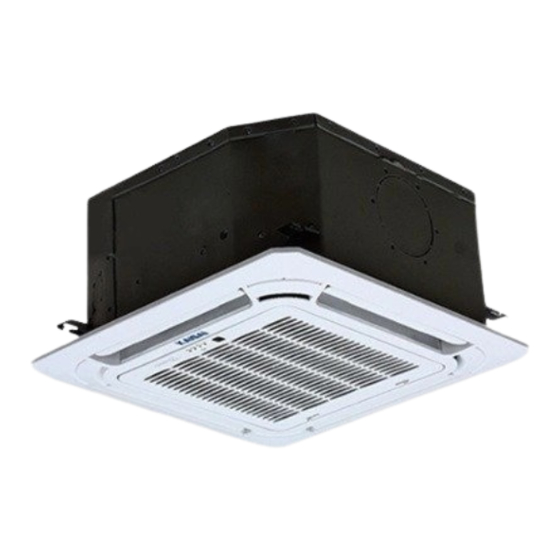
Four-way casette type compact
Hide thumbs
Also See for KCA4U-12HRG32X:
- Service manual (162 pages) ,
- Owner's manual (134 pages) ,
- Owner's manual (92 pages)
Table of Contents
Advertisement
Quick Links
Advertisement
Table of Contents

Related Manuals for Kaisai KCA4U-12HRG32X


Summary of Contents for Kaisai KCA4U-12HRG32X
- Page 1 INSTALLATION MANUAL Ceiling And Floor Type INSTALLATION MANUAL FOUR-WAY CASETTE TYPE COMPACT Thank you very much for purchasing our air conditioner, Before using your air conditioner, please read this manual carefully and keep it for future reference.
-
Page 3: Table Of Contents
Improper installation, repair, and maintenance may result in electrical appliances. electric shocks, short-circuit, leaks, fire or other damage to the Otherwise, it will cause fire or electrical shock. equipment. kaisai.com... -
Page 4: Installation Information
Connect the drain pipe ; The Volt vibrates violently (in the factories). Electric wiring work; In buses or cabinets. Installation of the decoration panel; In kitchen where it is full of oil gas. Test operation. There is strong electromagnetic wave existing. kaisai.com... -
Page 5: Accessories
There are two types of remote controllers:wired and wireless. Select a remote controller according to customers request and install in an appropriate place. Refer to catalogues and technical literature for selecting a suitable remote controller. This indoor unit requires installation of an optional decoration panel. kaisai.com... -
Page 6: Indoor Unit Installation
If the basis underneath the unit is not strong enough to the unit. support the weight of the unit, the unit could be fall out of Space required for installation see the figure below ( :air flow place and cause serious injury. direction) kaisai.com... - Page 7 (marked with * ) . However,to achieve a ceiling-panel overlapping dimension of 15 mm,the spacing between the ceiling and the unit should be 20 mm or less.If the spacing between ceiling and the unit is over 20 mm,attach sealing material in the part or recover the ceiling. kaisai.com...
- Page 8 Paper pattern for installation(on some models) Center of the ceiling openiing Screws(supplied with the decoration panel) 3) Adjust the unit to the right position for installation. (Refer to the chapter "Preparations before installation" on page 5.) kaisai.com...
-
Page 9: Outdoor Unit Installation
- In heavy snowfall areas, select an installation site where the snow will not affect the unit. - Construct a large canopy. - Construct a pedestal. Install the unit high enough off the ground to prevent burying in snow. kaisai.com... - Page 10 In cold areas, do not use a drain hose with the outdoor unit. (Otherwise, drain water may freeze, impairing heating performance.) More than 100 Drain port More than 350 Bottom frame Seal More than 50 Unit:mm Drain plug Top view Hose kaisai.com...
-
Page 11: Install The Refrigerant Pipe
Then tighten them fully with the torque wrenches. 9K ~12K Torque wrench R410A inverter Split type air conditioner Flare nut Piping union 9K ~12K Spanner T3 condition (outdoor unit down) 9K ~12K T3 condition (outdoor unit up) kaisai.com... - Page 12 (Do not attempt to turn valve rod byond its stop.) 8) Tighten valve caps and service port caps for the liquid and gas stop valves with a torque wrench at the specified torques. Anti-shock rubber *1. Pipe length vs. Vacuum pump run time Throttle kaisai.com...
- Page 13 Exposed piping may cause condensation or may tape to keep dirt or cause burns when touched. water out. Make sure that no oil remains on plastic parts of the decoration panel (optional equipment). Oil may cause degradation and damage to plastic parts. kaisai.com...
-
Page 14: Connect The Drain Pipe
1 Indoor drain pipe. sewage might enter the indoor unit through the drain 2 Drain socket. pipes and corrode the heat exchanger. Keep in mind that it will become the cause of getting drain pipe blocked if water collects on drain pipe. kaisai.com... -
Page 15: Electric Wiring Work
. When exlectric wiring work is finished, check drainage flow during COOL running, exlplained in "Test operation" on page 16. The specification of power Power Frequency and volt Model Phase Circuit breaker/Fuse(A) 9K~18K 20/16 1Phase 208-240V kaisai.com... - Page 16 Keep wiring in neat order so that they do not obstruct other equipment such as popping open the service cover. Make sure the cover closes tight. Incomplete connections could result in overheating, and in the worst case, electric shock or fire. kaisai.com...
-
Page 17: Installation Of The Decoration Panel
" " on the unit . - Attach the decoration panel to the unit with the supplied screws as shown in figure below. 10-core wire 5-core wire Fasten the control box lid with 2 screws . Decoration panel Screws (M5)(supplied with the panel) kaisai.com... -
Page 18: Test Operation
Whether any of the refrigerant is leaked. Turn off the main power supply after operation. A protection feature prevents the air conditioner from being activated for approximately 3 minutes when it is restarted immediately after shut off. kaisai.com... - Page 19 QSQ4I-018AEN(A3) The design and specifications are subject to change without prior notice for product improvement. Consult with the sales agency or manufacturer for details. 202000192653 202000192653 20140506 20140506 kaisai.com...
Need help?
Do you have a question about the KCA4U-12HRG32X and is the answer not in the manual?
Questions and answers