
Related Manuals for Victorian Plumbing ERD06


Summary of Contents for Victorian Plumbing ERD06
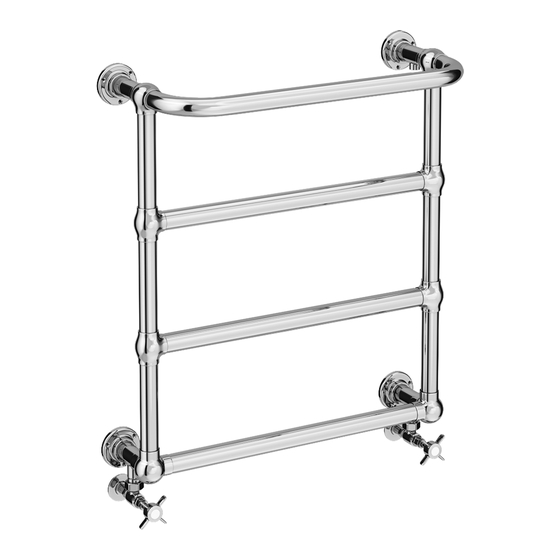
- Page 1 Traditional Towel Rail With Connection For Heating Element Fitting Instructions Please follow them carefully and leave this manual with end user V4.07.24...
- Page 2 Important Information Before installation, please read this guide carefully. We recommend that this product is installed by a qualified tradesperson, Victorian Plumbing Ltd. accept no liability for products incorrectly installed or any damage to the floor, walls, plumbing, heating element, radiator, or personal injury during installation. Observe all local building codes &...
-
Page 3: Tools Required For Installation (Not Supplied)
The electric installation to which the heater is connected should have the right current differential and overcurrent relay (R.C.D) of 30 mA. An omni-pole cut-out is required for disconnecting the device on all poles, via joints positioned at least 3mm apart. The device must not be connected while being installed. - Page 4 Fitting List: Plug x1 Screws x12 Air vent x1 Rawl Plug x12 Mounting the Radiator: Step 1: • Position the radiator on your chosen wall and using a spirit level check that the radiator is level both vertically and horizontally. Using a pencil, mark the top &...
- Page 5 Step 2: • Carefully drill the holes for the ‘Rawl plugs’ ensuring the correct sized masonry bit is used and insert the ‘Rawl plugs’. • For false or studded walls, different fixings can be purchased from your local DIY store. Ensure the fixings you choose are suitable for the type of wall structure to which you are hanging the radiator, while also allowing for the weight of the radiator when both empty and filled with water/heating agent.
-
Page 6: Element Installation
Element Installation: (Element not Included in packaging) Step 1: • Dismount the radiator from the wall and remove the plastic caps from underneath the radiator. Insert the ‘Air Vent’ into the top tapping ensuring the ‘Air Vent’ is in the closed position. - Page 7 Step 3: • Connect the element to the mains supply and test the element to ensure it is working correctly. (See ‘Electrical Connection’ and ‘Testing the Element’ for more information). • Place the radiator back onto the wall over the ‘Rawl plugs’, secure the top and bottom fixing brackets to the wall using the ‘Screws’...
-
Page 8: Electrical Connection
Step 2: • Wrap PTFE tape around the ‘Air Vent’ thread and ‘Plug’ thread, then proceed to insert into the radiator tightening with an adjustable wrench. Repeat the procedure and install the radiator valves in the bottom tapping’s. • Proceed to connect the element to the mains supply (see ‘Electrical Connection’ for more information). -
Page 9: Troubleshooting
Testing the Element: Connect the device to the electricity and turn on the heating element unit. Safely wipe away any excess fluid to ensure the radiator does not flood. Once the radiator has reached maximum temperature wait another 5 minutes, check all joints and connections for any leaks. -
Page 10: Product Disposal
Product Disposal: This product should not be disposed as general waste, but should be brought to the appropriate collection point for recycling of electric and electronic devices. Information on the appropriate point for used devices can be provided by your local authority, product distributor or from where the product was purchased. - Page 11 Notes: V4.07.24...
- Page 12 www.victorianplumbing.co.uk V4.07.24...
Need help?
Do you have a question about the ERD06 and is the answer not in the manual?
Questions and answers