Table of Contents
Advertisement
Quick Links
Advertisement
Table of Contents

Related Manuals for Monitor Audio Creator C1S


Summary of Contents for Monitor Audio Creator C1S
- Page 1 Creator Series Product Manual...
- Page 2 Register your Creator Series speakers to ensure the best possible product and customer support Register your speakers using the QR code or visit monitoraudio.com/registration...
-
Page 3: Table Of Contents
Welcome to Creator Series Thank you for purchasing this Creator Series architectural speaker. In this product manual, you’ll find information about setting up your system and how to maintain your speakers for a lifetime of enjoyment. If you need any further assistance, please contact our technical team at monitoraudio.com/support Contents Preparing your installation... -
Page 4: Preparing Your Installation
Preparing your installation Before you unpack your speakers, please make sure that there is plenty of available floor space. Inside the carton, you will find a cut-out template that you can use the mark and cut into your ceilings or walls to the correct size, you’ll also find your Quik-Link terminal and grille in the box. CAUTION: The Creator Series loudspeakers can only be fixed into plasterboard (dry-lined) or suspended ceilings (in-ceiling models), with a thickness of up to 35mm (excluding the Super Slim series, which can be fixed up to 15mm) and walls (in-wall models), with a thickness of up... -
Page 5: Installation - In-Ceiling Speaker
Installation - In-Ceiling speaker Draw around cut-out template Cut around traced lines Feed speaker wire to hole Insert speaker wire into Quik-Link Attach Quik-Link to terminal panel Push speaker into hole and tighten all 3 Tri-Grip Dog Legs Attach magnetic grille... -
Page 6: Installation - In-Wall Speaker
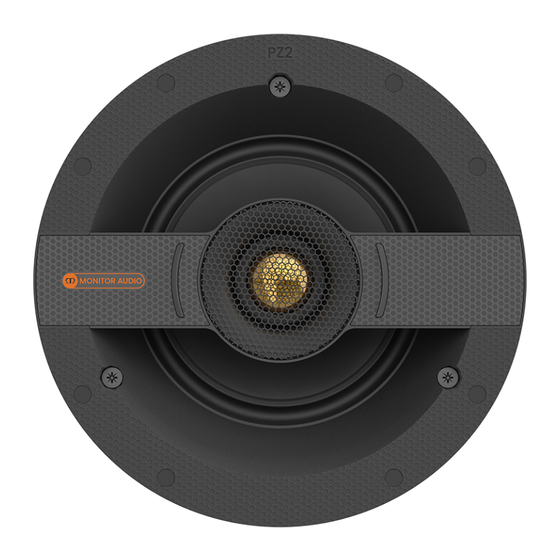
Installation - In-Wall speaker Draw and cut around cut-out template Run cabling to the cut-out hole Connect cable to Quik-Link terminal Connect Quik-Link terminal to speaker PZ2 driver head Tri-Grip x 6 = 5Kgf/cm; 4.34 lbf/inch; 0.5 NM Guide speaker into cut-out hole Tighten Tri-Grip II screws Attach magnetic grille... -
Page 7: In-Wall Mid-Pod Rotation
In-Wall mid-pod rotation You can rotate the mid-pod section of Creator Series In-Wall models (excluding W1M-E and W1M) when using in a centre-channel configuration. Unscrew holding screws Turn Mid-Pod 90 º Tighten Screws... -
Page 8: Setting Up A Surround Sound System
Setting up a surround sound system AV positioning Please refer to the illustration on the right for the ideal angles and positions of each speaker in your surround system. If setting up a 5.1 system you should place your surrounds in position (A). If setting up a 7.1 surround system you should place your side speakers in position (B) and rear speakers in position (C) to create a full 360°... - Page 9 5.1 = A 7.1 = B + C...
- Page 10 Setting up a surround sound system Dolby Atmos ® Please see the diagram on the right for ideal positioning of 2 or 4 Dolby Atmos speaker setups. ® Typically these would be in line with the front left and right speakers. Dolby, Dolby Atmos, and the double-D symbol are trademarks of Dolby Laboratories.
- Page 11 80° 100° 65° Front Ear Level 45° 135° 55° 125° 30° 150° Ear Level Front...
-
Page 12: Quik-Link Terminals
Quik-Link terminals Quik-Link has been invented to make the installation of in ceiling and in wall speakers as safe and as quick as possible. You simply take the terminal off the speaker prior to installing (possibly even at first fix/ pre-installation stage) and connect the terminal to the speaker cables using the sprung terminals. -
Page 13: Painting The Grilles
Painting the grilles NOTE: Replacement grille scrims are not supplied. If you wish to paint your grilles, contact your place of purchase to obtain the replacement grille scrims. Do not paint the IW260X and 460X grilles as spare scrims are not available for after you have painted the grille. Remove the grille scrim from the inside of the grille. -
Page 14: Speaker Controls
Speaker controls Switch Options Effect Usage Corner. (On) / • (Off). -6dB cut at low frequency. Use when speaker is near to a wall/corner or when speaker installed in a smaller than recommended MDF back box. Music/Movie. Music/Movie. Inverts the phase of the Music for music (wide tweeter closest to the switch dispersion, 60/90/120deg... - Page 15 Switch Options Effect Usage C2S, C2M, C2M-CP, C2L, C2L-CP - / • / +. Cut/boost high frequency HF - = 30x30º coverage and recommended HF • = 60x60º listening window. HF + = 90x90º C2M-T2X, C2L-T2X HF - = 60x60º HF •...
-
Page 16: Warranty
Warranty In the unlikely event that there is a defect with this product, it is covered by the Monitor Audio manufacturer’s warranty, provided that the product was supplied by an authorised Monitor Audio retailer. For the period of cover please refer to the product page on our website at monitoraudio.com... -
Page 17: Specifications
Specifications Model Name C2M-T2X C2M-CP Sensitivity 84dB 86dB 88dB 84dB 86dB 86dB 87dB (2.83Vrms@1m, Installed) Cutout Size Ø 171 mm (6 ”) Ø 212 mm (8 ”) Ø 248 mm (9 ”) Ø 171 mm (6 ”) Ø 212 mm (8 ”) Ø... - Page 18 Specifications Model Name C2L-T2X C2L-CP C3L-CP C3L-A Sensitivity 88dB 88dB 89dB 87dB 89dB 89dB 89dB (2.83Vrms@1m, Installed) Cutout Size Ø301 mm (11 ”) Ø301 mm (11 ”) Ø301 mm (11 ”) Ø 212 mm (8 ”) Ø301 mm (11 ”) Ø301 mm (11 ”) Ø301 mm (11...
- Page 19 Model Name W1M-E W2M-CP Sensitivity 84dB 87dB 87dB 87dB 88dB (2.83Vrms@1m, Installed) Cutout Size 527 x 198 mm 527 x 198 mm 527 x 198 mm 527 x 199 mm 527 x 198 mm ”) ”) ”) ”) ”) 13/16 13/16 13/16 13/16...
- Page 20 Listen Again. Monitor Audio Ltd. 24 Brook Road Rayleigh, Essex SS6 7XJ England Tel: +44 (0)1268 740580 Email: info@monitoraudio.group monitoraudio.com ©Monitor Audio Ltd. | V2-2024 - Creator Series...
Need help?
Do you have a question about the Creator C1S and is the answer not in the manual?
Questions and answers