Sign In
Upload
Download
Table of Contents
Contents
Add to my manuals
Delete from my manuals
Share
URL of this page:
HTML Link:
Bookmark this page
Add
Manual will be automatically added to "My Manuals"
Print this page
×
Bookmark added
×
Added to my manuals
Manuals
Brands
Lamona Manuals
Oven
LAM3711
Instructions and installation
Lamona LAM3711 Instructions And Installation
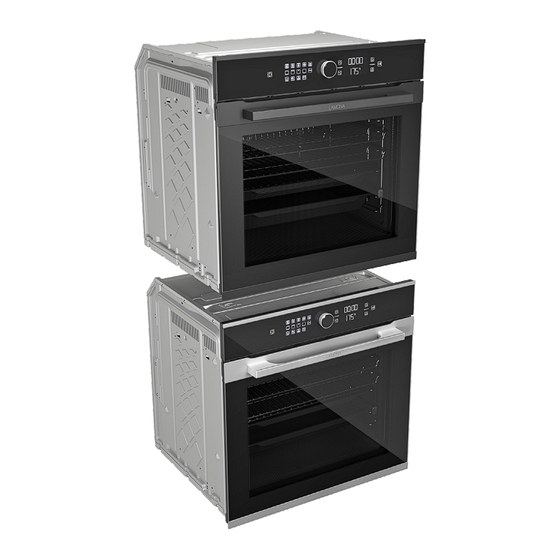
Built-in single pyrolytic oven
Hide thumbs
1
2
Table Of Contents
3
4
5
6
7
8
9
10
11
12
13
14
15
16
17
18
19
20
21
22
23
24
25
26
27
28
29
30
31
32
33
34
35
36
37
38
39
40
41
42
43
44
45
46
47
48
49
50
51
52
53
54
55
56
57
58
59
60
page
of
60
Go
/
60
Contents
Table of Contents
Bookmarks
Table of Contents
Table of Contents
Welcome
Warnings and Cautions
Safety Information
Correct Usage
Child/Vulnerable Person and Pet Safety
Electrical Safety
Transportation Safety
Safety During Use
Temperature Warnings
Accessory Use
Cooking Safety
Maintenance and Cleaning Safety
Hight Temperature Self-Cleaning
General Warning about Cooking in the Oven
Recommendations for Saving Energy
Built-In Single Pyrolytic Oven - Overview
Control Panel and General Usage
Oven Operating Functions
Using the Oven Accessories
Before First Use
Clean the Oven
Before Using the Accessories
Setting the Clock
Operating Your Lamona Oven
Oven Lighting
General Information When Using the Control Panel
Turning the Oven
Turning the Oven off
Manual Cooking
Timed Cooking
Eco Fan Cooking
Bread Function
Kitchen Timer Alarm
Child Lock
Oven Settings
Setting the Ovens Audio Volume
Setting the Display Brightness
Setting the Quick Pre-Heating (Booster Function) ON/OFF
General Information about Cooking
Care and Maintenance
General Cleaning Information
Cleaning the Accessories
Cleaning the Control Panel
Cleaning the Inside of the Oven
Pyrolytic Self Cleaning Function
Cleaning the Oven Door
Removing the Oven
Removing the Inner Glazing of the Oven Door
Cleaning the Oven Light
Problem Solving before Calling after Sales
Technical Specifications
Installation Safety Warnings
Reference, Tools and Fixings Required
Installation
Advertisement
Quick Links
1
Control Panel and General Usage
Download this manual
Built-in Single Pyrolytic Oven
Instructions and Installation
www.howdens.com/appliance-registration
LAM3711
(Stainless)
LAM3712
(Black)
ISSUE v1.1 250324
Table of
Contents
Previous
Page
Next
Page
1
2
3
4
5
Advertisement
Table of Contents
Need help?
Do you have a question about the LAM3711 and is the answer not in the manual?
Ask a question
Questions and answers
Related Manuals for Lamona LAM3711
Oven Lamona LAM3700 User Manual
Single pyrolytic oven (39 pages)
Oven Lamona LAM3702 User Manual
(44 pages)
Oven Lamona LAM3703 User Manual
(48 pages)
Oven Lamona LAM3704 Instructions And Installation
Pyrolytic (27 pages)
Oven Lamona LAM3710 Instructions And Installation
Built-in single pyrolytic oven (36 pages)
Oven Lamona LAM3708 Instructions And Installation
Built-in single pyrolytic oven (64 pages)
Oven Lamona LAM3709 Instructions And Installation
Built-in single pyrolytic oven (64 pages)
Oven Lamona LAM3712 Instructions And Installation
Built-in single pyrolytic oven (60 pages)
Oven Lamona LAM3707 Instructions And Installation
Single pyrolytic (36 pages)
Oven Lamona LAM3400 User's Installation Manual
Built in electric fan oven (27 pages)
Oven Lamona LAM3301 User's Installation Manual
Built in fan assisted (25 pages)
Oven Lamona LAM3208 User Manual
Built-in conventional oven (20 pages)
Oven Lamona LAM3405 Instructions And Installation Manual
Built-in single fan oven (28 pages)
Oven Lamona LAM3304 Instructions & Installation Manual
Built in single fan-assisted oven (28 pages)
Oven Lamona LAM3675 Instructions And Installation
Built-in single split cavity oven (40 pages)
Oven Lamona LAM3214 Instructions And Installation
(36 pages)
This manual is also suitable for:
Lam3712
Table of Contents
Print
Rename the bookmark
Delete bookmark?
Delete from my manuals?
Login
Sign In
OR
Sign in with Facebook
Sign in with Google
Upload manual
Upload from disk
Upload from URL


Need help?
Do you have a question about the LAM3711 and is the answer not in the manual?
Questions and answers