Advertisement
Quick Links
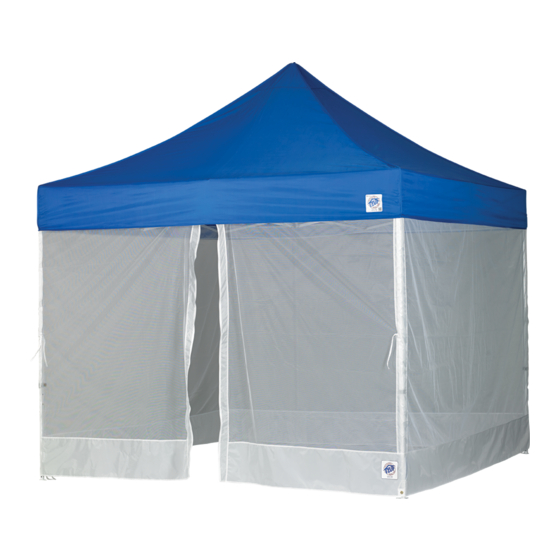
SCREEN ROOM
SET UP
1
Set up your E-Z UP® Canopy. Before starting to hang the screen room, fold the top fabric back halfway
at each corner. The screen will wrap around each corner, fitting under the top and against the frame.
2
Begin on the side of the canopy where the desired zippered entrance will be, clip one end of the
screen room to the upper truss frame toward the middle of the truss wall. Make sure to align each
corner fabric with a shelter leg.
3
From the inside, go to the Truss Clip closest to the entrance. Clip screen
to top outside truss near corners of the frame and repeat until all four
sides of the canopy are covered. Additional elastic bands with V-hooks
are also located around each of the frame legs for a secure fit.
Zip screen room wall to fully enclose your canopy from the outside
of the screen room wall, pull top down over the wall corners.
4
Stake down the E-Z UP® Canopy by inserting a stake through the grommet hole in the screen room
and through the hole located in the footpad. Push the stake securely into the ground. Repeat on
remaining legs and grommet holes of screen room.
INSTRUCTION SHEET
Corner
Frame Legs
Advertisement

Related Manuals for E-Z UP SCREEN ROOM


Summary of Contents for E-Z UP SCREEN ROOM
- Page 1 INSTRUCTION SHEET SET UP Set up your E-Z UP® Canopy. Before starting to hang the screen room, fold the top fabric back halfway at each corner. The screen will wrap around each corner, fitting under the top and against the frame.
- Page 2 • Let the product dry completely before closing or storing to avoid mildew. • The E-Z UP® INSTANT SHELTER® is designed as a temporary shelter. We do not recommend leaving it up for extended periods of time. • Do not leave unattended.
Need help?
Do you have a question about the SCREEN ROOM and is the answer not in the manual?
Questions and answers