Advertisement
Quick Links
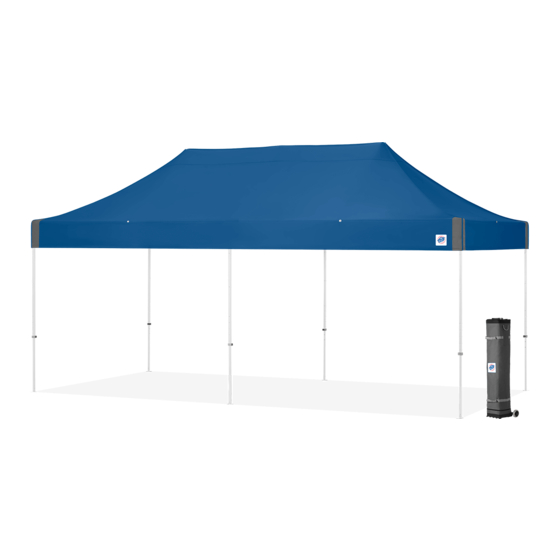
WHAT'S IN THE BOX
(1) 10'x20' Vantage
Frame, (1) Recreational Grade Top, (1) 6-Piece Spike Kit and (1) Wide-Trax
TM
ONE-TIME TOP INSTALLATION
Unpack and Open
Frame in the center of the area to be sheltered.
1.
Place your E-Z UP
®
With partner on the opposite side of the Frame, grasp two outer legs, lift the Frame slightly off the ground,
2.
and step backwards while pulling the Frame to open. (Fig A)
Stop when the Frame is approximately 1/2 of its fully-opened size.
3.
Set the Frame back on the ground.
4.
Attach Fabric Top
Gently unfold the Fabric Top, and place it over the semi- opened Frame. (Fig B)
5.
Attach the Fabric Top to the E-Z UP
Frame by matching the Hook and Loop strips on the inside of the
6.
®
Fabric Top corners with the Hook and Loop strips on each Frame corner. (Fig C)
Pull the Fabric Top down over the Frame corners—pushing the Hook and Loop strips firmly together.
7.
Secure Top to Frame
Line up the grommet holes on the sides of the Fabric Top to the Frame top attachment points.
8.
The top attachment points on the Frame are denoted by the RED tags. (Fig D)
Using a coin, unscrew the Top Attachment Nut from the frame bolt. (Fig E)
9.
Place Fabric Top grommet on the Frame bolt.
10.
Screw on top attachment nut and tighten until snug. Top Fabric should rotate easily. Do not over-tighten.
11.
12.
Repeat this procedure at each of the top attachment points.
Note: Hold the bolt assembly with one hand while tightening the top attachment nut with your other hand.
SET UP
OPEN E-Z UP
Shelter
®
With a partner on the opposite 10' side, grasp the bottom of the diamond-shaped area of outer trusses near
1.
the "OPEN HERE" sticker. (Fig A)
Lift the Frame up slightly and step backward until the shelter is almost fully opened. Gently shake the shelter
2.
while opening. Be careful not to pinch fingers!
Secure Auto-Slider
Pull Pin
®
Fold up the Fabric Top corner to expose the Auto-Slider
3.
Lift shelter corner slightly off the ground and engage the Auto-Slider
4.
side trusses with one hand while holding down the top of the Frame leg with the other hand.
The pins will auto-engage when aligned with the holes on the frame legs.
After the Auto-Slider
Pull Pin has locked into place, pull the Fabric Top down over the frame leg, making
5.
®
sure to align and secure the hook and loop strips on the Fabric Top to the Frame.
Repeat on all remaining corners.
Extend & Secure Frame Legs (Fig C)
With a partner, lift the two adjacent outer legs up off the ground simultaneously to about waist height.
6.
Slide the lower/inner legs out until the leg adjustment toggle buttons lock at selected height on each leg.
7.
Note: There are 5 adjustment settings on each leg.
8.
Lower middle leg until the toggle button locks.
Repeat on the remaining legs.
9.
Note: It is recommended that you use genuine E-Z UP
INTERNATIONAL E-Z UP, INC.
1900 Second St., Norco, California 92860
800-45-SHADE
TM
Pull Pin. (Fig B)
®
Pull Pin by pushing up on the Frame
®
Deluxe Weight Bags and/or Heavy-Duty Stake Kits to secure your shelter.
®
INSTRUCTIONS FOR
(Fig A)
Frame
Roller Bag
(Fig C)
Fabric Top Frame
Shelter has Six Attachment Points
(Fig E)
1 Attachment Point on Each 10' Side
•
2 Attachment Points on Each 20' Side
•
(Fig A)
(Fig C)
(Fig B)
Fabric Top
(Fig D)
(Remove Tag before Attaching Top)
(Fig B)
Auto-Slider
Toggle Leg Adjuster
The #1 Instant Shelter
Brand in the World
®
ezup.com
Frame
20' Side
Fabric Top Corner
Top of Frame Leg
Pull Pin
®
Advertisement

Related Manuals for E-Z UP Vantage


Summary of Contents for E-Z UP Vantage
- Page 1 Toggle Leg Adjuster Lower middle leg until the toggle button locks. Repeat on the remaining legs. Note: It is recommended that you use genuine E-Z UP Deluxe Weight Bags and/or Heavy-Duty Stake Kits to secure your shelter. ® INTERNATIONAL E-Z UP, INC.
- Page 2 • Use caution when handling the E-Z UP folding frame. ® purchaser who provides a dated sales receipt, from an authorized seller, each part of the E-Z UP Instant ® • Avoid pinching hands or fingers as frame opens or closes.
Need help?
Do you have a question about the Vantage and is the answer not in the manual?
Questions and answers