
Related Manuals for Concept Seating 3120 SPLIT HIGH BACK


Summary of Contents for Concept Seating 3120 SPLIT HIGH BACK
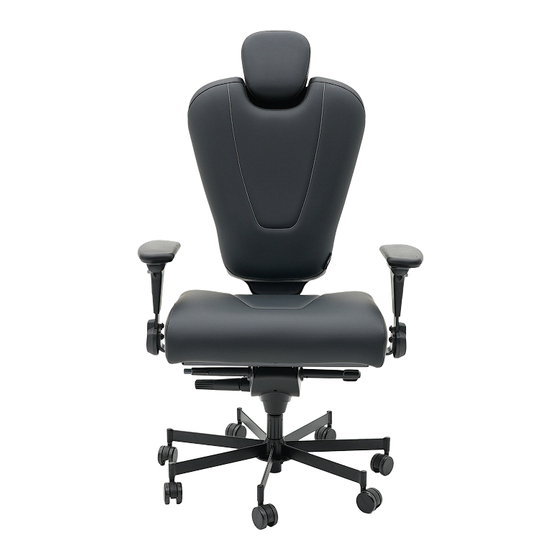
- Page 1 3120 & 3122 SPLIT HIGH BACK OWNER’S MANUAL TOOLS NEEDED: Two half-inch wrenches Note: A 13 mm wrench can also be used as an alternative.
-
Page 2: Parts List
PARTS LIST 7-Leg Base with Attached Gas Cylinder Seat Bottom (1) Casters (1) Clear Cylinder Grease THE BEST LUBRICANT FOR THE BEST CHAIRS 6.5cc Grease Packet (1) Handwheels (2) Seat Back (1) Bolts (4) Nuts (4) Washers (8) C-Loop OR Pivot Armrests (2) 3205 N 124th Street, Brookfield WI 53005 •... - Page 3 Assembly Instructions Assembling the Base Remove the plastic cap, if attached. 1. Open the base box, this is the smaller of the two boxes. Set the base on the floor. 2. Unwrap the cylinder from the plastic bag. Remove all packaging from the cylinder.
- Page 4 Assembly Instructions Assemble the Seat 1. Open the chair box. This is the larger of the two boxes and may require a team lift. Take the seat back out of the box and remove the plastic bag. Locate the small red bag attached to the cardboard supports and set it aside.
- Page 5 Assembly Instructions Assemble the Seat Cont. 5. Line up the four holes. Place one washer on the bolt head side and thread through the pre-machined hole. Then, place an additional washer and nut on the opposite side of the bolt head. 6.
- Page 6 Assembly Instructions Assemble the Seat Cont. 8. Next, slide the cylinder with attached base into the machined hole of the tilt mechanism. The cylinder fits into the tilt mechanism as a compression fit. No additional assembly is required. 9. Bring the chair upright. Attach the Armrest to the Chair 1.
- Page 7 Scan the QR code to visit our maintenance and cleaning directory. Here you’ll find video content and more tools on how to properly use and care for your new Concept Seating chair. For further assistance, please contact us at info@conceptseating.com.
-
Page 8: Adjustment Guide
Adjustment Guide Arm Height Button Arm Width Adjustment Handwheel Seat Lock Button Height Adjustment Paddle Seat Slider Paddle Tension Control Knob Height Adjustment Paddle Seat Slider Paddle Twist the paddle to adjust the height up or down. To Twist the paddle to adjust the seat bottom, forward move down, use your body weight to lower the chair. - Page 9 Adjustment Guide Headrest Pivot Arm Pad Arm Height Button Activate Pivot Arm via Knuckle Cover Lumbar Support Chair Back Adjustment Adjustment Lumbar Support Adjustment Pivot Arm Pad Press large button to inflate the lumbar support With your hand, move the arm pad forward or backward adjustment until you reach desired support.
-
Page 10: Cleaning Guide
Cleaning Guide ALWAYS PRETEST ANY CLEANING METHOD IN AN INCONSPICUOUS OR UNEXPOSED AREA. Consider purchasing a washable slipcover if sharing the chair with others. ALTERNATIVE LEATHER Basic maintenance is recommended at least once a week to extend the material’s lifespan: 1. - Page 11 Cleaning Guide STACCATO 1. Vacuum the chair. 2. Use an upholstery brush and spot treat to remove stains. 3. Fill a handheld steam cleaner with water and steam your fabric chair. You can use detergents with some steam cleaners; this will help remove strong odors. 4.
- Page 12 The warranty further covers: • The steel foot ring and 200mm cylinder on the Concept Seating 24/7 stool model is warranted for 2 years. This does not apply to the Two-Step Stool models, which are fully covered for 6 years.
Need help?
Do you have a question about the 3120 SPLIT HIGH BACK and is the answer not in the manual?
Questions and answers