Table of Contents
Advertisement
Quick Links
Advertisement
Table of Contents

Related Manuals for NEFF D9950NO


Summary of Contents for NEFF D9950NO
- Page 1 Gebrauchs- und Montageanleitung Operating and installation instructions Notice de montage et d’utilisation Gebruiks- en montageaanwijzing Istruzioni per l’uso e l’installatore Instrucciones de uso y montaje D9950 . . D9750 . . D7950 . .
- Page 2 Seite pagina 03 – 15 55 – 67 page página 16 – 28 68 – 80 page 81 – 94 29 – 41 pagina 42 – 54 Abb. 1 Abb. 1 ELEKTRO ELECTR. KAASU ELETT. GASS mind. mind.
-
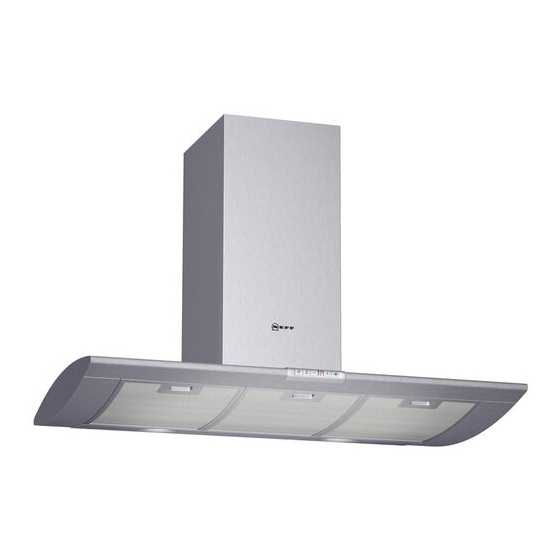
Page 3: Appliance Description
Light / fan If the air intake is inadequate, there is a switches risk of poisoning from combustion gases which are drawn back into the room. An air-intake/exhaust-air wall box by itself is no guarantee that the limiting value will not be exceeded. -
Page 4: Before Using For The First Time
Use carefully. They contain important you may find descriptions of individual information concerning your personal features that do not apply to your safety as well as on use and care of the specific appliance. appliance. This extractor hood complies with all Please retain the operating and relevant safety regulations. -
Page 5: Operating Procedure
Intensive setting: The most effective method of removing vapours produced during cooking is to: Maximum power is obtained at the intensive setting. It is only required for short Switch the ventilator ON intervals. as soon as you begin cooking. Keep pressing the + button until a ç... -
Page 6: Filters And Maintenance
Important: By cleaning the metal grease filters at appropriate intervals, the possibility of them catching fire as a result of a build-up of heat such as occurs when deep-fat frying or roasting is taking place, is reduced. Saturation indicator: When the grease filters reach saturation... - Page 7 1. Remove the metal filters. or roasting. 2. Press in the lug at the front and remove the activated carbon filter. Inserting the filter: Warning: The halogen bulbs must be switched off and cool.
-
Page 8: Cleaning And Care
1. Switch off the extractor hood and pull electricity supply by pulling out the out the mains plug or switch off the mains plug or switching it off at the fuse electricity supply at the fuse box. box. When switched on, the halogen bulbs At the same time as you clean the become very hot. -
Page 9: If You Encounter A Problem
Instructions). Disconnect the extractor hood from the mains electricity supply by pulling out the plug or switching it off at the main fuse box. Wait for approx. 1 minute and then switch it on again. If you have any questions or if a fault occurs, please call Customer Service. -
Page 10: Installation Instructions
Only one side of the extractor hood Please ask your dealer or inquire at your may be installed next to a high-sided unit local authority about current means of or high wall. Gap at least 50 mm. -
Page 11: Prior To Installation
flue that is interlocking, etc. currently used for other purposes, nor into a shaft that is used for ventilating rooms in If the air intake is inadequate, there is a which stoves or fireplaces are also located. - Page 12 Short, smooth air exhaust pipe. Mount the pipe directly onto the air As few bends in the pipe as possible. outlet on the hood. Diameter of pipe to be as large as possible and no tight bends in pipe.
-
Page 13: Electrical Connection
When this ã hold circuit. A suitable separator is a switch has taken place, release the buttons. that has a contact gap of more than 3 mm and interrupts all poles. Such devices goes out shortly afterwards. ã... -
Page 14: Installation
4. Drill 4 x l 8 mm holes for the extractor hood and 2 x l 8 mm holes for the chimney panelling. Insert plugs into the holes so that they are flush with the wall. - Page 15 Installation 07. Screw in the two lower hexagon head Protect the cover panels from cap screws. scratches, for example by laying the template used for marking the wall over the top edge of the lower section. 13. Slide out the upper section and attach it to the mounting brackets at the sides with two screws.
Need help?
Do you have a question about the D9950NO and is the answer not in the manual?
Questions and answers