
Subscribe to Our Youtube Channel
Related Manuals for HANCHU ESS CESS-HY-25K


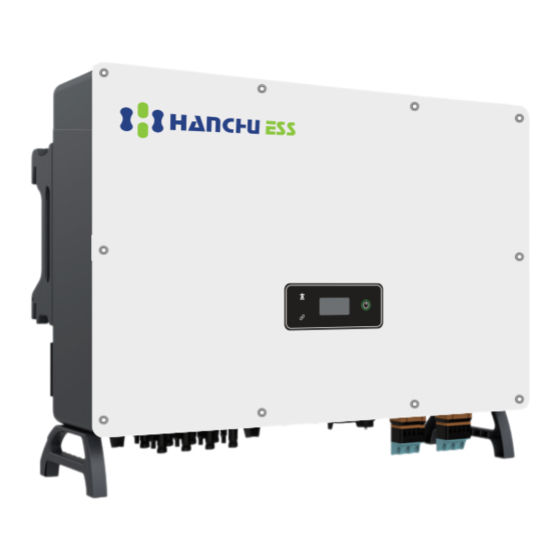
Summary of Contents for HANCHU ESS CESS-HY-25K
- Page 1 H Y B R I D I N V E R T E R C E S S - H Y- 2 5 / 3 0 / 3 6 / 4 0 / 5 0 K C E S S - H Y- 4 0 / 5 0 K- P Quick Installation Guide ENGLISH VERSION...
-
Page 2: Installation Location
1 Installation 1 Installation Check Packing List Check Packing List Bolt assembly (4pcs) Inverter bracket (1pcs) M6 screws (2pcs) PV terminal AC connector set (3 pcs) CESS-HY-25~50K 8 pairs / CESS-HY-40~50K-P 6 pairs Inverter 1pcs Battery terminal (1 pairs) Meter with 3 CTs 1pcs COM2 connector set (1pcs) COM3 connector set (1pcs) Quick... -
Page 3: Mounting Inverter
Mark the Position and Drill Holes Fix Wall Bracket Mounting Inverter Grounding Terminal Connection 2 Electrical Connection Cable Requirements Cable requirements Cable types Outside diameter Conductor core section 10.0-25.0mm² (Flexible cable) AC cable 20.0-30.0 mm 10.0-35.0mm² (Hard cable) PV cable 5.9-8.8 mm 4.0 mm²... -
Page 4: Electrical Wiring Diagram
Electrical Wiring Diagram AC Breaker AC Breaker AC Breaker AC Breaker *Smart Meter consists of ACR10R and SM. Define the cable connections for the meter based on the actual meter model and refer to Meter Terminals Definition. This cable diagram is for reference only. - Page 5 AC Connection Meter and CT Connection 15mm UTILITY GRID 002456 UTILITY METER FOR BILLING PURPOSES To Smart Meter S1(Red) CT-3 CT-2 CT-1 95-100mm The direction of the arrow is consistent with the direction of the arrow inside the CT. ① ②...
-
Page 6: Communication Connection
Meter Terminals Definition Function ACR10R L1/L2/L3/N connect to grid to detect power grid voltage L1-S1 L1-S2 L2-S1 L2-S2 To detect the CT current and direction L3-S1 L3-S2 Ground connection Power supplied from grid RS485 RS485 RS485-2 Type-C Type-C Communication Connection ①... - Page 7 Function Function RS 485 Communicate with Meter METER(RJ45-1) Communicate with BMS BMS(RJ45-1) DO-1 (Multifunction Relay) NO (Normally Open) Reserved DRM4/8 DRM3/7 DRM2/6 Terminating resistor for Terminating resistor for DRED For Australia and New Zealand CAN(Parallel) RS485(EMS) DRM1/5 RCR For Germany and some other European countries COM D/0 REF D/0 Reserved...
- Page 8 Connect Other Cables Wire Diameter 4-6.5mm Cross-sectional Area 0.5~1.5mm 55mm COM2 Wire Diameter 3.5~6mm Cross-sectional Area 0.5~1.5mm 55mm COM3 Installing the COM Connector ① 2.5+/-0.1N・m ③ Click COM2 ② Clic COM3...
- Page 9 PV String Connection PV Max. Input voltage is 850V , otherwise inverter will be waiting. Power Cable of the Battery Connection Cable gland Grommet End cap...
- Page 10 Monitoring Device Installation WiFi Router hone Sealing Ring Plastic NUT RJ45 Plug Figure 2-1...
- Page 11 Figure 2-2 NOTE Press...
-
Page 12: Inspection Before Commissioning
3 Commissioning Inspection Before Commissioning Check the following items before starting the inverter: ① All equipment has been reliably installed. ② DC switch(es) and AC circuit breaker are in the "OFF" position. ③ The ground cable is properly and reliably connected. ④... -
Page 13: App Guide
4 APP Guide App Download You can scan the QR code or visit the website to download the HanchuEss App: https://iess.hanchuess.com. You can also download the HanchuEss App from the App Android APP IOS APP store or Google play. Device binding ①. - Page 14 ② . Bind devices You can jump to the relevant section referring to what you want to do: •Now you have a station, but need to setting the network for devices or add new devices to your station? - Please tap the "Add Device" button , as shown in Fig. 4. Then you can directly turn to b.Network configuration.
- Page 15 Confirm Fig. 7 Fig. 8 Fig. 9 d. Binding completed After the devices are connected to the network and bound successfully, you will see the page shown in Fig. 9. Please tap "Next ". e. Choose the inverter: Choose one inverter to Setting. f.
- Page 16 ! Tips: •If you want to set more inverter configuration items, please contact your installer. •If you want to set up the inverter remotely, enter the "Home" page, select the device you want to control, and click "Control" to operate the device remotely. As the following fig. 11 Congratulations! You have done the basic setting.
-
Page 17: Monitoring Device
Monitoring Device Indicator Status Description Connection abnormal The monitoring device is normal working. Always On Slow flashing The monitoring device is not connected to the router. Quick flashing The monitoring device is connected to the router but not connected to the server. Button Description Press 1 second... - Page 18 www.hanchuess.com www.hanchuess.com...
Need help?
Do you have a question about the CESS-HY-25K and is the answer not in the manual?
Questions and answers