Advertisement
Advertisement
Table of Contents

Subscribe to Our Youtube Channel
Related Manuals for HANCHU ESS HOME-ESS-HV-2.7K


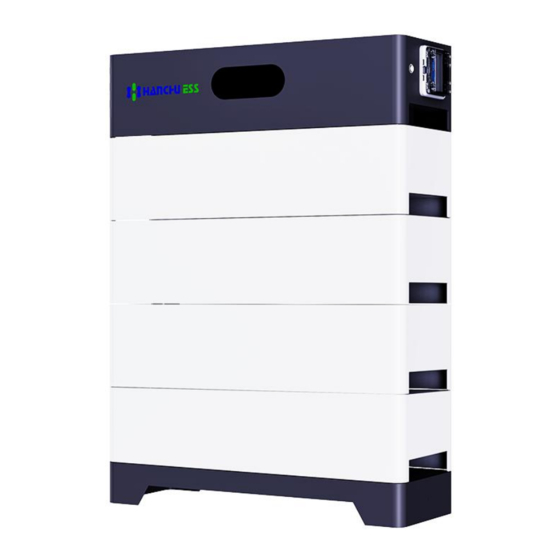
Summary of Contents for HANCHU ESS HOME-ESS-HV-2.7K
-
Page 2: Installation Precautions
1.Installation Precautions The definition of each interface must be clear during the installation process, Schematic diagram of battery interface: Please follow the equipment installation steps process to ensure the Flow chart of installation steps: otherwise the wrong connection will lead to installation failure or even damage to equipment can be successfully installed. -
Page 3: Check The Packing List
2.Check the packing list Please refer to the packing items shown below, please check the packing list carefully, if any items are missing, please contact your dealer directly. Battery energy Distribution Unit: Battery energy Distribution Unit Anti tipping bracket 1 Anti tipping bracket 2 Installation base (BDU) -
Page 4: Tool Preparation
3.Tool preparation Step 1 : Protective equipment products must be worn and maintained during the installation process. Safety gloves Safety glasses Safety shoes Step 2 : Installation Tools: tools needed in the process of installing equipment, more effective to improve installation efficiency. Phillips screw driver Level Hammer... - Page 5 Floor installation: Locating drill holes in the wall using the bracket Fit the expansion tubes into the holes, pull Place the base along the wall and the base Step 1: Locate drill holes in the wall Step 2: Fix the anti tipping bracket 2 Step 3: Place the base 2(the longer) as a template with a level, position them tight, and then use the expansion...
- Page 6 There are threaded holes on the back of the BDU. Using the Using the M4x10 screws to lock the bracket from both side of the BDU, and all the Step 4: Install the anti tipping bracket 1 Step 6: Fix the battery module M4x10 screws to install the anti tipping bracket 1 (the shorter) connectors on the right side between the BDU, module and base.
- Page 7 5.Power cable connection and communication connection Before connecting cables, make sure the battery and inverter are entirely switched off. Make sure all breaker switches are fully switched off. Installation Preparation: Before connecting the power cables, using multi meter to measure cable continuity, short circuit, confirm positive and negative. Customer needs to prepare the area of the grounding cable shall be at least 6mm , use a ground screw and terminal to connect the ground cable, and ground the Step 1 :Connect the battery ground cable :...
- Page 8 The battery default factory CAN communication is Hanchu ESS protocol. Step 2 : Inverter Protocol Selection: Protocol selection: 1) Check which protocols are supported by the inverter.
Need help?
Do you have a question about the HOME-ESS-HV-2.7K and is the answer not in the manual?
Questions and answers
Why is the display display staying on always?