Advertisement
Quick Links
Installation Instructions
and User Guide
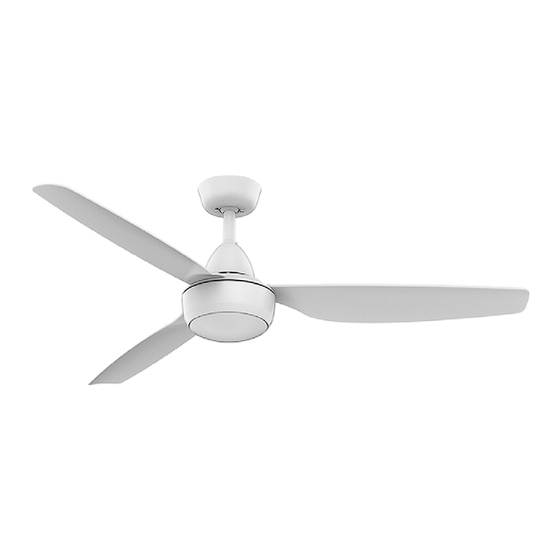
Model: 42223 Winglide 132cm, 52" AC Ceiling Fan with LED
Whilst every effort is made to provide current information at the time this Installation Instructions and User Guide
was produced, continuing product improvements mean the enclosed specifications, images and literature may
differ from what is actually available.
www.ixlappliances.com.au
www.ixlappliances.co.nz
Advertisement

Related Manuals for IXL Aeroflow 42223


Summary of Contents for IXL Aeroflow 42223
- Page 1 Installation Instructions and User Guide Model: 42223 Winglide 132cm, 52” AC Ceiling Fan with LED Whilst every effort is made to provide current information at the time this Installation Instructions and User Guide was produced, continuing product improvements mean the enclosed specifications, images and literature may differ from what is actually available.
-
Page 2: Table Of Contents
Welcome Aeroflow Introduction Thank you for buying this IXL Aeroflow Winglide 52” AC Ceiling Fan with LED. Please read this user guide before using this one: 42223 Aeroflow Winglide 52” AC • You and your family, property and home will be safe from harm. - Page 3 Failure to comply with these precautions violates safety standards of design, chosen a IXL Fan for your home. Please manufacture and intended use of the product. IXL Home assumes no liability for read all instructions carefully before customer’s failure to comply with these requirements.
-
Page 4: Safety Precautions
Take care not to bend or damage the motor Drive Shaft or Fan Blades when handling or installing them. If such defect is noticed, please contact IXL Customer Care before installation of the ceiling fan. -
Page 5: Included With Your Fan
Open the original carton and verify the below items were supplied in packaging. If there are any miss- before commencing any installation work. ing or mechanically damaged items, contact the IXL Customer Care. Do not throw away the carton or •... - Page 6 . Rotate the light kit until both screws from the switch housing drop into slot recesses. Install the screw previously removed and tighten it to secure the light kit. Australia - P. 1300 727 421 E. service@ixl.com.au New Zealand - P. 0800 727 421 E. service@ixlhome.co.nz...
-
Page 7: Wiring Diagram
This also allows you to set your heating unit on a lower setting without affecting your comfort. Australia - P. 1300 727 421 E. service@ixl.com.au New Zealand - P. 0800 727 421 E. service@ixlhome.co.nz... -
Page 8: Troubleshooting
(one at a time) then shift the blade to proper position and re-tighten screws. PLEASE RECYCLE ALL PACKAGING MATERIAL SUPPLIED WITH THIS PRODUCT Australia - P. 1300 727 421 E. service@ixl.com.au New Zealand - P. 0800 727 421 E. service@ixlhome.co.nz... -
Page 9: Warranty
To the fullest extent permitted by law and subject always to Point 1, IXL Home will not be liable for: a. any loss or damage arising from loss of use, loss of profits or revenue; or b. -
Page 10: Notes
Aeroflow Aeroflow Item Notes Australia - P. 1300 727 421 E. service@ixl.com.au New Zealand - P. 0800 727 421 E. service@ixlhome.co.nz... - Page 11 Aeroflow Item 20 20 Australia - P. 1300 727 421 E. service@ixl.com.au New Zealand - P. 0800 727 421 E. service@ixlhome.co.nz...
Need help?
Do you have a question about the Aeroflow 42223 and is the answer not in the manual?
Questions and answers