
Related Manuals for CPG 351ICOEB


Summary of Contents for CPG 351ICOEB
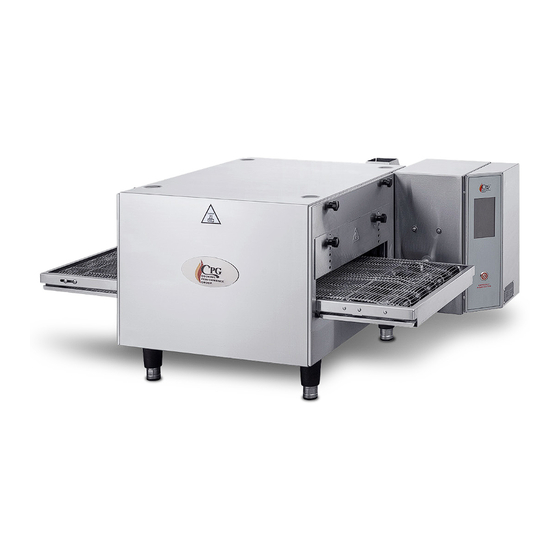
- Page 1 User Manual User Manual Countertop Impingement Conveyor Ovens 351ICOEB, 351ICOED 351ICOE50D, 351ICOE50B, 351ICOE32D, 351ICOE32B REVISED 10/2023 www.cookingperformancegroup.com...
-
Page 2: Table Of Contents
User Manual Congratulations on your purchase of Cooking Performance Group commercial cooking equipment! At Cooking Performance Group, we take pride in the design, innovation, and quality of our products. To ensure optimal performance, we have outlined the following instructions and guidelines in this manual carefully for your review. -
Page 3: Safety Precautions
Improper installation, adjustment, alteration, service, or maintenance could lead to property damage, injury, or death . Read the installation, operating, and maintenance instructions thoroughly before installing or servicing CPG equipment . This manual must be retained for future reference . ELECTRICAL WARNING: Equipment lines must be reliably grounded, and equipotential terminals of equipment are recommended to be connected. -
Page 4: Specifications
Plug Type Hardwired or NEMA 6-50P Hardwired or NEMA 6-50P For items 351ICOE32B & 351ICOE50B reference column 351ICOEB . For items 351ICOE32D & 351ICOE50D reference column 351ICOED . NOTE: If there are other pieces of cooking equipment on either side of the oven, there should be at least 24"... -
Page 5: Installation Instructions
User Manual User Manual Installation Instructions Note: Installation must be performed by a licensed service technician . 1 . When installing a non-ventless model (see specification table on page 4 for non-ventless models), choose a location under a ventilation hood . Ensure there is adequate clearance left on all sides of the unit (see specification table for minimum operational clearances). -
Page 6: Electrical Diagram
User Manual Electrical Diagrams 1 Phase: www.cookingperformancegroup.com... - Page 7 User Manual User Manual Electrical Diagrams 1-Phase to 3-Phase Field Conversion Diagram: Terminal Block Wiring Change Heating Element Wiring Change Step 1: Locate the incoming power terminal block inside the Remove the back panel of the oven and gain access to the control box .
-
Page 8: Oven Stacking Instructions
User Manual Oven Stacking Instructions NOTE: Requires two like ovens . NOTE: Stacking should be performed by an authorized technician . Figure 1 Use a wrench to remove the 4 feet off the upper device, and use a screwdriver to remove the botttom plate on the flue. -
Page 9: Operating Instructions
User Manual User Manual Operating Instructions Controller Location and Function WARNING: When the oven is operating normally, do not turn off the unit using the emergency power switch without progressing through the Computer Board standard cool down process . Doing this could potentially overheat components, causing internal damage to the unit . - Page 10 User Manual Shut Down To shut down the oven, long press "Shut Down" for 3 seconds then shut down the unit . If the temperature is higher than 195 degrees Fahrenheit, it will automatically enter cool down mode and shut down once the cool down has been completed . WARNING: During the automatic cool down process, do not turn off using the emergency power switch .
- Page 11 User Manual User Manual New Menu Setting 1 . On the menu list interface, click the "New Recipe" button to enter the new recipe interface shown below . 2 . Select the picture, set the recipe name, and set the cooking time and temperature .
-
Page 12: Cleaning And Maintenance
User Manual Cleaning & Maintenance WARNING: Use only non‐abrasive cleaners. Abrasive cleaners could scratch the finish of your unit, marring its appearance and making it susceptible to dirt accumulation . Do not use steel wool, other abrasive cleaners, or cleaners/sanitizers containing chlorine, iodine, ammonia, or bromine chemicals, as these will deteriorate the stainless steel and glass material and shorten the life of the unit .
Need help?
Do you have a question about the 351ICOEB and is the answer not in the manual?
Questions and answers