Advertisement
Quick Links
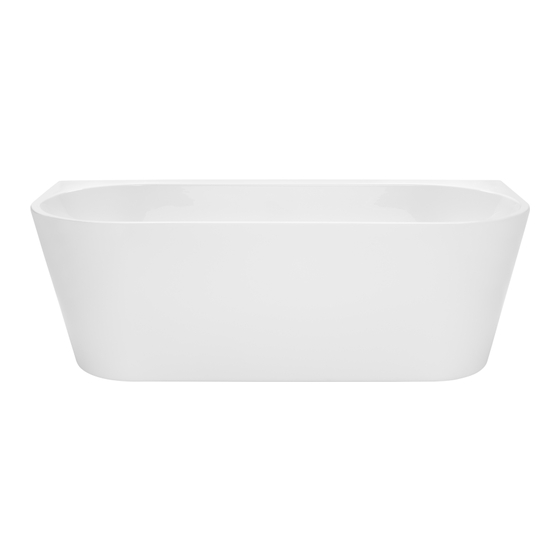
A L E G R A B A C K - T O - W A L L F R E E S T A N D I N G B A T H
This manual provides the correct steps and care advice for a safe and long lasting installation.
Manufactured from premium sanitary grade acrylic, the Alegra freestanding back-to-wall bath is easy to install with
adjustable self-supporting feet. The unique design of the Alegra allows it to sit flush up against a bathroom wall with no integration
THIS PRODUCT MUST BE INSTALLED BY A QUALIFIED TRADESMAN
READ CAREFULLY
PRIOR TO COMMENCING
INSTALLATION
1 | DECINA INSTALLATION MANUAL
I N S T A L L A T I O N & O W N E R G U I D E
Thank you for purchasing a Decina Alegra Freestanding Bath.
required, which saves bathroom space and makes cleaning easier.
AG1500WAU 1500(L) x 800(W) x 590(H) mm
AG1700WAU 1700(L) x 800(W) x 590(H) mm
PRE-INSTALLATION CHECKS
Unpack & check the item is correct & no damage has occurred during transit.
!
If there are any visible defects DO NOT PROCEED WITH THE INSTALLATION &
!
please contact the place of purchase immediately. ANY CLAIMS FOR DAMAGE
WILL NOT BE ACCEPTED AFTER INSTALLATION.
Protect your bath before & during installation, scratches &/or cracks &/or surface
!
damage sustained during or after the installation are not covered by warranty.
Installation must be in accordance with building regulations & local authority
!
requirements.
Advertisement

Related Manuals for decina ALEGRA AG1500WAU


Summary of Contents for decina ALEGRA AG1500WAU
- Page 1 I N S T A L L A T I O N & O W N E R G U I D E Thank you for purchasing a Decina Alegra Freestanding Bath. This manual provides the correct steps and care advice for a safe and long lasting installation.
- Page 2 Ensure the bath is level so all water can drain to the waste outlet. Finished wall/tiled surface STEP 3. Mark the desired position of the bath on the floor and the outline on the wall. Mark the floor and outline of the bath 2 | DECINA INSTALLATION MANUAL...
- Page 3 Carefully tilt the bath on its side and connect it to the drain outlet. Option 1 Option 1 Use a straight through connection Option 2 Use a Decina Pop down Flexible Drain Connector WA001 / WA002 / WA003 - 40mm Removable pop-up waste Min.
- Page 4 *Warranty T&Cs apply. All dimensions are nominal & subject to manufacturing tolerances & may vary +/-5mm therefore we strongly recommend installation does not occur until after delivery. Decina reserves the right to modify or change models without notice. Please confirm all particulars with your sales consultant prior to purchase. For further information and for warranty T&C’s, please visit decina.com.au...
Need help?
Do you have a question about the ALEGRA AG1500WAU and is the answer not in the manual?
Questions and answers