AudioCodes RXV81 Quick Start Manual
Usb peripheral
Hide thumbs
Also See for RXV81:
- User manual (102 pages) ,
- User's and administrator's manual (78 pages) ,
- Deployment manual (10 pages)
Advertisement
Quick Links
AudioCodes RXV81 USB Peripheral
1. Introduction
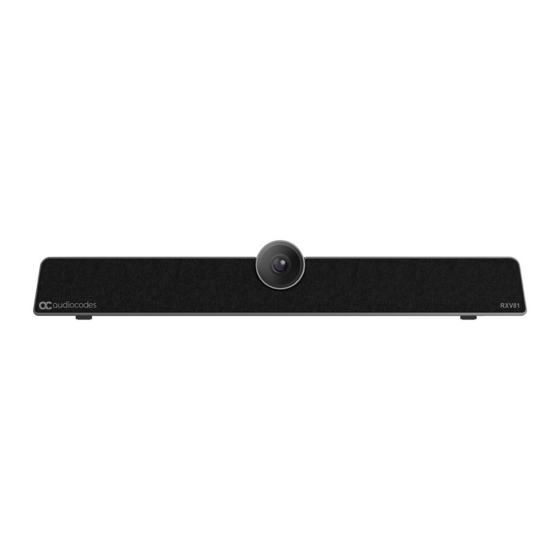
Thank you for purchasing AudioCodes' RXV81 USB Peripheral (shown below). RXV81 comes bundled with
RX-PAD Meeting Room Controller or Remote Controller Unit (RCU).
RXV81 offers an integrated camera with an adjustable lens angle for optimal viewing, six beamforming
microphone arrays that provide a pickup range of 14.7 feet (4.5 meters), and a robust 10W speaker.
2. Package Contents
Make sure you've received the following items in the shipped box:
RXV81 USB Peripheral
Power Adapter
USB Type-C cable
Wall mount and screws
HDMI Cable
Controller:
o
RC-RXV Remote Control Unit and batteries (bundled in the RXV81P bundle)
o
RX-PAD Meeting Room Controller (bundled in the RXV81P-B10 bundle)
3. Positioning
You can wall mount RXV81 or place
it on top of the TV display (not
supplied but can be ordered
separately). Designed for small-to-
mid-size rooms, it's recommended
to position RXV81 below the TV
display and approximately 4 inches
(10 cm) above the table.
You can adjust the camera's wide-angle horizontal field of view, which spans 110 degrees,
allowing for precise fine-tuning of its vertical position as well.
Quick Guide
Advertisement

Related Manuals for AudioCodes RXV81


Summary of Contents for AudioCodes RXV81
- Page 1 RX-PAD Meeting Room Controller or Remote Controller Unit (RCU). RXV81 offers an integrated camera with an adjustable lens angle for optimal viewing, six beamforming microphone arrays that provide a pickup range of 14.7 feet (4.5 meters), and a robust 10W speaker.
- Page 2 4. Mounting RXV81 The following procedure describes how to mount RXV81 on a wall or on top of the TV display. Wall-mounting RXV81: For optimal placement, it's recommended to mount the RXV81 on the wall. Attach wall-mounting bracket to the bottom of RXV81, using the D-Ring Hinged screw (supplied).
- Page 3 To avoid accidents, if you need to move the TV display, always remove RXV81 first to prevent it from falling off the TV display. In addition, refrain from pushing RXV81 from the back to the front as it may dislodge. Make sure precautions are taken to maintain safety.
- Page 4 Use the figure below as reference: 6. Connecting RCU to RXV81 [Applies to bundle RXV81P with RCU] Here’s how to connect the RCU with RXV81. To connect the RCU to RXV81: After cabling, remove the RCU from its packaging and insert the batteries supplied into it.
- Page 5 Wait until the RC + RXV81 connection is established successfully. P a g e...
- Page 6 8. Connecting RX-PAD to RXV81 [Applies to bundle RXV81P-B10 with RX-PAD] Use the figure below as reference. Make sure RX-PAD and RXV81 are connected to the same network. For Wi-Fi connectivity, make sure RX-PAD is powered by the supplied AC/DC power adaptor.
- Page 7 / off, control camera ePTZ, etc. Alternatively, a UC client can be used for these functionalities. 10. Viewing Status on RXV81 LEDs on the RXV81 front panel indicate camera status, general status and call status. RXV81 LED 1...
-
Page 8: Notice Information
Website: https://www.audiocodes.com/ ©2024 AudioCodes Ltd. All rights reserved. AudioCodes, AC, HD VoIP, HD VoIP Sounds Better, IPmedia, Mediant, MediaPack, What’s Inside Matters, OSN, SmartTAP, User Management Pack, VMAS, VoIPerfect, VoIPerfectHD, Your Gateway To VoIP, 3GX, VocaNom, AudioCodes One Voice, AudioCodes Meeting Insights and AudioCodes Room Experience are trademarks or registered trademarks of AudioCodes Limited.
Need help?
Do you have a question about the RXV81 and is the answer not in the manual?
Questions and answers