Advertisement
Technical Support and E-Warranty Certificate
www.vevor.com/support
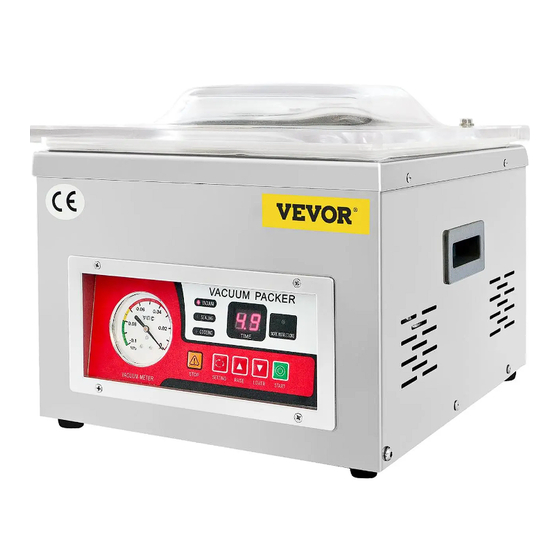
VACUUM PACKING MACHINE
USER MANUAL
Model: DZ-260A-V1, DZ-260A-V2,DZ-260A-V3,
DZ-260S-V1, DZ-260S-V2, DZ-260S-V3
We continue to be committed to provide you tools with competitive price.
"Save Half", "Half Price" or any other similar expressions used by us only represents an
estimate of savings you might benefit from buying certain tools with us compared to the major
top brands and does not necessarily mean to cover all categories of tools offered by us. You
are kindly reminded to verify carefully when you are placing an order with us if you are
actually saving half in comparison with the top major brands.
Advertisement
Table of Contents

Related Manuals for VEVOR DZ-260A-V1


Summary of Contents for VEVOR DZ-260A-V1
- Page 1 Technical Support and E-Warranty Certificate www.vevor.com/support VACUUM PACKING MACHINE USER MANUAL Model: DZ-260A-V1, DZ-260A-V2,DZ-260A-V3, DZ-260S-V1, DZ-260S-V2, DZ-260S-V3 We continue to be committed to provide you tools with competitive price. "Save Half", "Half Price" or any other similar expressions used by us only represents an estimate of savings you might benefit from buying certain tools with us compared to the major top brands and does not necessarily mean to cover all categories of tools offered by us.
- Page 2 This is the original instruction, please read all manual instructions carefully before operating. VEVOR reserves a clear interpretation of our user manual. The appearance of the product shall be subject to the product you received. Please forgive us that we won't inform you again if there are any technology or software updates on our product.
-
Page 3: General Safety Rules
1. Read carefully and understand all ASSEMBLY AND OPERATION INSTRUCTIONS before operating. 2. Failure to follow the safety rules and other basic safety precautions may result in serious personal injury. GENERAL SAFETY RULES Please read the entire operating instructions before using the products for the first time;... - Page 4 Dropping,falling,pressure or tensile forces could destroy or at least limit the function of the product. Never position the device in the vicinity of combustible or easily inflammable materials. Always make sure that the rotary table on which the object is placed is located in the center of the housing! This machine uses plastic film or plastic aluminum film as materials to vacuum package paste foods, fruits, sauce vegetables, chemicals,...
- Page 5 MODEL AND PARAMETERS DZ-260 DZ-260 DZ-260 DZ-260 DZ-260 DZ-260S Model A-V1 A-V2 A-V3 S-V1 S-V2 Seal 260mm 260mm 260mm 260mm 260mm 260mm Length Chamber Dimension 330×270×50mm 330×270×50mm Vacuum Pump Type Pump Pump Pump Pump Pump Pump Pumping Speed of 6.5m³/h 6.5m³/h 6.5m³/h 4.2m³/h...
-
Page 6: Structure Diagram
STRUCTURE DIAGRAM Vacuum cover 10 Power plug Silicone strip 11 Circuit board Vacuum pump solenoid Vacuum sealing bar valve Base plate 13 Heating transformer Bag pressing rod 14 Rear cover screw hole Sealing heating strip 15 Vacuum pump Indicator 16 Oil injection port Vacuum gauge 17 Oil level observation window Power switch... -
Page 7: Parts List
PARTS LIST Model DZ-260 DZ-260 DZ-260 DZ-260 DZ-260 DZ-260 A-V1 A-V2 A-V3 S-V1 S-V2 S-V3 Parts Heating Wire ×1 ×1 ×1 ×1 ×1 ×1 Teflon Cloth ×1 ×1 ×1 ×1 ×1 ×1 Filler Board ×1 ×1 ×1 ×1 ×1 ×1 Vacuum ×1 ×1... - Page 8 OPERATING INSTRUCTIONS ①:Unscrew back cover screw and lift back cover; ②:Take out the oil mist filter; ③:Add vacuum pump oil; ④:Oil level between 1/2-3/4 of the observation hole(do not fill); ⑤:After adding the oil,screw back the oil mist filter, close the back cover. It is strictly prohibited to start the vacuum pump without oil.
- Page 9 Step 5: ⑧COOLING:After setting the sealing time, click the ②SETTING button again to set the cooling time, usually 3-5 seconds. After setting the cooling time, click the ②SETTING button and the control panel will display the letter ED , indicating the end of the setting process. 3.When the machine needs to change oil or is not used for a long time, loosen the screw under the oil window and drain the vacuum pump oil.
-
Page 10: Maintenance
CIRCUIT DIAGRAM MAINTENANCE 1. After using , the surface of the machine should be cleaned and residual materials inside the machine should be removed. 2. When storing, keep in a clean, dry, and safe location away from children. 3. All maintenance, service, and repairs not discussed in the manual should only be performed by qualified service technicians. - Page 11 1. Remove the screws on both 2. Remove the upper screws . sides of the tray, and then pick up the whole tray. 3. Remove the old 4.Apply new high temperature cloth. high-temperature cloth. 5.Reinstall the original screws 6.Completing the Installation. - 10 -...
- Page 12 Replace the Chamber Sealing Strip 1. Remove the Chamber Sealing 2.Replace the Chamber Sealing Strip. Strip with a new one 3.Completing the Installation - 11 -...
- Page 13 lf the fuse is damaged, replace it as shown 1.Find the power outlet on the back 2.Take out slot 3.The fuse is in the groove of the 4. Take out a fuse card slot - 12 -...
-
Page 14: Troubleshooting And Solutions
TROUBLESHOOTING AND SOLUTIONS Problem Possible Cause Solution The machine doesn't 1.No connection of the 1.Check whether the work and the control power supply. plug and socket are panel shows nothing. 2.The contact of the effectively connected. power switch looses. 2.Check whether the wiring of the power input part inside the machine is loose or detached. -
Page 15: Correct Disposal
CORRECT DISPOSAL This product is subject to the provision of European Directive 2012/19/EC. The symbol showing a wheelie bin crossed through indicates that the product requires separate refuse collection in the European Union. This applies to the product and all accessories marked with this symbol. - Page 16 Technical Support and E-Warranty Certificate www.vevor.com/support...
Need help?
Do you have a question about the DZ-260A-V1 and is the answer not in the manual?
Questions and answers