Advertisement
Intended Use
This dispenser is intended to be used in household and similar applications such as:
- Staff kitchen areas, offices and other working environments
- Farm houses
- Hotels, motels and other residential-type environments
- Bed-and-breakfast environments
- Catering and similar non-retail applications
This appliance is not intended for use by persons (including children) with reduced physical, sensory or mental capabilities, or lack of experience and knowledge, unless they have been given supervision or instruction concerning use of the appliance by a person responsible for their safety.
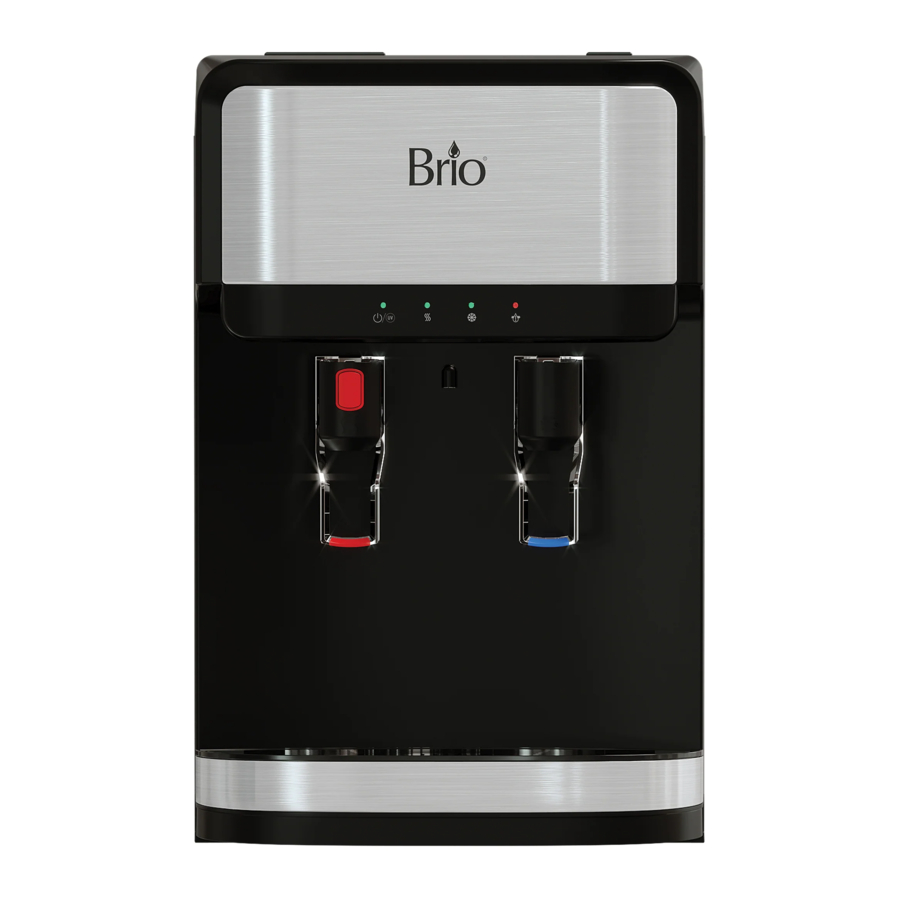
Product Features

| Part | Description |
| 1 | Indicator panel |
| 2 | Cold water tap |
| 3 | Hot water tap with child safety lock |
| 4 | Drip tray |
| 5 | Filter reset switch |
| 6 | Cold water switch |
| 7 | Hot water switch |
| 8 | Sediment filter |
| 9 | Pre carbon filter |
| 10 | Carbon block filter |
| 11 | Water inlet |
| 12 | Drain outlet |
| 13 | Condenser |
| 14 | Night light |
Indicator Panel Description

- Power/self-cleaning UV indicator light – When illuminated, indicates the dispenser is on. When blinking, indicates the self-cleaning UV process is on.
- Hot water indicator light – When illuminated, indicates that the dispenser is heating water.
- Cold water indicator light – When illuminated, indicates that the dispenser is cooling water.
- Filter indicator light - When blinking indicates filters need to be replaced.
Product Dimensions
| Height | Width | Depth |
| 49.0 cm (19.3 in.) | 31.7 cm (12.5 in.) | 46.5 cm (18.3 in.) |
Operational Specifications

This unit dispenses water at temperatures that can cause severe burns. Avoid direct contact with hot water. Keep children and pets away from unit while dispensing. Never allow children to dispense hot water without proper and direct supervision. Unplug unit to prevent unsupervised use by children.
| Temperature | Tank Capacity | Flow Rate | |
| Dispensing Cold Water | 37°F-50°F / 3°C-10°C | 3.6 L | 1.2L/min |
| Dispensing Hot Water | 176°F–198°F / 80°C–92°C | 1 L | 1.2L/min |
Package Contents

| Part | Description | Quantity |
| A | Filter connecting tube | 2 |
| B | Shut off valve tube (7 ft.) | 1 |
| C | Elbow joint tube | 1 |
| D | Filter flushing tube (4 ft.) | 1 |
| E | Feed water adapter (with extra nut) | 1 |
| F | Filter housing | 3 |
| G | Filter (sediment, pre carbon, carbon block) | 3 |
| H | Mounting bracket | 3 |
| I | Filter clip | 10 |
| J | Grounding bracket | 1 |
| K | Plumber's tape | 1 |
| L | Pressure-reducing valve | 1 |
| M | Tubing cutter | 1 |
Materials Needed

Installation
Determine Installation Location
- Place the dispenser upright.
- Locate the dispenser on a hard and level surface in a cool shaded location near a grounded wall outlet.
NOTICE: Do NOT plug in the power cord until the entire installation section is completed. - Position the back of the dispenser no closer than 20 cm (8 in.) from a wall and permit free airflow between the wall and water dispenser.
![]()

Install the Device

To avoid a hazard due to instability of the appliance, it must be secured in place in accordance with the instructions.
- Loosen and remove the screw on the bottom left or right of the dispenser.

- Use this screw to attach the grounding bracket (J) on the left or right bottom corner of the water dispenser.

- Make a hole on the surface where the water dispenser will be installed.
- Attach the grounding bracket (J) on the surface by screwing tightly.


Install the Filters and Tubing
- Click the three black mounting brackets (H) onto the top of the condenser.
![]()
- Attach one filter housing (F) to the top of a mounting bracket (H).
![]()
- Connect the filter connecting tube (A) to the filter housing (F).
![]()
- Slide the next filter housing (F) onto the middle mounting bracket (H) and connect the other end of the filter connecting tube (A).
![]()
- Repeat for the third filter housing.
- Connect the shut off valve with tube (B) to the left filter housing (F).
![]()
- Connect the filters (G) into the filter housings (F). The sediment filter goes on the left, the pre carbon filter in the middle, and the carbon block filter on the right.
![]()
- Add filter clips (I) to each connection where indicated.


Connect to the Cold Water Supply

DO NOT CONNECT THIS WATER LINE TO A HOT WATER SUPPLY LINE. The water supply to the unit MUST be from the COLD WATER LINE. Using HOT WATER will severely damage your filters.
- Turn off and then disconnect the current cold water supply line.
- Connect the feed water adapter (E) to the cold water supply line.
![]()
- Connect the cold water supply line on top of the feed water adapter (E).
NOTE: An extra adapter nut is included on top of the feed water adapter (E) to attach to a 3/8 in. or 1/2 in. feed plumbing line. - Cut the shut off valve with tube (B) where indicated using the tubing cutter (M).
- Connect the two cut ends of the tubing straight into each end of the pressure-reducing valve (L). Ensure that the arrow will be pointing towards the flow of water into the dispenser when the shut off valve with tube (B) is connected in the next steps.

- Insert the shut off valve with tube (B) straight into the quick connector piece of the feed water adapter (E).

- Gently tug on the tube (B) to ensure a secure connection with the feed water adapter (E).
![]()


Flush the Filters and Complete the Installation

Follow this procedure every time you replace your filters.
Ensure the water supply is off before you begin.
- Connect the red filter flushing tube (D) to the right filter housing (F).
![]()
- Lay the open end of the filter flushing tube (D) over a sink or receptacle to collect water.
- Turn the water supply on at the main source and the shut off valve with tube (B). Allow the water to flow out of the filter flushing tube (D) and into the sink/receptacle.
- Flush the filters for a minimum of 5 minutes. The recommended rate is 1.5-3 gallons of water (about 10 minutes) or until the water is clear in appearance.
- Shut off the valve at the water source.
- Remove the red filter flushing tube (D). Connect the blue elbow joint tube (C) to the right filter housing (F) and to the water inlet hole on the back of the dispenser.
![]()
- Place filter clips (I) at the two connecting ends of the elbow joint tube (C).
![]()
- Turn on the main water supply.


Operation
This unit has been tested and sanitized prior to packing and shipping. During transit, dust and odors can accumulate in the tank and lines. Dispense and dispose at least one quart of water prior to drinking any water.
Turn the Device On/Off
Before you activate the hot and cold switches, ensure water has filled the tanks inside the dispenser in order to prevent dry heating.
- Plug in the dispenser.
- Run water through the cold and hot water taps until water begins to dispense.
- To power on the cooling system, flip the cooling switch to the On position.
- To power on the heating system, flip the heating switch to the On position.
Dispense Cold Water
NOTE: Water will take approximately 1 hour after plugging in and turning on to become completely chilled. The cooling light will turn off once the water has been fully chilled.
- Press a drinking glass or container against the cold water tap to dispense cold water.
- Release when your container is full.
Disable Child Safety Lock and Dispense Hot Water
This unit dispenses water at temperatures that can cause severe burns. Avoid direct contact with hot water. Keep children and pets away from the unit while dispensing. Never allow children to dispense hot water without proper and direct supervision. Disable the heating feature by switching the heating convenience switch to the Off position.
NOTE: Water will take approximately 15-20 minutes after plugging in and turning on to reach its hottest temperature. The heating light will turn off once the water has been fully heated.
- This water dispenser is equipped with a child safety feature in order to prevent inadvertent dispensing. To enable dispensing of hot water, press and hold the red lock button and then press your mug or container against the paddle directly beneath the red lock button.
- Release the tap once your container is full. Hot water will automatically relock.
Troubleshooting
| Problem | Solution |
The cold water is not cold |
|
The hot water is not hot |
|
The night light is not working |
|
The unit is noisy |
|
There is water leakage | If the 3 lights are flashing, a leak was detected.
|
The machine is not dispensing water |
|
Cleaning and Maintenance
| Task | Frequency | Instruction |
| Sanitizing | Every 3 months | Use a disinfectant, purchased separately, following directions from manufacturer for proper amount to use. Use the Cleaning the Dispenser directions when sanitizing. |
| Removing minerals deposits | Every 6 months | Mix 4 liters water with 200g citric acid crystals, inject into the machine and make sure the water can flow out of the hot water tap. Switch on the power and allow it to heat for about 10 minutes. After 30 minutes, drain the liquid and clean it with water, dispensing two or three times. |
Clean the Product
Before cleaning, make sure the power switch is in the O (off) position and unplug the water dispenser.
This dispenser contains UV technology that will help keep your dispenser clean. However, if you do need to clean your dispenser for any reason, follow these steps:
- Remove remaining water from reservoirs in the dispenser by dispensing from the hot and cold taps into a pitcher or bucket.
- Remove the top cover (1), cold tank cover (2), and separator (3).
![]()
- Rinse off the separator (3) in the sink and wipe clean with a soft cloth.
- Create a cleaning solution of 0.3 gallons vinegar and 0.3 gallons hot tap water. Allow the cleaning solution to fill the reservoir and sit for at least 10 minutes.
![]()
- Place a large bucket beneath the drain outlet at the back of the dispenser.
![]()
- Remove the drain cover and drain the water.
- Reinstall the drain cover, separator, cold tank cover, and top cover after draining. Ensure all water supply connections are connected securely.
- Plug the dispenser back into the outlet and turn on.


Filter Replacement Schedule
| Filter Type | Model No | Replacement Schedule | Function |
| Sediment | NFMPP5M | 6-12 months or 3,600 liters | Performs coarse filtration of inlet water, removing sand, rust, dirt, and other suspended solids. |
| Pre Carbon | NFMGAC | 6-12 months or 3,600 liters | Removes chlorine, and other unpleasant tastes and odors. |
| Carbon Block | NFMCTO5MS3 | 6-12 months or 3,600 liters | Performs final polish, removing any residual impurities. |
Replace the Filters
Only replace the filters with new filters designed for this dispenser. Any other type of filter will damage the machine and void any warranty.
When a filter is approaching the end of its life, the red indicator light starts to blink. When the filter has reached the end of its life, the indicator light remains red. To change filters:
- Shut off the water supply.
- Remove the old filters and replace with new filters. Ensure the sediment filter is on the left and the carbon block filter is on the right.
- To flush your new filters, follow the instructions in "Flush the Filters and Complete the Installation".
- Press the filter reset button until the red indicator light turns off.
Filter Specifications
| Sediment Filter (Sediment, Dirt, and Rust Removal) | |
| Filter Capacity | 3,600 Liters |
| Flow Rate | 3 LPM |
| Suggested PSI | 14.5 - 58 psi |
| Temperature | 33 - 100°F |
| Pre Carbon Filter (Chlorine, Taste and Odor Reduction) | |
| Filter Capacity | 3,600 Liters |
| Flow Rate | 3 LPM |
| Suggested PSI | 14.5 - 58 psi |
| Temperature | 33 - 100°F |
| Carbon Block Filter (Taste and Impurity Removal) | |
| Filter Capacity | 3,600 Liters |
| Flow Rate | 3 LPM |
| Suggested PSI | 14.5 - 58 psi |
| Temperature | 33 - 100°F |
Care and Maintenance
- Keep this dispenser in a dry and cool place and avoid direct sunshine.
- Ensure the back of the dispenser is at least 20 cm (8 in.) away from the wall.
- Never put the dispenser on paper or foam, which may store water and then cause creepage. Never put anything flammable beside this machine.
- Do not use the dispenser outdoors or in a place that can be splashed by water.
- If the dispenser is not in use for longer than a 24-hour period, turn off the heating switch or the refrigerating switch to save power and drain any remaining water.
- If the water supply is cut off, shut off the water supply and turn the dispenser off. When the water supply is back on, re-open the water supply to the dispenser, turn the dispenser on, and allow the dispenser to run in order to discharge sediment.
Safety Information
To reduce risk of injury and property damage, you must read this entire guide before assembling, installing and operating the dispenser.
This product dispenses water at very high temperatures. Failure to use properly can cause personal injury. When operating this dispenser, always exercise basic safety precautions, including the following:
- Prior to use, this dispenser must be properly assembled and installed in accordance with this manual.
- For indoor use only. Keep the water dispenser in a dry place away from direct sunlight. Do NOT use outdoors.
- Install and use only on a hard, flat and level surface.
- Do NOT place the water dispenser in an enclosed space or cabinet.
- Do NOT operate the dispenser in the presence of explosive fumes.
- Use only properly grounded outlets.
- Do not use an extension cord.
- Always grasp the plug and pull straight out from the outlet. Never unplug by pulling on the power cord.
- Do NOT use the dispenser if the cord becomes frayed or otherwise damaged. If the supply cord is damaged, it must be replaced by the manufacturer, its service agent or similarly qualified persons in order to avoid a hazard.
![shock hazard]() To protect against electric shock, do NOT immerse cord, plug, or any other part of the dispenser in water or other liquids.
To protect against electric shock, do NOT immerse cord, plug, or any other part of the dispenser in water or other liquids.- Ensure the water dispenser is unplugged prior to cleaning.
- Never allow children to dispense hot water without proper and direct supervision. Unplug the unit to prevent unsupervised use by children.
- Service should be performed only by a certified technician.
- The appliance must not be cleaned by a water jet and is not suitable for installation in an area where a water jet could be used.
 To protect against electric shock, do NOT immerse cord, plug, or any other part of the dispenser in water or other liquids.
Keep ventilation openings, in the appliance enclosure or in the built-in structure, clear of obstruction.
Do not use mechanical devices or other means to accelerate the defrosting process, other than those recommended by the manufacturer.
- This appliance should work under environment of temperatures from 4°C~40°C (39°F~104°F) and humidity ≤90%.
- Never turn the machine upside down or lean it more than 45°.
- After turning the dispenser off, allow the dispenser to sit idle for 3 minutes before turning on again.
UV light source. Disconnect the electrical supply to UV radiation BEFORE opening cover.
- UV-LED lamp must be repaired by manufacturer only.
- UV-LED lamp model no. YB09-950-022, rated DC 24V, 0.17W±20%.
- Disposal of the UV-LED lamp must be done in accordance with local laws and regulations.
Contact Us
Call: +1 844-257-4103
Documents / ResourcesDownload manual
Here you can download full pdf version of manual, it may contain additional safety instructions, warranty information, FCC rules, etc.
Advertisement


Need help?
Do you have a question about the CLCTPOU320UVF3P and is the answer not in the manual?
Questions and answers