Advertisement
Do you have a question about the NAVIGATOR Series and is the answer not in the manual?
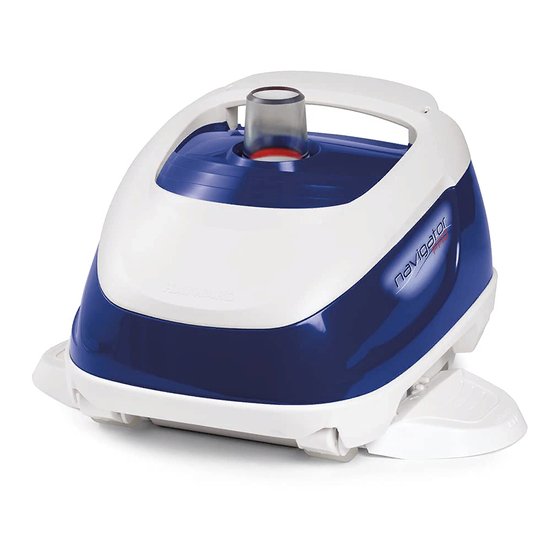
Have an old Navigator pool vacuum. Where can I find the serial number (so I can order parts for it)
The serial number location is not specified in the provided context.
This answer is automatically generated


Need help?
Do you have a question about the NAVIGATOR Series and is the answer not in the manual?
Questions and answers
Have an old Navigator pool vacuum. Where can I find the serial number (so I can order parts for it)
The serial number location is not specified in the provided context.
This answer is automatically generated