Table of Contents
Advertisement
Quick Links
Advertisement
Table of Contents

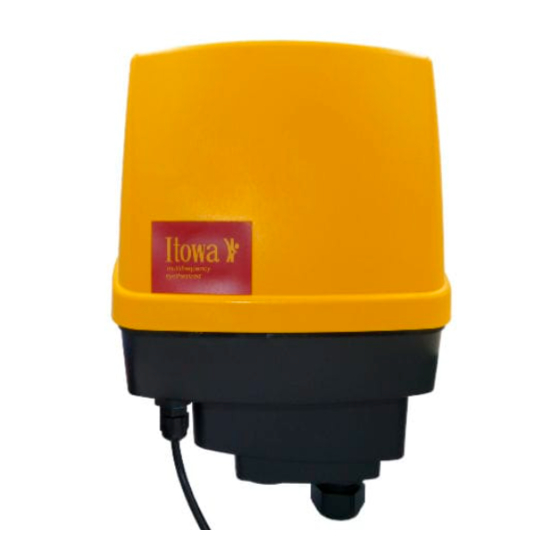
Summary of Contents for Itowa IT3R16
- Page 1 User's manual Receiver IT3R16...
- Page 2 ANY REPRODUCTION OF ALL OR PART OF THIS MANUAL IS STRICTLY FORBIDDEN WITHOUT PRIOR WRITTEN PERMISSION FROM ITOWA. OTHERWISE, ITOWA RESERVES THE RIGHT TO TAKE SUCH ACTION AS IT DEEMS APPROPRIATE UNDER CURRENT LEGISLATION. ITOWA RESERVES THE RIGHT TO MODIFY THIS MANUAL WITHOUT PRIOR NOTICE.
- Page 3 Receiver IT3R16 USER'S MANUAL INDEX: 1. INTRODUCTION 1.1. GCFI VERSION 2. GENERAL TERMS AND CONDITIONS FOR THE CORRECT & SAFE USE OF THE RECEIVER 4 3. DESCRIPTION OF THE RECEIVER 3.1. GENERAL DESCRIPTION 4. TECHNICAL FEATURES 4.1. GENERAL CHARACTERISTICS 5.
- Page 4 USER'S MANUAL 1. INTRODUCTION The manual you have in your hands is a guide to the correct use of the ITOWA IT3R16 multi-frequency receiver. This receiver, together with the associated remote control, is specially designed to be controlled remotely, without cables, and to act directly on electromechanically driven machinery.
-
Page 5: Description Of The Receiver
In the event of a malfunction of the equipment, specific control circuits are in charge of deactivating the receiver's working manoeuvres. For extra safety all monitoring circuits are duplicated. Fig. 3-3. Receiver IT3R16... -
Page 6: Technical Features
Receiver IT3R16 USER'S MANUAL 4. TECHNICAL FEATURES 4.1. GENERAL CHARACTERISTICS System: MULTI-FREQUENCY Frequency: ISM-BAND Order response time: <50 ms Active emergency time: <50 ms Passive emergency time: 1600 ms Range of action: 100 meters Temperature range: From -20 to 70 ºC Frequency bands: 433.050 to 434.775 MHz... -
Page 7: Installation And Start-Up
Itowa is not responsible for improper installation. 5.1.1. STANDARD FIXING OF THE RECEIVER Fig. 5-1. Standard fixation of receiver IT3R16 ATTENTION!: THE RECEIVER CLAMPING ASSEMBLY (METAL PARTS) MUST BE FIRMLY FIXED BEFORE ANCHORING THE RECEIVER BODY. - Page 8 USER'S MANUAL 5.1.2. MAGNETIC FIXING OF THE RECEIVER (OPTIONAL) Fig. 5-2. Magnetic fixing of the receiver IT3R16 The magnetic fixing must be placed on a metal surface with a MINIMUM THICKNESS of 4mm and in which the four magnets make contact with the surface, flat.
- Page 9 Receiver IT3R16 USER'S MANUAL For further details on the connection, please refer to the relay output sheet provided with the receiver. The standard receiver can be supplied with two power supply ranges upon request: 48-230 Vac or 12-24 Vac/dc.
- Page 10 Where Px corresponds to the customisable operations. A specific output document is supplied with the equipment. Itowa is not responsible for improper installation. 5.3. START-UP Once the receiver has been installed and connected, when the main switch on the machine is activated, the LEDs on the front of the receiver will light up with a sequence to verify that it is working correctly.
-
Page 11: Receiver Maintenance
Receiver IT3R16 USER'S MANUAL 6. RECEIVER MAINTENANCE The receiver you have purchased is manufactured with top quality materials that ensure perfect functioning and operation. Like any other machine or equipment, this receiver requires a minimum basic attention that should be respected. In order to increase the lifetime of your receiver as much as possible,... - Page 12 Receiver IT3R16 USER'S MANUAL 7. WORKING CHANNEL DISPLAY It’s important to know the frequency channel you are working on when making a frequency change or detecting possible interference from other devices on the communication between the transmitter and the receiver.
-
Page 13: Frequency Scanning
Receiver IT3R16 USER'S MANUAL 8. FREQUENCY SCANNING The receiver has some systems for detecting anomalies in the event that other equipment or systems interfere with the communication between the transmitter and the receiver. These systems include frequency scanning, which will be used to scan the entire band and find the frequency channels that are or have been occupied by some other device emitting within the same band. -
Page 14: Led Information
Receiver IT3R16 USER'S MANUAL 9. LED INFORMATION The LEDs are located inside the device and the top cover of the receiver must be removed in order to display them. They are located at the bottom left of the base circuit as shown in the following figure: Fig. - Page 15 Receiver IT3R16 USER'S MANUAL STATUS LED S2 Resting status or manoeuvring without change. Serial driver failure. Failure in stop relays. Blinking every change of status of one or more relays. STATUS LED S3 Not assigned STATUS LED S4 Correct EEPROM.
- Page 16 Receiver IT3R16 USER'S MANUAL 10. POSSIBLE INCIDENTS AND SOLUTIONS INCIDENT STATUS SOLUTION Check key status or selector switch in ON position. None of the transmitter indicators (TX) and Check that the battery is correctly inserted. (BAT) are illuminated. Check the charge status of the battery or replace it directly with a charged one.
- Page 17 Receiver IT3R16 USER'S MANUAL INCIDENT STATUS SOLUTION The LED LINK on the Keep the transmitter's start button activated until the receiver lights up but does receiver is switched on (max. 1 minute). Do this as not switch on. near as possible to the receiver.
- Page 18 Receiver IT3R16 USER'S MANUAL 11. RECYCLING INFORMATION PROPER MANAGEMENT ELECTRICAL ELECTRONIC EQUIPMENT WASTE (RAEE) At the end of the device's life, it shouldn't be disposed of mixed with general waste. It can be delivered, free of charge, to specific collection centres, differentiated by the local authorities, or to distributors who provide this service.
- Page 19 Receiver IT3R16 USER'S MANUAL www.itowa.com SINDITO, S.L. Faraday, 159 08224 Terrassa (Barcelona) España Tel. +34 93 733 98 50...


Need help?
Do you have a question about the IT3R16 and is the answer not in the manual?
Questions and answers