Table of Contents
Advertisement
Quick Links
Advertisement
Table of Contents

Related Manuals for 3Com Dual PRI


Summary of Contents for 3Com Dual PRI
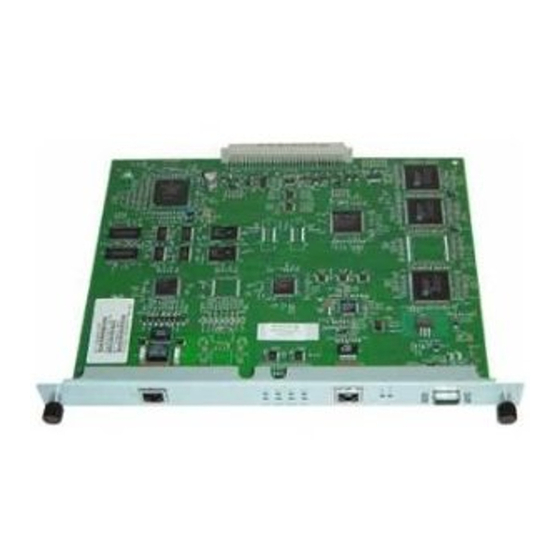
- Page 1 Dual PRI Network Application Card Getting Started Guide Part No. 1.024.1304-00...
- Page 2 Dual PRI ® Network Application Card Getting Started Guide http://www.3com.com/ Part No. 1.024.1304-00...
- Page 3 3Com Corporation reserves the right to revise this documentation and to make changes in content from time 95052-8145 to time without obligation on the part of 3Com Corporation to provide notification of such revision or change. 3Com Corporation provides this documentation without warranty of any kind, either implied or expressed, including, but not limited to, the implied warranties of merchantability and fitness for a particular purpose.
-
Page 4: Table Of Contents
ONTENTS VERVIEW Contacting 3Com................... 1-1 Document Conventions................1-2 Product Description ................1-3 Product Compatibility ................1-3 T1 Applications ................. 1-3 E1 Applications ................. 1-3 NSTALLATION Installation Tools ..................2-1 Installation Procedure ................2-1 ROUBLE LEARING AND ECHNICAL PECIFICATIONS Trouble Clearing ..................A-1 Technical Specifications................ -
Page 5: Overview
VERVIEW This chapter provides an overview of: Contacting 3Com Document conventions Product description Product compatibility Contacting 3Com Call the appropriate toll free number listed below for technical support. For European countries that do not have a toll free number listed, call +31 30 602 9900. -
Page 6: Document Conventions
Refer to the Total Control Hub Documentation CD-ROM for more information regarding product warranty. For information about Customer Service, including support, training, contracts, and documentation, visit our website at http://totalservice.3com.com Document These tables list conventions used throughout this guide. Conventions... -
Page 7: Product Description
Channelized T1 (versions 4.0 or later) With the Dual T1 or E1 Network Interface Card (NIC), the Dual PRI NAC interfaces with a T1 or E1 span and performs digital service unit (DSU) and private branch exchange (PBX) functions within the chassis. -
Page 8: Installation
NSTALLATION This chapter contains Dual PRI Network Application Card (NAC) installation information. Installation Tools To install this NAC in the Total Control chassis, you need a #2 Phillips and flat-head screwdriver. Installation To install this NAC: Procedure ESD: To reduce the risk of electrostatic discharge (ESD), take proper grounding precautions before handling the NAC. - Page 9 2: I HAPTER NSTALLATION DIP Switch Applications Function T1 or E1 NIC CH1 Port Rate DIP1 DIP2 Selects 9600 bps 19200 bps 38400 bps Reserved CH T1 OFF: Hardware Flow Control disabled ON: Hardware Flow Control enabled T1/PRI Reserved E1/PRI E1/CAS E1/DASS2 T1/PRI...
- Page 10 Installation Procedure 3 Select a slot at the front of the Total Control chassis for installing the NAC. This NAC can be installed in slots 1–5. For managed chassis, slot 17 is reserved for the Network Management Card (NMC). 4 Use a #2 Phillips screwdriver to remove the safety panel covering this slot.
- Page 11 2: I HAPTER NSTALLATION 5 Insert the NAC between the slot’s upper and lower card guides. 6 Holding the tabs perpendicular to the NAC’s front panel, slide the NAC into the chassis, until the front of the NAC is flush with the chassis. Push the tabs toward each other to secure the NAC.
- Page 12 Installation Procedure 7 Use a flat-head screwdriver to tighten the screws on the front panel. 8 Cover any unused chassis slots with safety panels. 9 Apply power to the chassis, if power is not already applied. 10 After the NAC boots, verify that the RN/FL (run/fail) light emitting diode (LED) is green.
-
Page 13: Learing And
ROUBLE LEARING AND ECHNICAL PECIFICATIONS Trouble Clearing This table provides Dual PRI Network Application Card (NAC) trouble clearing information for problems occurring at power-up. Symptom Cause Trouble Clearing RN/FL LED is showing no Improper installation Remove NAC and reinstall indicator light... -
Page 14: Technical Specifications
A: T PPENDIX ROUBLE LEARING AND ECHNICAL PECIFICATIONS Technical Specifications Certification T1 Applications EMI/RFI EN55022 A FCC 15A Safety UL 1950 C-UL EN 60950 JATE Telco FCC 68 IC CS-03 E1 Applications EMI/RFI EN55022 A AUSTEL VCCI Immunity EN 50082 Safety EN 60950 EN 41003... -
Page 15: Babt Declared Host Combinations
Technical Specifications BABT Declared The Dual PRI NAC is designed only for use in the following Total Control Host Combinations chassis by 3Com: Enterprise Network Hub/16 35/45 Amp with AC or DC PSU Enterprise Network Hub/16 70/130 Amp with AC or DC PSU... -
Page 16: Physical Dimensions
A: T PPENDIX ROUBLE LEARING AND ECHNICAL PECIFICATIONS Physical Dimensions Inches Centimeters Length: 12.95 32.89 Width: 2.00 Height: 6.90 17.53... - Page 17 3Com Corporation 5400 Bayfront Plaza P.O. Box 58145 Santa Clara, CA 95052-8145 ©1999 3Com Corporation All rights reserved Printed in the U.S.A. Part No. 1.024.1304-00...
Need help?
Do you have a question about the Dual PRI and is the answer not in the manual?
Questions and answers