Advertisement
Quick Links
Advertisement

Related Manuals for Tenda HG1


Summary of Contents for Tenda HG1
- Page 1 Quick Installation Guide XPON ONT Please read this guide before you start with the quick setup upon the first use. This guide instructs how to install and connect the device. For more information such as the description of symbols displayed on relevant materials, please visit www.tendacn.com.
-
Page 2: Package Contents
Package contents PWR PON ONT x 1 Power adapter x 1 User Manual PON ONT Please read this manual before you start with the quick setup upon the first use. You can see the product name and model on the product label. For product or function details and more information such as the description of symbols displayed on relevant materials, please go to www.tendacn.com or scan the Product Documents QR code in this user manual to download the... -
Page 3: Get To Know Your Device
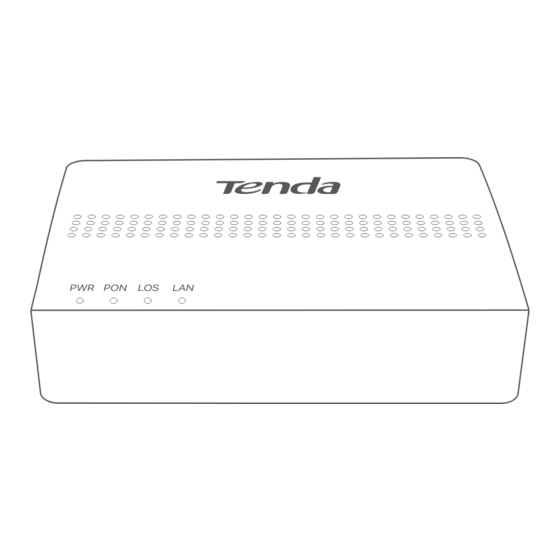
1. Get to know your device LED indicator PWR PON Color Status Description indicator Powered on Solid on Green Powered off Solid on Registered successfully Registering Green Blinking Unregistered Received optical power lower than Blinking optical receiver sensitivity Received optical power at a proper value LAN port connected properly Solid on... - Page 4 Ports, button and jack Port/Button/ Description Jack Optical fiber port Used to connect to optical network through a fiber cord. LAN port Used to connect to a router, switch or computer. Reset button. When the PWR LED indicator lights solid on, use an object with a spike to hold the button down for longer than 10 seconds and release it.
- Page 5 2. Connect and register the ONT Caution, laser DO NOT look directly at the PON port when the device is powered on, as well as the terminal of the indoor fiber cord, to prevent any harm to your eyes. Connect the ONT as shown in the figure. Wait until the PON LED indicator lights solid on, then the ONT is registered successfully.
- Page 6 3. Configure the internet access Internet Power source Computer Optical fiber Ethernet cable Ethernet cable Tips - PPPoE is used for illustration here. Change the parameters as required by your ISP. - Choose a desired mode to configure your internet access: Router mode: Configure the internet on the ONT.
- Page 7 Step 2: Set up a WAN connection Choose WAN > PON WAN. Tick Enable VLAN. Enter the VLAN ID provided by your ISP. Set Channel Mode to PPPoE. Set Connection Type to INTERNET. Enter the PPPoE UserName and Password provided by your ISP. Set other parameters according to your ISP and your own need.
-
Page 8: Bridge Mode
Bridge mode Tips When the ONT is set to bridge mode, configure internet settings based on ISP requirements. Option 1: Dial-up on a router Use an Ethernet cable to connect the LAN port of the ONT to the WAN port of a router. Use an Ethernet cable to connect your computer to a LAN port of the router. - Page 9 Click Connect to the Internet and click Next. Click Broadband (PPPoE).
- Page 10 Enter the PPPoE User name and Password provided by your ISP and click Connect. Wait a few seconds until the dial-up succeeds, and then you can access the internet on the computer.
- Page 11 Q1: I cannot log in to the web UI by visiting 192.168.1.1. What should I do? A1: Try the following solutions: •Ensure that the ONT is powered on properly (the PWR LED indicator is solid green). •When you use a wired device, such as a computer, to configurethe ONT: −...
- Page 12 Q3: How to judge my PON mode? A3: Navigate to the Admin page. If GPON Settings is displayed on the page, your PON mode is GPON and if EPON Settings is displayed on the page, your PON mode is EPON. Q4: How to reset the ONT? A4: Method 1: When the PWR LED indicator lights solid on, use an object with a spike to hold the RST button down for longer than...
- Page 13 (2) To avoid unnecessary radiation interference, it is recommended to use a shielded RJ45 cable. Declaration of Conformity Hereby, SHENZHEN TENDA TECHNOLOGY CO., LTD. declares that the device is in compliance with Directive 2014/53/EU. The full text of the EU declaration of conformity is available at the following internet address: https://www.tendacn.com/download/list-9.html...
- Page 14 FCC Statement This equipment has been tested and found to comply with the limits for a Class B digital device, pursuant to Part 15 of the FCC Rules. These limits are designed to provide reasonable protection against harmful interference in a residential installation. This equipment generates, uses and can radiate radio frequency energy and, if not installed and used in accordance with the instructions, may cause harmful interference to radio communications.
-
Page 15: Safety Precautions
Safety Precautions Before performing an operation, read the operation instructions and precautions to be taken, and follow them to prevent accidents. The warning and danger items in other documents do not cover all the safety precautions that must be followed. They are only supplementary information, and the installation and maintenance personnel need to understand the basic safety precautions to be taken. - Page 16 Website: www.tendacn.com E-mail: support@tenda.com.cn Copyright © 2023 Shenzhen Tenda Technology Co., Ltd. All rights reserved. Tenda is a registered trademark legally held by Shenzhen Tenda Technology Co., Ltd. Other brand and product names mentioned herein are trademarks or registered trademarks of their respective holders.
Need help?
Do you have a question about the HG1 and is the answer not in the manual?
Questions and answers