Kärcher CVH 2, CVH 2 Premium - Battery-Powered Hand Vacuum Manual
- Manual (126 pages) ,
- Operator's manual (40 pages) ,
- Manual (92 pages)
- Also fits for
- Cvh 2 premium
Advertisement
Intended use
This universal vacuum cleaner is intended for private use at home and not for commercial purposes. The manufacturer is not liable for any damage that may occur on account of improper use or incorrect operation. Use the universal vacuum cleaner only with:
- Original filters
- Original spare parts, accessories and special accessories.
The universal vacuum cleaner is not suitable for:
- Vacuuming off human beings or animals.
- Vacuuming up:
- Small living creatures (e.g. flies, spiders, etc.).
- Substances that are harmful for health, have sharp edges or are hot or glowing.
- Moist or liquid substances.
- Easily flammable or explosive sub-stances and gases.

Children must not play with this appliance.
Accessories and spare parts
Only use original accessories and original spare parts. They ensure that the appliance will run fault-free and safely. Information on accessories and spare parts can be found at www.kaercher.com.
Scope of delivery
The scope of delivery for the appliance is shown on the packaging. Check the contents for completeness when unpacking. If any accessories are missing or in the event of any shipping damage, please notify your dealer.
Overview of the unit
Illustration A

- Dust container
- ON/OFF button
- Battery indicator
- Filter cover
- HEPA filter
- Steel net filter
- Charger
- Power cable
- Crevice nozzle
- *Charging storage dock
* CVH 2 Premium only
Charger
- Only charge the appliance using the original charger enclosed or with a charger approved by KÄRCHER.
Use the following adapter:
- Appliance type
CVH 2: 1.198-401.0
CVH 2 Premium: 1.198-421.0
![]()
9.796-743.0

Operation
Note
- The appliance is not allowed to be turned on without the HEPA filter or the dust container. Ensure the HEPA filter and the dust container are properly positioned in the appliance before using the appliance.
- Press the ON/OFF button to start vacuuming up dust / dirt.
Charging
Note
- The appliance does not work during the charging process.
- The charging time is approx. 3–4 hours.
- The appliance must be fully charged before first use.
CVH 2
- Insert the connector of the charger into the charging interface.
Illustration B
![]()
- Connect the power plug of the charger to the power supply.
- When the charging process is complete, unplug the power plug from the power supply.

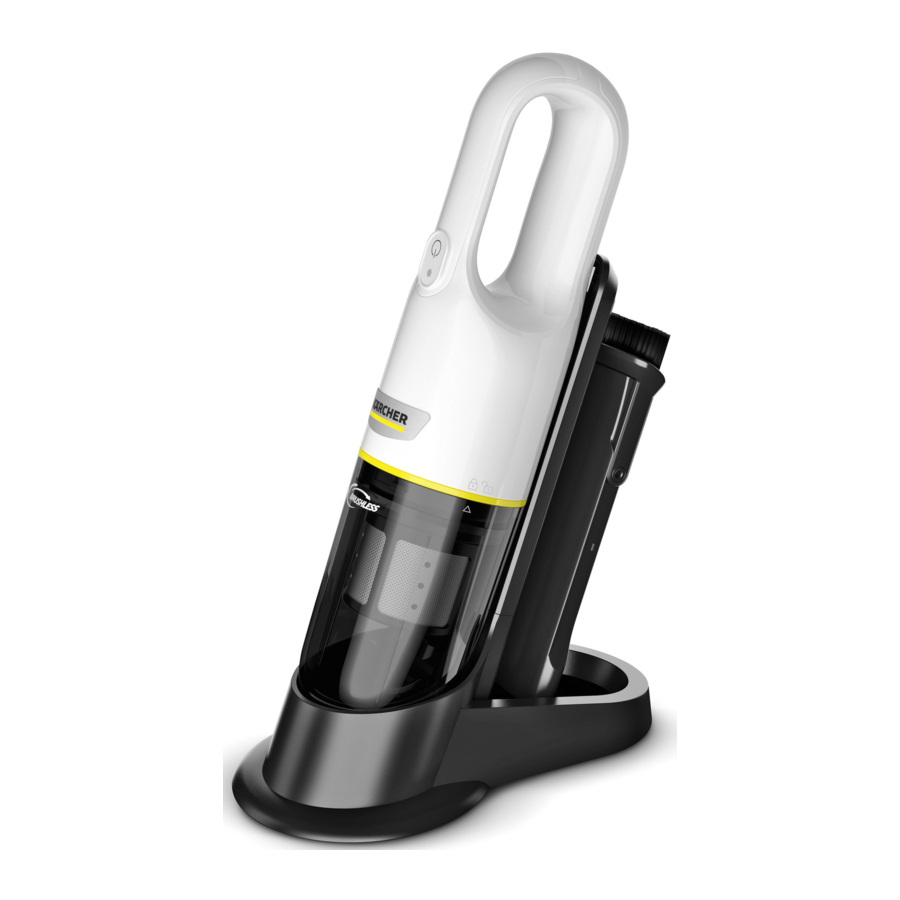
CVH 2 Premium
- Connect the power plug of the charger to the power supply.
- Insert the appliance into the charging storage dock.
Illustration C
![]()
- When the charging process is complete, unplug the power plug of the charging storage dock from the power supply.

Operation
- Press the ON/OFF button to start vacuuming up dust / dirt.
Illustration D
![]()
- 2 suction modes are available, with full speed and energy saving modes.(CVH 2 Premium) only.

Indicator
The table below describes the meanings of the LED indicators on the appliance:
| Indicators | Status / Color | Description |
| Battery indicator charging | Flashing (red) | Charging |
| Always on (blue) | The battery power is full. | |
| Battery indicator discharging | Flashing (red) | The battery power is low. |
Standard accessories
- Attach the nozzle to clean upholstered furniture, mattresses, laced curtains, etc.
Illustration E

Illustration F

- This is used for cleaning delicate objects with care, e.g. bookcases, handicrafts, etc.
- This is used for cleaning joints, grooves between doors and windows, tiny slits, etc.
Transportation
The battery has been tested in accordance with the relevant rules for international transport and can be transported / shipped.
Storage
Note
- Store the appliance in a dry room.
- Consider the weight of the appliance when storing it.
- Insert the appliance into the storage dock.
- Put the crevice nozzle and the upholster brush into accessory storage.
Care and maintenance
Note
- Use the appliance only when all filters and the dust container are installed.
- Defective filters and filters that can no longer be cleaned must be replaced.
Before doing any work on the appliance:
- Switch off the appliance.
- Unplug the power supply from the power outlet.
Cleaning the filter set and the dust container
ATTENTION
Incorrect cleaning of the HEPA filter
Damage to the HEPA filter
Do not clean the HEPA filter in a washing machine.
Do not dry the HEPA filter with a hair dryer.
The HEPA filter ensures clean exhaust air.
- Clean the HEPA filter if it is visibly dirty.
- Replace the HEPA filter if it is visibly damaged.
- We recommend replacing the HEPA filter every 6 months based on your use of the device.
- Unlock the dust container.
Illustration G
![]()
- Unplug the filter set from the dust container. Turn the filter cover counterclockwise. Remove the filter cover, unplug the HEPA filter from the steel filter.
Illustration H
![]()
- Clean the HEPA filter, and carefully empty / knock the dirt out of the HEPA filter.
Illustration I
![]()
- Empty the dust container, and rub down inside using a cloth.
Illustration J
![]()
- Clean the filter cover, steel filter and dust container under running water.
Illustration K
![]()
- Allow the filter cover, steel filter and dust container to dry completely.
Illustration L
![]()
- Insert the filter set into the dust container, and turn the dust container clockwise to latch into place.
Illustration M
![]()


Troubleshooting guide
Malfunctions often have simple causes that you can remedy yourself using the following overview. When in doubt, or in the case of malfunctions not mentioned here, please contact your authorised Customer Service.
| Fault | Possible cause | Remedy |
| The appliance does not run. | Battery is nearly empty. |
|
| The appliance is in danger of overheating. |
| |
| Suction capacity decreases. / Abnormal sound or operating noise which becomes louder. | Dust container is full. HEPA filter set is clogged. |
|
Technical data
| CVH 2 | CVH 2 Premium | ||
| Electrical connection | |||
| Power frequency | Hz | 50–60 | 50–60 |
| Mains voltage | V | 100–240 | 100–240 |
| Voltage of charger | V | 5 | 5 |
| Working voltage of the battery | V | 7.2 | 7.2 |
| Charging time when the battery is completely discharged | min. | 180 ~ 240 | 180 ~ 240 |
| Battery capacity | mAh | 2000 | 2000 |
| Battery type | Li-ion | Li-ion | |
| Protection class | II | II | |
| Rated power | W | 70 | 70 |
| Device performance data | |||
| Dust container capacity | l | 0.15 | 0.15 |
| Vacuum (min.) | kPa | 5 | 10 |
| Operating time when battery is fully charged in normal operation | min | ” 10 10 | ”20 |
| HEPA-Filter | HEPA 12 | HEPA 12 | |
| Sound power level LwA | dB(A) | 78 | 75 |
| Dimensions and weights | |||
| Weight (without accessories) | kg | 0.65 | 0.55 |
| Length | mm | 330 | 330 |
| Width | mm | 76 | 76 |
| Height | mm | 76 | 76 |
Subject to technical modifications.

Documents / Resources
References
Download manual
Here you can download full pdf version of manual, it may contain additional safety instructions, warranty information, FCC rules, etc.
Download Kärcher CVH 2, CVH 2 Premium - Battery-Powered Hand Vacuum Manual
Advertisement


Need help?
Do you have a question about the CVH 2 and is the answer not in the manual?
Questions and answers