
Subscribe to Our Youtube Channel
Related Manuals for Küppersbusch EKI6340.1F


Summary of Contents for Küppersbusch EKI6340.1F
- Page 1 BEDIENUNGSANWEISUNG mit Montageanweisungen Instructions for use and installation Instructions d’utilisation et d’installation EKI6340.1F EKI6340.1ED...
-
Page 2: Table Of Contents
Dear customer, Thank you for having chosen a KÜPPERSBUSCH induction hob. In order to install properly your appliance and to make the best use of it, please read this entire instruction manual carefully. SUMMARY SAFETY ............................20 ....................... 20 RECAUTIONS BEFORE USING ......................... -
Page 3: Safety
SAFETY Precautions before using Unpack all the materials. The installation and connecting of the appliance have to be done by approved specialists. The manufacturer cannot be responsible for damage caused by building-in or connecting errors. To be used, the appliance must be well-equipped and installed in a kitchen unit and an adapted and approved work surface. -
Page 4: Precautions Not To Damage The Appliance
Precautions not to damage the appliance Raw pan bottoms or damaged saucepans (not enamelled cast iron pots,) may damage the ceramic glass. Sand or other abrasive materials may damage ceramic glass. Avoid dropping objects, even little ones, on the vitroceramic. ... -
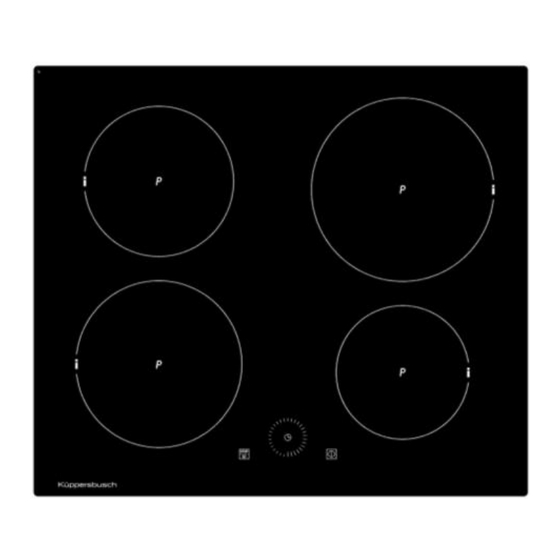
Page 5: Description Of The Appliance
Booster Type Total Power diameter heating zone Power* Power* detection Front left 2300 W 3000 W 100 mm EKI6340.1F Rear left 1100 W 1400 W 90 mm 7400 W EKI6340.1ED Rear right 2300 W 3000 W 100 mm Front right... -
Page 6: Ventilation
Ventilation The cooling system is fully automatic. The cooling fan starts with a low speed when the heat created by the electronic system reaches a certain level. The ventilation starts its high speed when the hob is intensively used. The cooling fan reduces its speed and stops automatically when the electronic circuit is cooled enough. -
Page 7: "Slider" Zone: To Set Power And Timer Values
“SLIDER” zone: to set power and timer values Select the cooking zone. The display corresponding to the selected zone will be highlighted. While the zone is activated (for a few seconds), you can adjust the power, either by sliding your finger on the slider, or by direct access. -
Page 8: Pan Detection
Pan detection The pan detection ensures perfect safety. The induction doesn’t work: If there is no pan on the heating zone or if this pan is not suitable to the induction. In this case it is impossible to increase the power and the display shows [ U ]. This symbol disappears when a suitable pan is put on the heating zone. -
Page 9: Timer
Timer The timer is able to be used simultaneous with all heating zones and this with different time settings (from 1 to 99 minutes) for each heating zone. Setting and modification of the cooking time : Action Control panel Display Press on the “SLIDER“... -
Page 10: Automatic Cooking
Automatic cooking All the cooking zones are equipped with an automatic cooking device. The cooking zone starts at full power for a certain time, and then reduces automatically its power to the pre-selected level. Start-up : Action Control panel Display Power level selection Slide to the position [ 7 ] and stay 3s... -
Page 11: Keep Warm " Function
« Keep warm » Function This function allows reaching and maintaining automatically a temperature of 70°C. To engage, to start the function « Keep warm » : Action Control panel Display press on the “SLIDER“ To engage between the [ 0 ] and the [ 1 ] [ U ] Slide on the “SLIDER“... -
Page 12: Cooking Advices
COOKING ADVICES Pan quality Suitable materials: steel, enamelled steel, cast iron, ferromagnetic stainless-steel, aluminium with ferromagnetic bottom Not suitable materials: aluminium and stainless-steel without ferromagnetic bottom, cupper, brass, glass, ceramic, porcelain The cookware manufacturers usually specify whether their products are suitable to induction. To check if pans are compatible: ... -
Page 13: Examples Of Cooking Power Setting
Examples of cooking power setting (the values below are indicative) 1 to 2 Melting Sauces, butter, chocolate, gelatine Reheating Dishes prepared beforehand 2 to 3 Simmering Rice, pudding, sugar syrup Defrosting Dried vegetables, fish, frozen products 3 to 4 Steam Vegetables, fish, meat 4 to 5 Water... -
Page 14: What To Do In Case Of A Problem
WHAT TO DO IN CASE OF A PROBLEM The hob or the cooking zone doesn’t start-up: The hob is badly connected on the electrical network. The protection fuse cut-off. The looking function is activated. The sensitive keys are covered of grease or water. ... -
Page 15: Installation Instructions
Stick the gasket (2) two millimeters from the external edge of the glass, after removing the protection tape (3). Aeration Fitting - installing: Cut out sizes of the worktop: EKI6340.1F 600 mm 520 mm 560 mm 490 mm 54 mm EKI6340.1ED... -
Page 16: Electrical Connection
The piece of furniture or the support in which the hob is to be fitted, as well as the edges of furniture, the laminate coatings and the glue used to fix them, must be able to resist temperatures of up to 75 °C. ... - Page 17 Caution! This appliance has only to be connected to a network 230 V~ 50/60 Hz. Connect always the earth wire. Respect the connection diagram. The connection box is located underneath at the back of the hob casing. To open the cover use a medium screwdriver.
- Page 18 17600/1...
Need help?
Do you have a question about the EKI6340.1F and is the answer not in the manual?
Questions and answers