Dometic 9500E Operating Instructions Manual
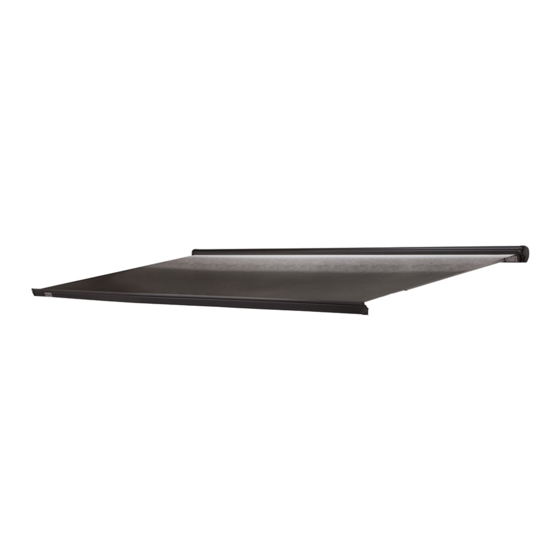
(120 vac, 60 hz) electric cassette awning
Hide thumbs
Also See for 9500E:
- Operating instructions manual (15 pages) ,
- Installation instructions manual (13 pages) ,
- Installation instructions manual (11 pages)
Advertisement
Quick Links
USA
SERVICE OFFICE
Dometic, LLC
2320 Industrial Parkway
Elkhart, IN 46516
574-294-2511
CANADA
Dometic, LLC
46 Zatonski, Unit 3
Brantford, ON N3T 5L8
CANADA
519-720-9578
For Service Center
Assistance Call:
800-544-4881
OPERATING INSTRUCTIONS
3313869.038
REVISION
Form No. 3313869.038 04/11
(Replaces 3313869.020)
(French 3313870.010)
©2011 Dometic, LLC
LaGrange, IN 46761
This manual must be read and
understood before installation,
adjustment, service, or mainte-
nance is performed. This unit must
be installed by a qualified service
technician. Modification of this
product can be extremely hazard-
ous and could result in personal
injury or property damage.
Important:
stay with unit. Owner read carefully.
9500E
(120 VAC, 60 HZ)
ELECTRIC
CASSETTE AWNING
Lire et comprendre ce manuel avant de
procéder à l'installation, à des réglages,
de l'entretien ou des réparations.
L'installation de ce produit doit être
effectuée par un réparateur qualifié.
Toute modification de ce produit peut
être extrêmement dangereuse et
entraîner des blessures ou dommages
matériels.
These Instructions must
RECORD THIS INFORMATION FOR FUTURE
REFERENCE:
Model Number
Serial Number
Date Purchased
Retailer / Qualified Installer
AVERTISSEMENT
!
MODEL
202(XX)(XX).000(#)
Advertisement

Related Manuals for Dometic 9500E


Summary of Contents for Dometic 9500E
- Page 1 MODEL OPERATING INSTRUCTIONS 202(XX)(XX).000(#) 3313869.038 REVISION Form No. 3313869.038 04/11 (Replaces 3313869.020) (French 3313870.010) Important: These Instructions must ©2011 Dometic, LLC stay with unit. Owner read carefully. LaGrange, IN 46761...
- Page 2 Kit, 120 VAC Inverter This is the safety alert symbol. It is used to alert you to personal injury hazards. Obey all safety Dometic, LLC reserves the right to modify appearances messages that follow this symbol to avoid pos- and specifications without notice.
- Page 3 PROCEDURE FIG. 3 A. Open Awning 1. Press the open button (down arrow) briefly on awning remote. Awning should extend to its out limit. See FIG. 1. FIG. 1 Awning Sagging Fabric Remote Open Button (Down Arrow) B. Water Shed Feature IMPACT OR CRUSH HAZARD.
- Page 4 C. Close Awning PINCH HAZARD. Do not remove wind sensor from sensor base until ready to complete IMPACT OR CRUSH HAZARD. Always close wind sensor reset. Awning will close auto- awning when snow, heavy rain, wind, and matically one hour after wind sensor removal. severe weather conditions are expected.
- Page 5 See FIG. 6. steps “2” through “5” before contacting a qualified Note: Awning motor will not operate for approximately (30) Dometic service technician. seconds after awning is closed by wind sensor. 7. Repeat steps “3” through “6” if further adjust- ments are necessary.
- Page 6 F. Personalized Wind Sensor Adjustment G. Reset Awning Out Limit The wind sensor is factory preset to the highest predefined The awning limits are factory preset for optimal operation. setting for wind sensitivity. However, if the wind sensor is However, if the awning does not fully extend, or awning not responding as desired to windy conditions (using the over-extends causing the awning fabric to sag, the out limit predefined settings), it may be adjusted to personalized...
- Page 7 See FIG. 9. In case of power failure, the awning may need to be closed While holding the program button, the awning manually. (This should be performed by a qualified Dometic motor should go through a jog cycle twice. service technician.) a.
- Page 8 ELECTRICAL SHOCK HAZARD. Make sure IMPACT OR CRUSH HAZARD. Make sure the awning is disconnected from power source lead rail and lateral arm assemblies are sup- before cutting the motor’s wiring harness. ported securely before loosening fasteners. Do not leave bare wires exposed. Always cap Otherwise, the lead rail and lateral arm assem- bare wire leads in compliance with all appli- blies could extend quickly and unexpectedly.
- Page 9 24 hex screws to fasten the motor to the RH end make the awning unstable, and could cause plate. See FIG. 16. it to bend or collapse. 7. Contact a qualified Dometic service technician for Failure to obey these warnings could result repair. in death or serious injury.
- Page 10 Assembly fabric) and that will quickly fill in the pinhole with a perfect match. c. Wait until the VLP (Dometic P/N 143498) fully cures before rolling up the awning. Do not allow dirt, leaves, or other debris to accumulate on awning, which could cause abrasion and stains.
- Page 11 N. Troubleshooting WIND SENSOR PROBLEM CAUSE SOLUTION Aw n i n g d o e s n o t Wind sensor batteries are spent. Replace batteries. See “Battery Replacement” section. automatically close Adjust to appropriate sensitivity level using one of the fol- when windy condi- Sensitivity setting is too low.
Need help?
Do you have a question about the 9500E and is the answer not in the manual?
Questions and answers