Dometic 9500E Installation Instructions Manual
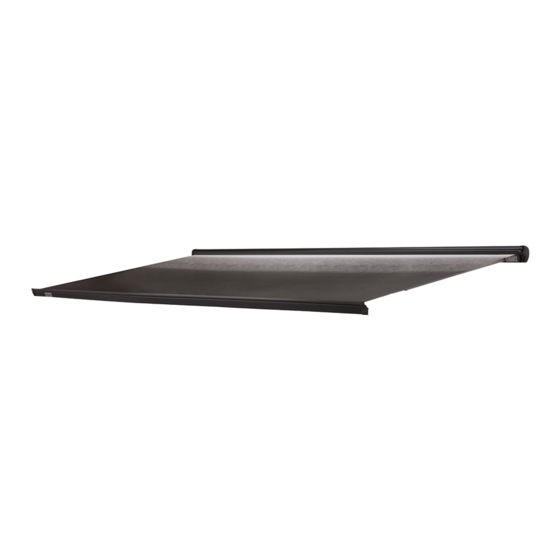
(120 vac, 60 hz) electric cassette awning
Hide thumbs
Also See for 9500E:
- Operating instructions manual (15 pages) ,
- Installation instructions manual (13 pages) ,
- Installation instructions manual (9 pages)
Advertisement
Quick Links
USA
SERVICE OFFICE
Dometic, LLC
2320 Industrial Parkway
Elkhart, IN 46516
574-294-2511
CANADA
Dometic, LLC
46 Zatonski, Unit 3
Brantford, ON N3T 5L8
CANADA
519-720-9578
For Service Center
Assistance Call:
800-544-4881
INSTALLATION
INSTRUCTIONS
3314422.000
Form No. 3314422.000 09/11
(French 3314423.000)
©2011 Dometic, LLC
LaGrange, IN 46761
This manual must be read and
understood before installation,
adjustment, service, or mainte-
nance is performed. This unit must
be installed by a qualified service
technician. Modification of this
product can be extremely hazard-
ous and could result in personal
injury or property damage.
Important:
stay with unit. Owner read carefully.
TYPE 9500E
(120 VAC, 60 HZ)
ELECTRIC
CASSETTE AWNING
Lire et comprendre ce manuel avant de
procéder à l'installation, à des réglages,
de l'entretien ou des réparations.
L'installation de ce produit doit être
effectuée par un réparateur qualifié.
Toute modification de ce produit peut
être extrêmement dangereuse et
entraîner des blessures ou dommages
matériels.
These Instructions must
RECORD THIS INFORMATION FOR FUTURE
REFERENCE:
Model Number
Serial Number
Date Purchased
Retailer / Qualified Installer
AVERTISSEMENT
!
MODEL
202(XX)(XX).001(#)
202(XX)(XX).002(#)
Advertisement

Related Manuals for Dometic 9500E


Summary of Contents for Dometic 9500E
- Page 1 RECORD THIS INFORMATION FOR FUTURE REFERENCE: Model Number Serial Number Date Purchased Retailer / Qualified Installer TYPE 9500E (120 VAC, 60 HZ) ELECTRIC SERVICE OFFICE Dometic, LLC CASSETTE AWNING 2320 Industrial Parkway Elkhart, IN 46516 574-294-2511 CANADA Dometic, LLC 46 Zatonski, Unit 3...
-
Page 2: Safety Instructions
This hardware must be installed by a Dometic, LLC Service Center or a qualified service RECOGNIZE SAFETY INFORMATION technician. Modification of this product can be extremely hazardous and could result in personal injury or property damage. -
Page 3: Specifications
B. Specifications IMPACT OR CRUSH HAZARD. Make sure mounting bolts are located behind each ELECTRICAL SHOCK HAZARD. Installer must shoulder assembly (lateral arm attachment) provide proper grounding for equipment. Fail- to provide proper support. Otherwise, the cas- ure to obey this warning could result in death, sette awning may become unstable and could serious injury, or property damage. - Page 4 IMPACT OR CRUSH HAZARD. Make sure RV’s tural support, a backing plate and sleeves (available structure will safely and securely support aw- from Dometic, LLC) will be needed inside RV wall. This ning before installation. Otherwise, the cas- will help strengthen awning support. See FIG. 4.
- Page 5 Mounting bracket(s) must be installed on a IMPACT OR CRUSH HAZARD. Do not over- flat surface, be in-line with each other (if more tighten fasteners. Applying too much torque than (1) bracket is used), and level to ensure may cause fasteners to fail, and could allow proper function and appearance.
- Page 6 12. Ensure awning is securely hooked onto mounting edges. If supply wiring is damaged, it must bracket(s), then carefully extend approximately be replaced by a Dometic, LLC Service Center 1′. Verify awning’s back rail is fully contacting or a qualified service technician.
- Page 7 2. Press the close button (up arrow) briefly on awning remote. Awning should retract until it’s Do not expose remote and remote holster to closed. See FIG. 13. Note: If awning does not close or stops when button is weather, extreme temperatures, or long hours released, the motor and remote may need to be reset.
- Page 8 D. Adjust Fabric Slope (If Desired) 2. Remove power from awning. Any adjustment of this hardware must be per- formed by a Dometic, LLC Service Center or a qualified service technician only. Improper PINCH HAZARD. Make sure power is removed...
- Page 9 E. Readjust Lateral Arm Assemblies (If Required) PINCH POINT HAZARD. Keep clear of pivot area when raising or lowering lateral arm assembly. Failure to obey this caution could Do not allow lateral arm assemblies to rub result in injury. against lower lip of back rail when closing, or against awning fabric when fully opened.
- Page 10 2. Remove power from awning. 5. Readjust lateral arm assembly’s closing height. See FIG. 20, 21 and 22. a. Apply power to awning. b. Retract awning until lateral arm assembly’s elbow meets top and back rail to check for clearance. PINCH HAZARD.
- Page 11 Examine installation for imbalance, or signs of wear or damage to cables and other criti- cal parts. Any adjustments or repairs must be performed by a Dometic, LLC Service Center or a qualified service technician. 1. Operate awning according to the Operating In- structions to verify all parts are functioning prop- erly.
Need help?
Do you have a question about the 9500E and is the answer not in the manual?
Questions and answers