Advertisement
Quick Links
USA
SERVICE OFFICE
Dometic, LLC
2320 Industrial Parkway
Elkhart, IN 46516
574-294-2511
CANADA
Dometic, LLC
46 Zatonski, Unit 3
Brantford, ON N3T 5L8
CANADA
519-720-9578
For Service Center
Assistance Call:
800-544-4881
INSTALLATION &
OPERATING INSTRUCTIONS
Revision:
Form No. 3312241.015 5/08
(Replaces 3312241.000)
(French 3312299.013)
©2008 Dometic, LLC
LaGrange, IN 46761 U.S.A.
®
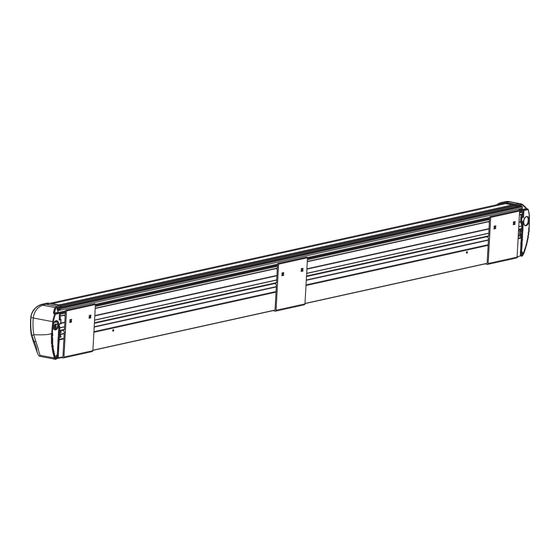
Electric Lateral Arm Awning
This manual must be read and
understood before installation,
adjustment, service, or mainte-
nance is performed. This unit must
be installed by a qualifi ed service
technician. Modification of this
product can be extremely hazard-
ous and could result in personal
injury or property damage.
Important:
must stay with unit.
Owner read carefully.
RECORD THIS UNIT INFORMATION FOR
FUTURE REFERENCE:
Model Number
Serial Number
Date Purchased ____________________
Lire et comprendre ce manuel avant
de procéder à l'installation, à des ré-
glages, de l'entretien ou des répara-
tions. L'installation de cet appareil doit
être effectuée par un réparateur quali-
fi é. Toute modifi cation de cet appareil
peut être extrêmement dangereuse et
entraîner des blessures ou dommages
matériels.
921(XX)(XX).XX0(#)
921(XX)(XX).XX0(#)
These Instructions
____________________
____________________
II
Model
Advertisement

Related Manuals for Dometic ae HORIZON II


Summary of Contents for Dometic ae HORIZON II
- Page 1 Assistance Call: injury or property damage. matériels. 800-544-4881 Model INSTALLATION & 921(XX)(XX).XX0(#) OPERATING INSTRUCTIONS 921(XX)(XX).XX0(#) Revision: Form No. 3312241.015 5/08 (Replaces 3312241.000) Important: These Instructions (French 3312299.013) must stay with unit. ©2008 Dometic, LLC Owner read carefully. LaGrange, IN 46761 U.S.A.
- Page 2 Read all of the following steps before beginning installation. erating instructions. UNDERSTAND SIGNAL WORDS Dometic, LLC reserves the right to modify appearances and specifi cations without notice. A signal word , WARNING OR CAUTION is used LIST OF HARDWARE: with the safety-alert symbol. They give the level 8’-13’...
-
Page 3: Installation Instructions
921 Electric Horizon Installation & Operating FIG. 1A: 8'-13' MODEL BRACKET SPACING FIG. 1D Behind Arm Attachment From End of Back Rail 8'-13' MODEL SHOWN A 1" 1-1/2" 1-1/2" 1-1/2" B 44" 53-1/4" 63-1/8" 73" INSTALLATION INSTRUCTIONS C 93-7/8" 112-1/2" 132-1/4" 151-7/8" A. - Page 4 921 Electric Horizon Installation & Operating FIG. 1E DO NOT over-tighten fasteners. This will cause them to “strip out” and severely weak- en their holding ability. FIG. 4 FIG. 2 90 ° 90 ° Flat Washer Front Wall View (Outside) Locknut Wall Split Lock...
- Page 5 921 Electric Horizon Installation & Operating B. Remote Rocker Switch Installation Kit When routing harness, take precaution against wires rubbing on sharp edges and (3310455.062) use a grommet when going through walls. 1. Remote Rocker Switch Harness should be routed so that when the a.
- Page 6 921 Electric Horizon Installation & Operating 3. Using the holes in the brackets as a guide, mark FIG. 8 and drill using a 5/32” drill bit. Secure each brack- et to vehicle using the 10-12 X 1”L pan head Coach sheet metal screws provided.
- Page 7 921 Electric Horizon Installation & Operating FIG. 12 FIG. 10 Rafter Arm In Stowed Position View 1 When stowing Right Hand Rafter Arm Pull Rafter Away From Center In A Horizon Position View 2 When stowing Right Hand Rafter Arm Foot Must Be Placed Behind Stow Bracket Pull Out Then Twist...
- Page 8 921 Electric Horizon Installation & Operating C. Other Operation Notes FIG. 14 Important: We remind you that the awning is to shel- ter you from the sun, not from rain, wind or snow. 1. To resist unexpected gusts of wind, it is always best to set awning legs into the patio position.
- Page 9 VLP will melt the paint (in the stripe) and that will quickly fi ll in the pinhole with a perfect match. Be sure to wait until the VLP (Dometic P/N 143498) sets before rolling up the awning. 4. To remove grease spots from vinyl fabrics, use only 6.
- Page 10 921 Electric Horizon Installation & Operating In Case of Awning Power Failure: 3. Remove the two big plastic covers located on the ends of the awning case. See Fig. 21 A. A situation may occur where the motor will not be receiving power because of bad wires or the motor FIG.
- Page 11 921 Electric Horizon Installation & Operating Note: Before any attempt is made to rollup the awning. 5. Install the rollup tool using the two ¼ socket cap The rafter or support arms must be stowed. A person screws. Fasten the rollup tool to the end bracket. needs to support the awning by holding and pushing the See Fig.
Need help?
Do you have a question about the ae HORIZON II and is the answer not in the manual?
Questions and answers