
Related Manuals for Jøtul F305 B


Summary of Contents for Jøtul F305 B
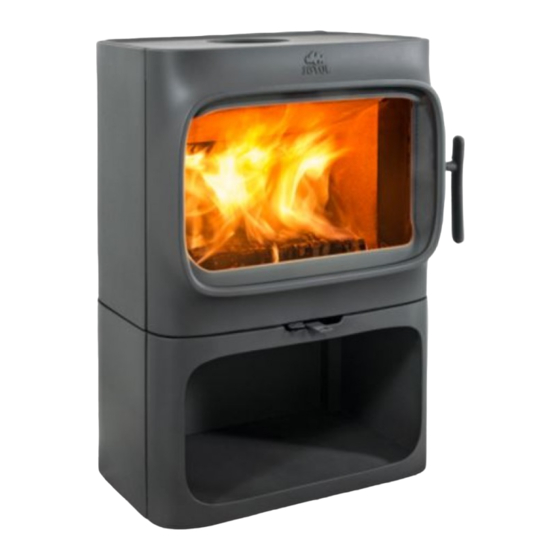
- Page 1 Jøtul F305 Installation & Operating Instructions F305 B F305 LL Keep these instructions for future reference...
-
Page 2: Table Of Contents
CONTENTS 1. Installation Installation ................ 1 THE INSTALLATION INSTRUCTIONS IN THIS MANUAL 1.1. Technical data ............2 APPLY TO THE JØTUL F305 WOOD HEATER MODEL. 1.2. Floor Protector ............2 IT HAS BEEN TESTED FOR EMISSIONS AND EFFICIENCY AND COMPLY ACCORDING TO AS/NZS 4012:2014 & 1.3. -
Page 3: Technical Data
1.1. Technical data 1.3. Positioning the heater Technical data according to AS/NZS 4012 & 4013 If there is no rear heat shield on the heater it must be installed with a non-combustible wall. Max average heat output: 8.6 kW First, review the necessary clearances to combustible surfaces Overall average efficiency: (mm) specified in the table and drawings below before Efficiency on Low setting:... -
Page 4: Installing The Flue
1.4. Installing the flue The flue system used when installing the heater MUST comply with the current installation standard AS/NZS 2918. Full instructions on the installation of the flue will be supplied with the flue kit. These MUST be followed closely, including the minimum exit height from the top of the floor protector being not less than 4.6m, and the minimum exit height above the roof line of roof ridge as detailed in the instructions. -
Page 5: Prior To Installation - Jøtul F 305 With Base
1.7. Prior to installation - Jøtul F 305 with base 1.8. Fitting the flue pipe Remove the contents from the ash pan. The product is supplied from the factory with the smoke 2) Lift the baffle, ash retainer, and bag of screws out of the outlet fitted for the top outlet. -
Page 6: Fitting The Log Retainer
1.10. Fitting the log retainer Fit the log retainer (A) on the knobs (B). 1.11. Performance check Always check the control handles once the product has been assembled. These should move easily and work in a satisfactory manner. The Jøtul F305 is equipped with the following operating options: Air vent (A) Push to the left: Closed... -
Page 7: Operating
2.2. Using the fireplace for the first time 2. Operating WARNING: ANY MODIFICATION OF THE APPLIANCE THAT When the fireplace is used for the first time, it may emit an HAS NOT BEEN APPROVED IN WRITING BY THE TESTING irritating gas as the paint dries. The gas is non-toxic, but the AUTHORITY IS CONSIDERED AS BREACHING AS/NZS 4013. -
Page 8: Initial Lighting
2.4. Initial lighting 2.6. Danger of overheating 1) Open the air vent and ignition vent by pulling the handles The fireplace must never be used in a manner that causes all the way out. overheating. Overheating occurs when there is too much fuel and/or too much air so that too much heat develops. -
Page 9: Maintenance
3.3. Cleaning the Flue 3. Maintenance 3.1. Cleaning the glass Check inside of flue prior to each season for any build-up of creosote (wood tar). To check the flue: The product is equipped with an air wash for the glass. Air is sucked in through the air vent on the top of the product and 1) Remove the baffle. -
Page 10: Servicing
4.2. Dismounting the door 4. Servicing Open the door. Lift it up and then off the hinges. Warning! Any unauthorised changes to the product are illegal! Only original spare parts may be used! 4.1. Replacing parts in the burn chamber NB: Use tools with great care! The vermiculite plates may be damaged if treated roughly. - Page 11 2) Unscrew the screw (C) and loosen the handle (B). 6) Remove the glass (J) carefully. Remove the gaskets (K) 3) Take out the spring (D) and the two washers (E). and (L), and clean the gasket grooves. 4) Take out the door hook (F) and the washer (G). 7) Glue on new gaskets.
-
Page 12: Adjusting The Door
4.4. Adjusting the door 5. Troubleshooting 5.1. Poor draught The door can be adjusted upwards or downwards slightly on the door lock side by forcing it into correct position. Check the length of the chimney and that it complies with national laws and regulations. -
Page 13: Dimensions
F305 LL 7. Dimensions F305 B...
Need help?
Do you have a question about the F305 B and is the answer not in the manual?
Questions and answers