Sign In
Upload
Download
Table of Contents
Contents
Add to my manuals
Delete from my manuals
Share
URL of this page:
HTML Link:
Bookmark this page
Add
Manual will be automatically added to "My Manuals"
Print this page
×
Bookmark added
×
Added to my manuals
Manuals
Brands
Sofar Manuals
Inverter
ESI 3K-S1
User manual
Sofar ESI 3K-S1 User Manual
Hide thumbs
Also See for ESI 3K-S1
:
User manual
(95 pages)
1
Table Of Contents
2
3
4
5
6
7
8
9
10
11
12
13
14
15
16
17
18
19
20
21
22
23
24
25
26
27
28
29
30
31
32
33
34
35
36
37
38
39
40
41
42
43
44
45
46
47
48
49
50
51
52
53
54
55
56
57
58
59
60
61
62
63
64
65
66
67
68
69
70
71
72
73
74
75
76
77
78
79
80
81
82
83
84
85
86
87
88
89
90
91
92
93
94
95
96
97
98
99
100
101
102
103
104
105
106
107
108
109
110
111
112
113
114
115
116
117
page
of
117
Go
/
117
Contents
Table of Contents
Troubleshooting
Bookmarks
Table of Contents
Table of Contents
Preface
Basic Safety Information
Requirement for Installation and Maintenance
Symbols and Signs
Product Introduction
Product Overview
Product Model Description
Product Capacity Description
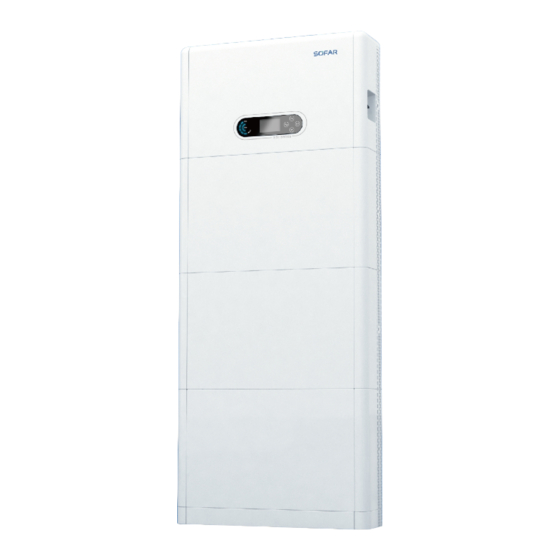
Product Appearence
Buttons and Indicator Lights
Product Label
Product Installation
Checking before Installation
Installation Tools
Installation Environment
Installation Space
Product Installation
Electrical Connection
Attentions before Connection
Preparation of Connection Cables
Electrical Connection for Internal System
External Electrical Connection
Install the Cover
Parallel System
System Electrical Topology
Commissioning
Checking before System Starting
Electrify for the First Time(Important
Menu
Trouble Shooting and Maintenance
Troubleshooting
Daily Maintenance
Store and Charge the Battery Module
Technical Parameters
Manufacturer's Warranty and Liability Terms
Advertisement
Quick Links
Download this manual
ESI 3~6K-S1-HA1~6
user manual
I
Copyright © Shenzhen SOFARSOLAR Co., Ltd
Table of
Contents
Previous
Page
Next
Page
1
2
3
4
5
Advertisement
Table of Contents
Need help?
Do you have a question about the ESI 3K-S1 and is the answer not in the manual?
Ask a question
Questions and answers
Related Manuals for Sofar ESI 3K-S1
Inverter Sofar ESI 3-6K-S1 Series User Manual
(95 pages)
Inverter Sofar ESI 4.6K- S1 User Manual
(117 pages)
Inverter Sofar ESI-5 12K-T1 Series Manual
(120 pages)
Inverter Sofar SOFAR 3K-6KTLM-G2 User Manual
Pv grid-connected inverter (31 pages)
Inverter Sofar ESI 3-6K-S1-HA1-6 User Manual
(120 pages)
Inverter Sofar 7.5KTLM User Manual
(69 pages)
Inverter Sofar HYD3000-ES User Manual
(47 pages)
Inverter Sofar HYD 5KTL-3PH User Manual
(120 pages)
Inverter Sofar 1100TL User Manual
Solar grid-tied inverter (69 pages)
Inverter Sofar ME3000SP User Manual
Energy storage inverter (43 pages)
Inverter Sofar 60KTLX-G3 User Manual
(63 pages)
Inverter Sofar 250KTL-HV User Manual
(104 pages)
Inverter Sofar MR1600 User Manual
(60 pages)
Inverter Sofar HYD 5KTL-3PH User Manual
(127 pages)
Inverter Sofar HYD 3 6K-EP Series Installation And Operating Manual
(107 pages)
Inverter Sofar 255KTL-HV-TRO User Manual
Solar grid-tied inverter (74 pages)
This manual is also suitable for:
Esi 3.68k-s1
Esi 4k-s1
Esi 4.6k- s1
Esi 5k-s1
Esi 5k-s1-a
Esi 6k-s1
Table of Contents
Print
Rename the bookmark
Delete bookmark?
Delete from my manuals?
Login
Sign In
OR
Sign in with Facebook
Sign in with Google
Upload manual
Upload from disk
Upload from URL


Need help?
Do you have a question about the ESI 3K-S1 and is the answer not in the manual?
Questions and answers