Table of Contents
Advertisement
Quick Links
Advertisement
Table of Contents

Subscribe to Our Youtube Channel
Summary of Contents for Eglo TIROL
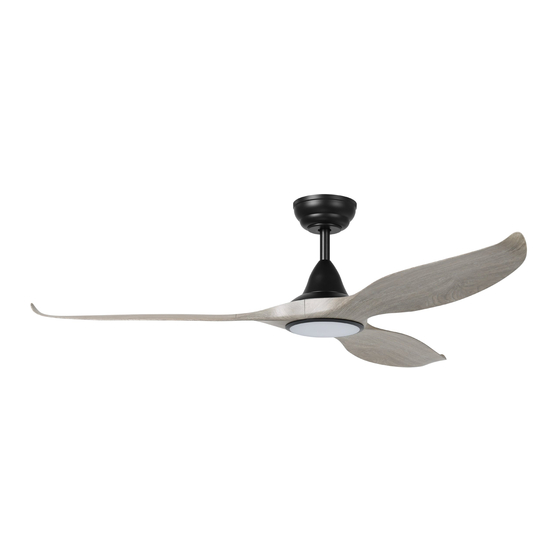
- Page 1 Ceiling Fan Owner's Manual Read and Save These Instructions MODEL: TIROL...
-
Page 2: Table Of Contents
TABLE OF CONTENTS Tools and Materials Required..................Unpacking Your Fan ...................... Safety Rules........................Mounting Options......................Hanging the Fan ......................Making Electrical Connections..................Finishing the Installation....................Attaching the Fan Blades....................Install the Light Kit ......................8 Operating Your Fan ..................... Care of Your Fan......................Troubleshooting...................... -
Page 3: Tools And Materials Required
1. TOOLS AND MATERIALS REQUIRED Philips screw driver Blade screw driver 11 mm wrench Step ladder Wire cutters 2. PACKAGE CONTENTS Unpack your fan and check the contents. You should have the following items: Blade set Hanger bracket Canopy and Cover Downrod assembly Coupling cover Fan motor assembly... -
Page 4: Safety Rules
3. SAFETY RULES To reduce the risk of electric shock, insure To avoid personal injury or damage to the fan electricity has been turned off at the circuit and other items, be cautious when working breaker or fuse box before beginning. around or cleaning the fan. -
Page 5: Mounting Options
4. MOUNTING OPTIONS If there isn't an existing UL listed mounting box, then read the following instructions. Disconnect the power by removing fuses or turning off circuit breakers. Outlet box Secure the outlet box directly to the building structure. Use appropriate fasteners and building materials. -
Page 6: Hanging The Fan
5. HANGING THE FAN REMEMBER to turn off the power. Follow the steps below to hang your fan properly. STANDARD CEILING INSTALLATION Step 1. Pass the 120-volt supply wires through the center hole in the ceiling hanger bracket as shown in Fig. -
Page 7: Making Electrical Connections
MAKING ELECTRICAL CONNECTIONS BLACK(TO AC L) (Fig.11) POWER CONTROL BLACK(TO MOTOR) RECEIVER DO NOT USE THIS DC MOTOR FAN IN CONJUNCTION WITH ANY VARIABLE (RHEOSTAT) WALL CONTROL OR REMOTE CONTROL. Fig. 11... - Page 8 Yellow/Green(E) Light connector House Supply Wires Black(L) Yellow/Green(E) Grey White(N) Pink Brown Light wire Blue Grey Motor wire Pink Outlet Box 7. Canopy Assembly Hanger Bracket After connecting the wires, place the DC fan driver in hanger bracket as shown, turn the leads upward and Canopy separate wire connections and put neatly inside of the outlet box.
-
Page 9: Install The Light Kit
Step 1. Fasten each blade to motor by using three screws. Figure 13 9. INSTALL LIGHT KIT Step 1. Twist the lamp shade onto the light plate till sung. (Fig.14) Figure 14... -
Page 10: Operating Your Fan
10. OPERATING YOUR FAN LED Indicator Light Turns fan OFF Fan Speed & ON: 1 Lowest Speed 2 Low Speed 3 Medium Speed 4 High Speed 5 Highest Speed Timer: - Fan turns off after 1 Hour - Fan turns off after 2 Hours - Fan turns off after 4 Hours - Fan turns off after 8 Hours Forward / Reverse... -
Page 11: Care Of Your Fan
11. CARE OF YOUR FAN Here are some suggestions to help you maintain your fan 1. Because of the fan's natural movement, some connections may become loose. Check the support connections, brackets, and blade attachments twice a year. Make sure they are secure. (It is not necessary to remove fan from ceiling.) 2.


Need help?
Do you have a question about the TIROL and is the answer not in the manual?
Questions and answers