Advertisement
Quick Links
Advertisement

Related Manuals for Mocka Pippin


Summary of Contents for Mocka Pippin
- Page 1 Hello, I’ve arrived! Now that I’m here you are only one your home.
- Page 2 Thank you for supporting us. Here are a few assembly tips before you get started: Make Time Set The Mood Tool Check Room Reveal Tag us @mockaaustralia/@mockaanz Happy flat-packing! t h e M o a T e a m Need help? Need help? Need help? Need help?
- Page 3 For the most up to date versions please refer to the product page on our website. mocka.com.au/mocka.co.nz mocka.co.nz I mocka.com.au...
-
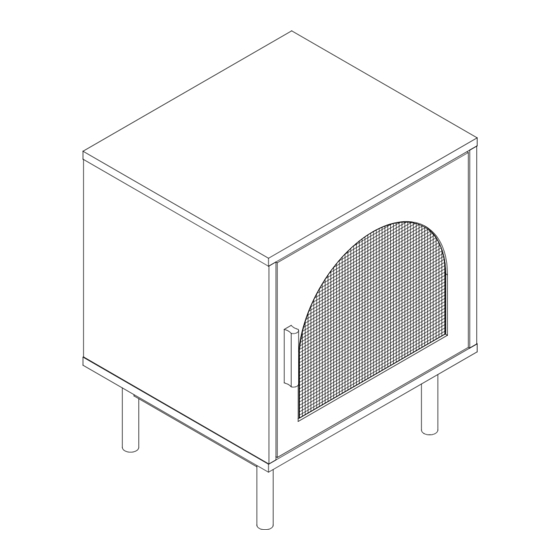
Page 4: Panel Layout
Pippin Bedside Table Panel Layout mocka.co.nz I mocka.com.au... -
Page 5: Hardware Supplied
The fixing device provided should fit most wall types, but please note that different wall materials may require different fixing devices from those supplied. Phillips & Flathead screwdrivers and hammer required For quicker assembly, we recommend the use of a power drill on a low-speed setting. mocka.co.nz I mocka.com.au... - Page 6 Pippin Bedside Table *Please assemble it on a rug or Hardware Needed other soft surface to avoid marking. Hardware Needed mocka.co.nz I mocka.com.au...
- Page 7 Pippin Bedside Table Hardware Needed mocka.co.nz I mocka.com.au...
- Page 8 Pippin Bedside Table Hardware Needed Hardware Needed mocka.co.nz I mocka.com.au...
- Page 9 Pippin Bedside Table Hardware Needed Hardware Needed mocka.co.nz I mocka.com.au...
- Page 10 Pippin Bedside Table Hardware Needed TURN OVER Hardware Needed mocka.co.nz I mocka.com.au...
- Page 11 Bedside Table NOTE: If the doors are uneven or Hardware Needed there is a gap in the middle, loosen or tighten the screw on the door hinge until they are sitting flush. See last page. Hardware Needed mocka.co.nz I mocka.com.au...
- Page 12 Hardware Needed Hardware Needed wall anchor screw Note: Seek advice from a qualified trades person on how to attach this safety strap to your specific wall. Once assembled lift furniture into place, do not drag. You’re done, enjoy! mocka.co.nz I mocka.com.au...
- Page 13 HOW TO ADJUST THE HINGES TO ALIGN THE DOORS IF NEEDED. mocka.co.nz I mocka.com.au...
Need help?
Do you have a question about the Pippin and is the answer not in the manual?
Questions and answers