HUUM CLIFF Manual
Electric sauna heater
Hide thumbs
Also See for CLIFF:
- Installation and operation manual (106 pages) ,
- Installation and operation manual (26 pages) ,
- Manual (116 pages)
Advertisement
Quick Links
Advertisement

Related Manuals for HUUM CLIFF


Summary of Contents for HUUM CLIFF
- Page 1 CLIFF ELECTRIC SAUNA HEATER 3–12 SAUNA ELEKTRIKERIS 13–22 SÄHKÖKIUKAAN 23–32 ELEKTRISCHER SAUNAOFEN 33–42 43–52 ELEKTRISKT BASTUAGGREGAT 53–62 STUFA ELETTRICA PER SAUNA 63–72 PIEC ELEKTRYCZNY DO SAUNY 73–82 ELEKTRICKÁ SAUNOVÁ PEC 83–92 93–102 POÊLE ÉLECTRIQUE info@huum.eu www.huum.eu...
- Page 3 CLIFF ELECTRIC SAUNA HEATER Installation and operation manual The following instructions for electrical works must be carried out The product must be installed as a complete set. The HUUM CLIFF electric sauna heater delivery set contains: • electric heater; •...
- Page 4 THINGS TO CHECK BEFORE INSTALLATION • Does the output (kW) match the volume (m³) of the sauna room? See Table 1. • In case there are any uninsulated brick, tile or glass walls in the sauna room, an additional volume of 1,5 m³ should be added to the sauna room for each such square meter of the wall.
-
Page 5: Installation
Output Room Weight Fuse Table 1 Depth cable N × mm CLIFF 3 × 2,5 CLIFF 6 5 × 2,5 CLIFF 9 9–15 5 × 2,5 5 × 2,5 CLIFF 11 INSTALLATION Positioning the heater • The heater must be positioned in such a way that there is a safe of the heater. - Page 6 It is forbidden to use a non-heat-resistant cable with PVC isolation CLIFF CLIFF 6 Mini 4 CLIFF 9 L1 N CLIFF 11 1/N ~ 230V 3/N ~ 400V 1/N ~ 230V • • circuit diagram. • Close the cover. •...
- Page 7 Removing the ribs of the heater threaded rod by 5 mm. 2. Push the props between the ribs of the heater. 3. Release the rib from both ends. and then the left. Pull the rib away from the heater without using force or turning the rib –...
- Page 8 The rib under the removed rib is instantly removable in a similar fashion. First-time use of the sauna heater to be lower than the standard. The reason for that is the moisture seeped into the insulating layer during storage in the warehouse and transportation.
-
Page 9: Sauna Room
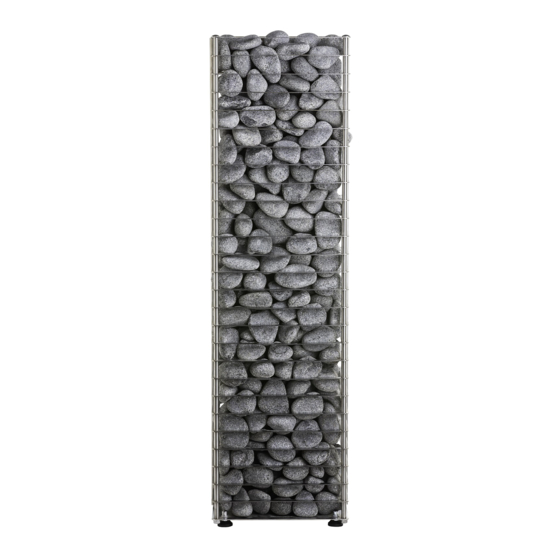
SAUNA ROOM Wall materials and insulating the sauna room In a sauna with electric heating, all massive heat accumulating wall surfaces (brick, glass brick, rendering etc.) must be insulated to use the electric heater with a regular output. The following sauna wall and ceiling construction is considered •... - Page 10 walls or ceiling might cause the dangerous overheating of the wall or Floor of the sauna room The heater stones in use crumble due to temperature changes. The pieces and pebbles breaking away from the heater stones are Heater stone particles and sprays from the steam-making water (e.g., order to avoid aesthetic damage (caused by the reasons mentioned around the heater.
- Page 11 WARNING! • room and heater. • with stones. • • Do not touch a working heater, it causes burns. • Ventilating the sauna room incorrectly may dry the wood too • Only tap water may be used for making steam. •...
-
Page 12: Warranty Terms
WARRANTY requirements presented. Damage to the product caused by not following instructions and requirements will void warranty. If any defects are found on the product, where manufacturer can be product. Demands must be made not later than 5 years after buying the product.
Need help?
Do you have a question about the CLIFF and is the answer not in the manual?
Questions and answers