Advertisement
Quick Links
Sensor cable can also
be connected to 4
Connect NTC Sensor cable
15
14
13
3 x 14 AWG
RJ10 4P4C
RJ10 4P4C
*
max 300 feet Pure Control
Figure 19: Wiring diagram
1.
2.
3.
4.
N/A
5.
N/A
6.
N/A
7.
N/A
8.
9.
N/A
10. Heater
11. Terminal for connection of electrical cable
12.
13.
14. Light/terminal for connection of light
15. Door Switch is not required for N. America
16.
SENSE PLUS PURE 2.0 Quick-Start Tip Sheet
This page to be used in conjuction with Tylo Full Manual included
CONNECTION/WIRING DIAGRAM
TAB
Model
Sense - U 7
Sense - U 8
Note: Heating elements do not change for voltage changes. The heater output will change
based on the voltage applied to heater. Most North American homes are 240v.
1
2
3
4
5
6
7
8
to jack 8 on circuit board.
10
12
*
RJ10 4P4C
208 V 1 Phase
Amperage
Output
Wire Size
Amps
kW
AWG
26
5.3
10
30
6.3
8
Control cable can also be
connected to 5,6 or 7
11
5.3-8.3 kW
Field Connect
208/240 V~
three copper
conectors
x 3
Sensor
Installation Tip
1.
sensor wire through the sensor holder FIRST before running
2.
wall.
3.
sensor as show in picture. Install cover to hide sensor wire and
any hole made for wire.
DO NOT install cover on top of sensor after installation.
DO NOT install cover on top of sensor after installation.
4.
240 V 1 Phase
Amperage
Output
Wire Size
Amps
kW
AWG
30
7.0
35
8.3
Ensure the three U-
shaped copper connectors
installed as shown.
13
G
In order for control
to operate light, a
separate 120V supply
must be provided and
connected to heater
p
8
8
Advertisement

Related Manuals for Tylo SENSE PLUS PURE 2.0 U 7


Summary of Contents for Tylo SENSE PLUS PURE 2.0 U 7
- Page 1 SENSE PLUS PURE 2.0 Quick-Start Tip Sheet This page to be used in conjuction with Tylo Full Manual included CONNECTION/WIRING DIAGRAM 208 V 1 Phase 240 V 1 Phase Model Amperage Output Wire Size Amperage Output Wire Size Amps Amps...
- Page 2 Temperature Sensor Location Sensor location is very specific and very important for proper function of the sauna heater. Sensor must be 3” to the front or open side of heater (not in corner), 1” down from ceiling. Temperature Sensor Installation Using Sensor Cover: To hide cable inside wall cavity, you must first feed the sensor wire through the sensor holder, then run wire inside the wall, down to area where heater is to be installed.
- Page 3 If heater high limit trips, try sauna without rocks. Assuming it does not trip w/o rocks, try the following. After it cools, re-install rocks. Pack flatter and smaller rocks tighter in behind back element and in front of front elements. In middle, stack larger rocks, more loosely. Use smaller at bottom.
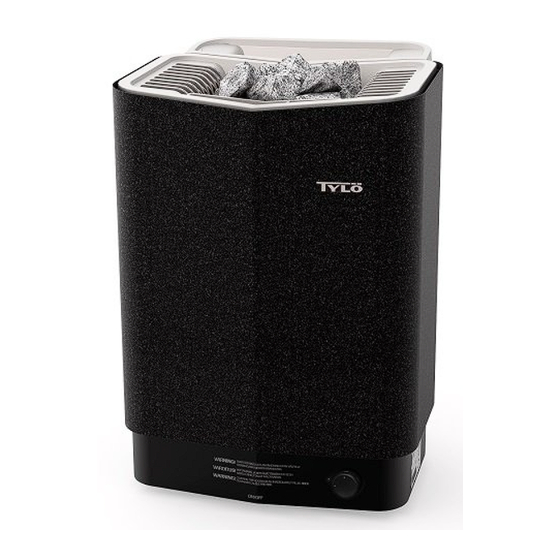
- Page 4 Very Important: Clean rocks before use to remove dust. Sauna rocks may only be placed in center (deep) rock compartment (1). Never place stones on top of the side air chambers (2). This will obstruct air circulation, causing the unit to overheat and the cut-out switch to activate.
Need help?
Do you have a question about the SENSE PLUS PURE 2.0 U 7 and is the answer not in the manual?
Questions and answers