Advertisement
Quick Links
Advertisement

Related Manuals for Tylo Prime 1211


Summary of Contents for Tylo Prime 1211
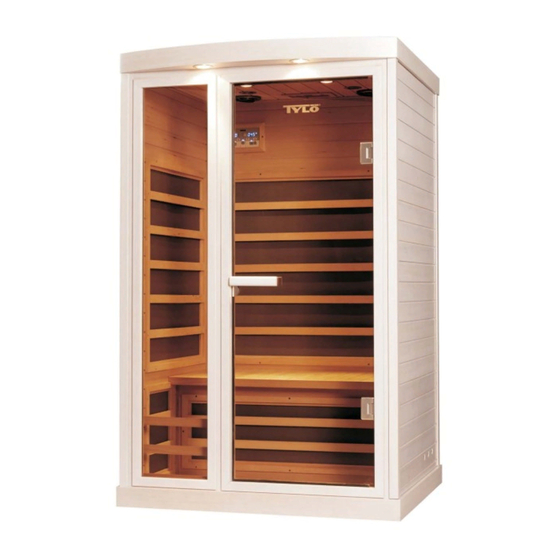
- Page 1 1012 Infra Kabin Prime 1211 Art.nr 2900 2702...
- Page 2 Svenska Specifikation........sid 2. Viktig information....... sid 3. Layout/detaljer........sid 5. Montering av Infra kabinen....sid 6. Manöverpanelsinstruktioner....sid 12. Kopplingsschema....... sid 14. English Specification........page Important information......page Layout/details........page Installation of the Infra cabin....page Control panel instruction..... page Circuit diagram........
- Page 3 VIKTIGT! Läs igenom hela anvisningen noggrant. För att anläggningen skall fungera perfekt måste våra instruktioner efterföljas i alla avseenden. Placera kabinen inomhus och i ett område med en omgivningstemperatur på ca 20° C och på en plan, jämn och torr yta. För att undvika värmeskador på...
- Page 4 ATTENTION Read all instructions before using this appliance. Locate your infra cabin indoors and in an area with an ambient air temperature of about 70°F. (20°C.) and on a flat, level and dry surface. To avoid heat damage to electric equipment please close CD/Radio compartment when infra cabin is in use.
- Page 5 122 cm Ventillucka Ventilation hatch Manöverpanel Control panel Utvändig och invändig belysning Ljusterapibelysning External and internal lighting Color therapy lighting Infravärmare CD/Radio Infra heater...
- Page 6 Placera golvpanelen på golvet och kontrollera att det ligger plant, använd vattenpass. Infravärmaren skall vara på framsidan av rummet. Tänk på att skydda golvet för vidare montering med skyddsplast eller dylikt. Place the floor panel on the floor and check that it is lying flat. Tile on the floor should be to the front of the room.
- Page 7 Ställ vänstra väggen i spåret på Ställ dit den högra väggen likadant. golvpanelen. Lyft väggen så att metallfästena hakar i varandra när den sätts Place the right side panel in the slot of floor på plats. panel. Place the left side panel in the slot of floor panel.
- Page 8 Montera dit dekorfronten. Sätt ihop kopplingarna och skruva fast locket. Slide the bench support panel down the wooden supports. Connect the power connection and attach the cover.
- Page 9 Lägg på laven. Sätt ihop Ställ främre väggen på kopplingarna och skruva plats. fast locket. Place the front panel in the Place the bench surface slot of floor panel. panel. Connect the power connection and attach the cover. Justera magnetlåset om dörren inte stänger ordentligt.
- Page 10 Lyft taket på plats, den rundade sidan skall vara framåt. Var noga med att alla kablar kommer igenom respektive hål i taket. Place the top panel on the four side panels. Make sure the connection wires protrude through the corresponding holes of the top panel.
- Page 11 Skruva fast tidningsstället. Install the magazine rack. Sätt kontakten i ett 230V uttag när kabinen skall användas. Plug into appropriate household outlet, 230V, when ready to use the cabin.
- Page 12 Manöverpanel Tryck på för att starta och stänga av panelen. OBS! Endast yttre och inre belysning fungerar utan tryck på Tidsinställning Vänster display visar den inkopplingstid som är kvar. Tryck för att minska tiden och tryck för att öka tiden. Detta sker med 5 minuters intervaller. Max inkopplingstid är 60 minuter.
- Page 13 Control panel Press to switch on or off the panel. Note! Only the exterior and interior lighting functions without press on Time settings Left display indicates the amount of operating time remaining. Press to increase the time and press to decrease the time. This is done with 5-minute intervals. Max operating time is 60 minutes.
Need help?
Do you have a question about the Prime 1211 and is the answer not in the manual?
Questions and answers