
Subscribe to Our Youtube Channel
Related Manuals for Mocka Henley Teepee


Summary of Contents for Mocka Henley Teepee
- Page 1 Hello, I’ve arrived! Now that I’m here you are only one flat-pack away from transforming your home.
- Page 2 Thank you for supporting us. We believe design belongs to everyone. From materials and processes to safety testing, production and delivery, we are passionate and committed to bringing you the best possible product so you can create beautifully functional spaces to feel comfortably you. Here are a few assembly tips before you get started: Make Time Set The Mood...
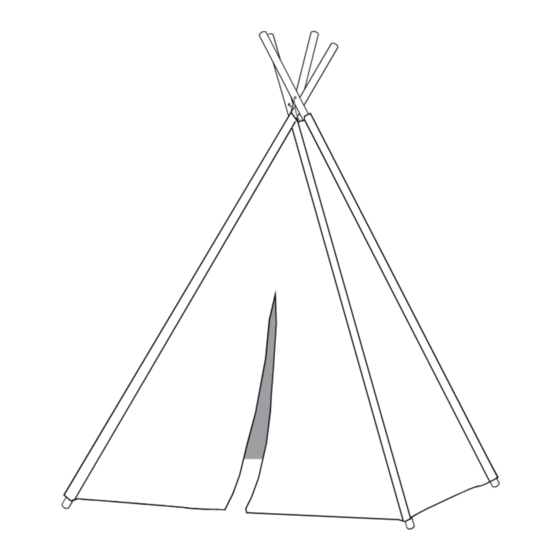
- Page 3 Henley Teepee Thank you for purchasing Henley Teepee. Please follow the manufacturer’s assembly instructions in detail. plastic tube wood pole wood pole (top) (bottom) HARDWARE SUPPLIED W ARNING! • Due to small parts, the Henley Teepee should be assembled by an adult.
- Page 4 (A) as shown. Repeat until all four poles are inside of the teepee canvas. Ensure the wooden poles (B) with hole are assembled. at the top. Slide each pole right to the base of the canvas channel. mocka.co.nz I mocka.com.au I PO BOX 18, Pinkenba QLD 4008...
- Page 5 The fabric should not sag between poles if all string through the holes in the pole, alternating each time (keeping all poles are fully extended. Enjoy! poles bunched together). Tie the ends of the string together securely. mocka.co.nz I mocka.com.au I PO BOX 18, Pinkenba QLD 4008...
Need help?
Do you have a question about the Henley Teepee and is the answer not in the manual?
Questions and answers