Table of Contents
Advertisement
Available languages
Available languages
Quick Links
Advertisement
Table of Contents

Related Manuals for Mark MRACK 12E


Summary of Contents for Mark MRACK 12E
- Page 1 MRACK 12E User Manual – Version 1.0...
-
Page 2: Safety Instructions
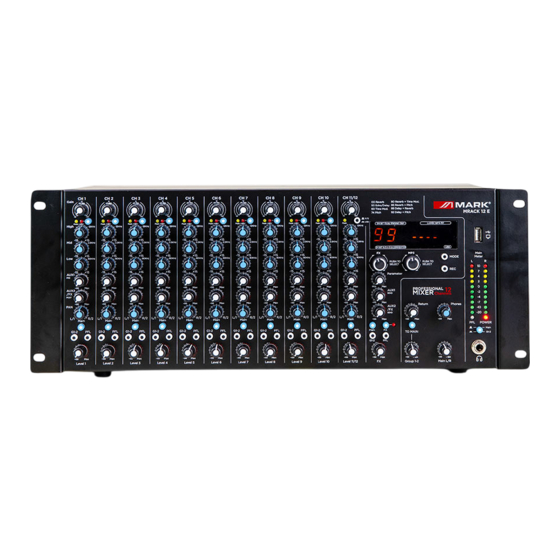
8. Protect the power cord from being walked on or pinched, particularly at plugs, convenience receptacles, and the point where they exit from the apparatus. 9. Only use attachments/accessories specified by MARK. 10. Unplug this device during lightning storms or when unused for long periods of time. - Page 3 12 Channel, 10 mono + 1 stereo, Rackmount Mixer. with 3 tone controls per channel and send/return connections. The input mono channels of the MRACK 12E MIC/LINE mixer incorporate phantom power for condenser microphones. MRACK 12E has 2 AUX outputs (AUX1 & AUX2/EX), 2 GROUPS and foot switch connection.
-
Page 4: Controls And Functions
CONTROLS & FUNCTIONS INPUT CHANNEL (MONO & STEREO) 1. MIC/LINE INPUT Accepts both XLR and TRS connectors. Connect the microphone or instrument you intent to use. + 48V phantom power available on each input Mic socket. 2. Stereo input jacks These line stereo input jacks (unbalanced) for connecting line-level instruments, such as electric keyborads and audio equipment. - Page 5 8. AUX1 and AUX(2/FX) AUX1 knob controls the signal level sent from this channel to AUX1 BUS. AUX(2/FX) knob controls the adjust of signal level sent to the AUX bus and FX BUS (built-in in effects). The same signal level is sending to the AUX and FX buses connected to these knobs. 9.
-
Page 6: Master Block
MASTER BLOCK 1. MAIN OUT These are XLR and TRS balanced output that output the mixed stereo signal. 2. GROUP OUT jacks These impedance-balanced TRS output the (GROUP 1-2) signals. Use those jacks to connect to the input of a multi-track recorder, external mixer, or another similar device. - Page 7 10. MAIN(G1/G2) This switch can switch the output signal of MAIN or GROUP to PHONES. 11. GROUP knob (GROUP 1-2) knob. For adjusting the level of the signals output to the (GROUP OUT 1,2) jacks. (TO MAIN) switch. If it is on, the signals are sent to the MAIN BUS via the (GROUP 1-2) knob. 12.
- Page 8 9. FX knob For adjusting the level of the effect sent from to built-in effect to the GROUP 1-2 and MAIN buses. 10. PROGRAM mp3 KNOB Turn the knob to select the desire music file, press the knob to play/pause/record/confirm the selection.
- Page 9 BUILT-IN EFFECT PROGRAMS...
- Page 10 JACK AND CONNECTOR LIST...
-
Page 11: Installation
INSTALLATION QUICK INSTALLATION GUIDE Step 1 prepairing the power supply 1. Make sure that the power switch of the unit is set to the “0” position (off) in the rear pannel. 2. Connect the socket of the included power cord to the [AC IN] jack on the rear pannel. 3. -
Page 12: Setup Example
SETUP EXAMPLE... - Page 13 4. Do not replace with non-original spare parts. Contact your MARK dealer. Unpacking Note: Before unpacking, check it for possible damage that might have occurred during transportation. If you find any damage, please do not use the unit and contact the MARK dealer.
-
Page 14: Indicaciones De Seguridad
8. Proteja el cable de alimentación para no ser pisado o manipulado, particularmente en los conectores (mural y de entrada a la unidad). 9. Utilice únicamente accesorios especificados por MARK. 10. Desconecte el dispositivo si no va a ser utilizado durante largos periodos de tiempo. -
Page 15: Vista General
VISTA GENERAL MRACK 12E es un mezclador analógico de montaje en bastidor de 12 canales, 10 mono + 1 estéreo, con 3 controles de tono por canal y conexiones de envío/retorno. Los canales mono de entrada del mezclador MRACK 12E MIC/LINE incorporan alimentación phantom para micrófonos de condensador. -
Page 16: Controles Y Funciones
- Conectividad AUX de envío/retorno CONTROLES y FUNCIONES CANALES DE ENTRADA (MONO Y ESTÉREO) 1. ENTRADA DE MICRÓFONO/LÍNEA Acepta conectores XLR y TRS. Conecte el micrófono o instrumento que desee utilizar. Alimentación phantom de +48 V disponible en cada toma de entrada de micrófono. 2. - Page 17 7. Ecualizador (ALTO, MEDIO y BAJO) Ajustando los mandos a la posición media se produce una respuesta plana. Girando el mando a la derecha se amplifica la banda de frecuencia correspondiente, mientras que girando a la izquierda se atenúa la misma. 8.
- Page 18 BLOQUE MASTER 1. SALIDA PRINCIPAL (MAIN OUT) Son salidas balanceadas XLR y TRS que suministran la señal estéreo mezclada. 2. SALIDAS DE GRUPOS (GROUP OUT) Estas salidas TRS con impedancia balanceada emiten las señales (GRUPO 1-2). Utilice estas tomas para conectarlas a la entrada de una grabadora multipista, un mezclador externo u otro dispositivo similar.
- Page 19 10. MAIN(G1/G2) Este interruptor puede conmutar la señal de salida de MAIN o GROUP a PHONES. 11. Control de nivel GROUP - (GRUPO 1-2). Para ajustar el nivel de las señales de salida a las tomas de los grupos (GROUP OUT 1,2).
- Page 20 6. Interruptor PRINCIPAL (MAIN) Encienda este interruptor para emitir las señales del efecto incorporado al bus principal MAIN. 7. Interruptor G1-2 Activa este interruptor para dar salida a las señales del efecto incorporado a los buses de grupo GROUP 1-2. 8.
- Page 21 PROGRAMAS DE EFECTOS INTEGRADOS...
- Page 22 LISTADO DE CONECTORES...
-
Page 23: Instalación
INSTALACIÓN GUÍA RÁPIDA DE INSTALACIÓN Paso 1 preparación de la fuente de alimentación Asegúrese de que el interruptor de alimentación de la unidad está en la posición "0" (apagado) en el panel trasero. Conecte el enchufe del cable de alimentación incluido a la toma [AC IN] del panel posterior. Conecte el cable de alimentación a una toma de corriente Paso 2 Realización de las conexiones Gire todos los mandos y el mando [GAIN] completamente hacia abajo. -
Page 24: Ejemplo De Configuración
EJEMPLO DE CONFIGURACIÓN... - Page 25 MARK. Desempaquetado Nota: Antes de desembalar compruebe si ha habido daños y se han debido al transporte o no. Si encuentra algún daño, no utilice este dispositivo y póngase en contacto con el distribuidor de MARK.
Need help?
Do you have a question about the MRACK 12E and is the answer not in the manual?
Questions and answers