Sign In
Upload
Download
Table of Contents
Contents
Add to my manuals
Delete from my manuals
Share
URL of this page:
HTML Link:
Bookmark this page
Add
Manual will be automatically added to "My Manuals"
Print this page
×
Bookmark added
×
Added to my manuals
Manuals
Brands
Milesight Manuals
Security Sensors
TS30 Series
User manual
Milesight TS30 Series User Manual
Temperature sensor
Hide thumbs
1
2
3
Table Of Contents
4
5
6
7
8
9
10
11
12
13
14
15
16
17
18
19
20
21
22
23
24
25
26
27
28
29
page
of
29
Go
/
29
Contents
Table of Contents
Bookmarks
Table of Contents
Table of Contents
Product Introduction
Overview
Features
Hardware Introduction
Packing List
Hardware Overview
Button Descriptions
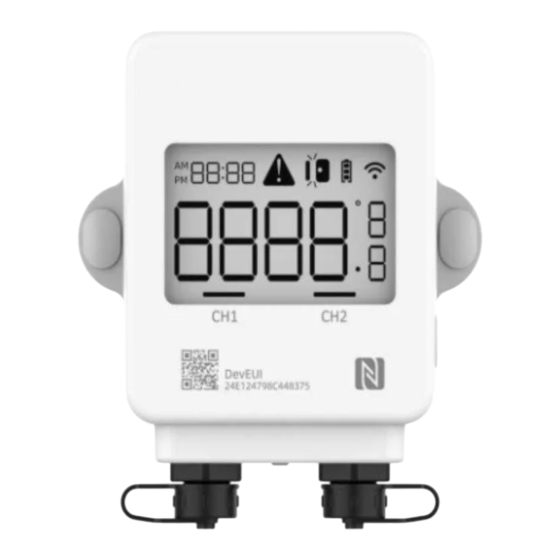
Screen Description
Dimensions (MM)
Operation Guide
Configuration
Lorawan Settings
Time Synchronization
Basic Settings
Advanced Settings
Calibration Settings
Threshold Settings
Data Storage
Data Retransmission
Maintenance
Upgrade
Backup
Reset to Factory Default
Installation
Device Payload
Basic Information
Sensor Data
Downlink Commands
Historical Data Enquiry
Advertisement
Quick Links
Download this manual
Temperature Sensor
Featuring LoRaWAN
®
TS30x
User Guide
Table of
Contents
Previous
Page
Next
Page
1
2
3
4
5
Advertisement
Table of Contents
Need help?
Do you have a question about the TS30 Series and is the answer not in the manual?
Ask a question
Questions and answers
Related Manuals for Milesight TS30 Series
Security Sensors Milesight TS302 User Manual
Temperature sensor (29 pages)
Security Sensors Milesight TS201 User Manual
Temperature sensor featuring lorawan (24 pages)
Security Sensors Milesight EM300 Series User Manual
Environment monitoring sensor (35 pages)
Security Sensors Milesight AM100 Series User Manual
Indoor ambiance monitoring sensor (26 pages)
Security Sensors Milesight VS373 User Manual
Radar fall detection sensor (39 pages)
Security Sensors Milesight EM500 Series User Manual
Outdoor environment monitoring sensor (29 pages)
Security Sensors Milesight GS601 User Manual
Vape detector featuring lorawan (30 pages)
Security Sensors Milesight WS303 Installation Manual
Water leakage detection sensor (8 pages)
Security Sensors Milesight EM410-RDL User Manual
Radar distance / level sensor (48 pages)
Security Sensors Milesight VS121 User Manual
Ai workplace occupancy sensor (28 pages)
Security Sensors Milesight VS121 User Manual
Ai workplace occupancy sensor (35 pages)
Security Sensors Milesight AM300 Series User Manual
Indoor ambiance monitoring sensor featuring lorawan (33 pages)
Security Sensors Milesight EM320-TILT-868M User Manual
Tilt sensor (19 pages)
Security Sensors Milesight EM320-TH-868M User Manual
Temperature & humidity sensor (23 pages)
Security Sensors Milesight GS301 User Manual
Bathroom odor detector sensor featuring lorawan (21 pages)
This manual is also suitable for:
Ts302
Ts301
Table of Contents
Print
Rename the bookmark
Delete bookmark?
Delete from my manuals?
Login
Sign In
OR
Sign in with Facebook
Sign in with Google
Upload manual
Upload from disk
Upload from URL


Need help?
Do you have a question about the TS30 Series and is the answer not in the manual?
Questions and answers