Table of Contents
Advertisement
Quick Links
Important safety instructions:
Please read carefully all instructions before assembly.
For your safety and ease, assembly by two or more adults is recommended.
Keep instructions for future use.
Pre-assembly:
Do not discard any content until assembly is complete to avoid accidentally discarding small parts or hardware.
Take out all parts and hardware from box.
Parts List
Item
1
Headboard
2
Headboard left leg
3
Headboard right leg
4
Stretcher
5
Side Rails
6
Footboard
7
Slats
8
Center Legs
Hardware List
Item
A
Bolt Ø5/16'' x 1.75"
B
Flat Washer Ø5/16" x 19
C
Lock Washer Ø5/16"
D
Bolt Ø5/16'' x 3.5"
E
Nuts Ø5/16"
F
Halfmoon Washer
Wrench
G
Allen Key
H
I
Screw M4 x 1"
DISCLAIMER:
WHEN PROPERLY ASSEMBLED, THIS ITEM IS SAFE FOR INTENDED USE. SELLER IS NOT LIABLE FOR ANY DAMAGES
RESULTING FROM ITEM BEING IMPROPERLY ASSEMBLED AFTER PURCHASE.
ASSEMBLY INSTRUCTIONS
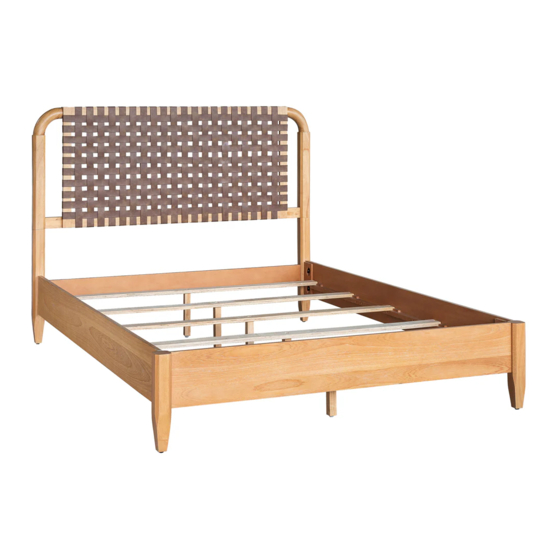
Description: JAMESON QUEEN BED
Description
Description
QTY
1
1
1
2
1
2
1
5
5
QTY
10
10
18
8
8
8
1
1
10
Page 1 of 4
1
3
4
7
8
8
8
8
5
5
6
Advertisement
Table of Contents

Related Manuals for INK+IVY JAMESON QUEEN BED


Summary of Contents for INK+IVY JAMESON QUEEN BED
- Page 1 ASSEMBLY INSTRUCTIONS Description: JAMESON QUEEN BED Important safety instructions: Please read carefully all instructions before assembly. For your safety and ease, assembly by two or more adults is recommended. Keep instructions for future use. Pre-assembly: Do not discard any content until assembly is complete to avoid accidentally discarding small parts or hardware.
- Page 2 Step 1. Assemble the bed on a flat, soft surface such as a carpet or cloth to prevent scratching the finish. Attach Left Leg (2) and Right Leg (3) to Stretcher (4) as shown below. Do not fully tighten bolts. (A)x2 Bolt Ø5/16'' x 1.75"...
- Page 3 Step 3. Attach Side rails (5) to Headboard (1) and Footboard (6), as shown below. Tighten all nuts. (C)x8 Lock Washers Ø5/16" Note: Mark (D)x8 Side rail HB or FB Bolt Ø5/16" x 3.5" (E)x8 Nuts Ø5/16" (F)x8 Halfmoon Washer (G)x1 Wrench Step 4.
- Page 4 Step 5. Attach Slats (7) to Side rails (5), as shown below: (I)x10 Screw M4 x 1" Step 6: Assembly is complete. ADDITIONAL NOTE ABOUT SAFETY: BOLTS MAY LOOSEN DURING NORMAL EVERYDAY USE. THEY SHOULD BE INSPECTED AT LEAST EVERY 3 MONTHS AND RE-TIGHTENED AS NEEDED TO PREVENT DAMAGE OR INJURY, AND ENSURE STABILITY.
Need help?
Do you have a question about the JAMESON QUEEN BED and is the answer not in the manual?
Questions and answers