Table of Contents
Advertisement
Quick Links
Advertisement
Table of Contents

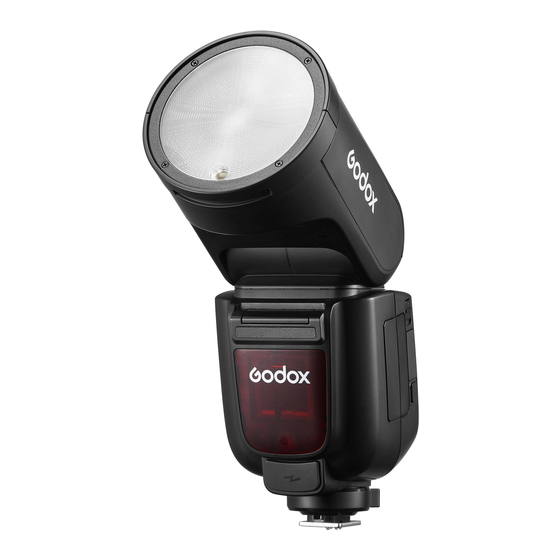
Summary of Contents for Godox V1Pro C
- Page 1 合格证 TTL 锂电圆头机顶闪光灯 TTL Li-ion Round Head Camera Flash...
- Page 2 Important Safety Instructions This product is a professional photographic equipment, to be operated by professional personnel only. The following basic safety precautions must be followed when using this product:All transport protective materials and packaging on the product must be removed before use. Carefully read and fully understand the instruction manual before use and strictly follow the safety instructions.
-
Page 3: Table Of Contents
Wireless Flash Shooting: 2.4G Wireless Transmission Thank you for purchasing! Wireless Settings This V1Pro C camera flash applies to Canon EOS series cameras and is Wireless Channel Settings compatible with E-TTL II auto flash. With this E-TTL compatible flash, you will... -
Page 4: Name Of Parts
Name of Parts Detachable Sub Flash SU-1 Body 1. Flash Head 2. LED Modeling Lamp ② 3. Optical Sensor ① 4. Focus Assist Beam ① 5. External Flash Interface 6. External Charging Port ② 7. Bounce Angle Scale 1. Flash Tube 8. -
Page 5: What's Inside
Battery Radio Transmission Shooting: Transmitter Unit (2.4G Wireless Transmitting) Detaching battery: Installing battery: ① ⑦ ③ ⑧ ⑩ ⑨ ④ ② ⑤ ⑥ Press and hold the battery remove Insert the battery into the battery button, then push the battery out compartment in the direction 1. -
Page 6: Installing/Detaching
“0.7”means 2/3 step.To cancel the FEC, set the amount to “0”. With detachable sub flash SU-1 attached to the external flash interface of V1Pro C, better filling light effects can be achieved in M (manual) flash/TTL auto flash mode, this is helpful for portrait shooting. -
Page 7: Fel (Flash Exposure Lock)
Setting FEB Amount 1. Press function button 2<SYNC> so that the < > icon is displayed on the 1. Press function button 3 <FEB>. LCD panel. The < > icon and the FEB amount will be highlighted on the LCD panel. 2. -
Page 8: Flash Mode - Multi: Stroboscopic Flash
Press the function button 3 <Hz> to select the flash frequency. The V1Pro C attached to the camera is referred as the transmitter unit, while a Turn the select dial to set the V1Pro C that is wirelessly controlled is referred as the receiver unit. -
Page 9: Wireless Settings
Positioning and Operation Range (Example of wireless flash Shooting with a Different Flash Mode Set for Each Group shooting) Auto Flash Shooting with One Receiver Unit Ceiling E-TTL II External Auto Flash Meter Manual Flash Transmission distance is about 100m Manual Flash Wireless Settings Note:... -
Page 10: Id Settings
< > icon is displayed on the LCD 1. Press < MENU > menu button to panel, then the V1Pro C attached to enter menu setting. Turn the select dial the camera is set as the transmitter to <ID>, then press the set button to unit. -
Page 11: M: Wireless Flash Shooting With Manual Flash
1. Set the Transmitter Unit’s Flash Group to <M> Press the wireless button and the < > icon is displayed on the LCD panel, then the V1Pro C 7. Check the Flash Operation attached to the camera is set as Press the transmitter unit’s test the transmitter unit. -
Page 12: Ttl/M Mode Switch Function
By pointing the flash head toward a 330° wall or ceiling, the flash will bounce off the surface before illuminating The Reason & Solution of Not Triggering in Godox 2.4G the subject. This can soften shadows Wireless behind the subject for a more natural-looking shot. -
Page 13: C.fn: Setting Custom Functions
C.Fn: Setting Custom Functions Custom Functions of Camera Flash C.Fn-00, C.Fn-01, C.Fn-03, C.Fn-08, C.Fn-10, C.Fn-20, C.Fn-22. Press the menu button to enter C.Fn settings. Custom Function Signs Function Options Settings & Description Clear All Flash Custom Functions m/ft Distance indicator Feet Flash function settings screen Flash C.Fn settings screen... -
Page 14: Technical Data
If there is a problem, refer to this troubleshooting guide. Technical Data The camera flash does not fire. Model V1Pro C The camera flash is not attached securely to the camera. Compatible Cameras Canon EOS cameras (E-TTL II auto flash) Attach the camera’s mounting foot securely to the camera. -
Page 15: Firmware Upgrade
- Consult the dealer or an experienced radio/TV technician for help. 2. As the firmware upgrade needs the support of Godox G3 software, please download and install the "Godox G3 firmware upgrade software" before The device has been evaluated to meet general RF exposure requirement. - Page 16 If maintenance service is needed, you can directly contact the product 不适用保修的情况 distributor or authorized service institutions. You can also contact the Godox after-sale service call and we will offer you service. When applying for 如产品存在下列情况,本文件项下的保证和服务将不适用 : ①产品或部件超过 maintenance service, you should provide valid warranty card. If you cannot 相应保修期;②错误或不适当使用、维护或保管导致的故障或损坏,如:不当...
- Page 17 Parts Battery Customer sends the product to designated site Electrical parts e.g.battery Customer sends charger, etc. the product to designated site Power cord, sync Without warranty Other Items cable, lamp body, lamp cover,lockingdevice, package, etc. Godox After-sale Service Call +86-755-29609320(8062)


Need help?
Do you have a question about the V1Pro C and is the answer not in the manual?
Questions and answers