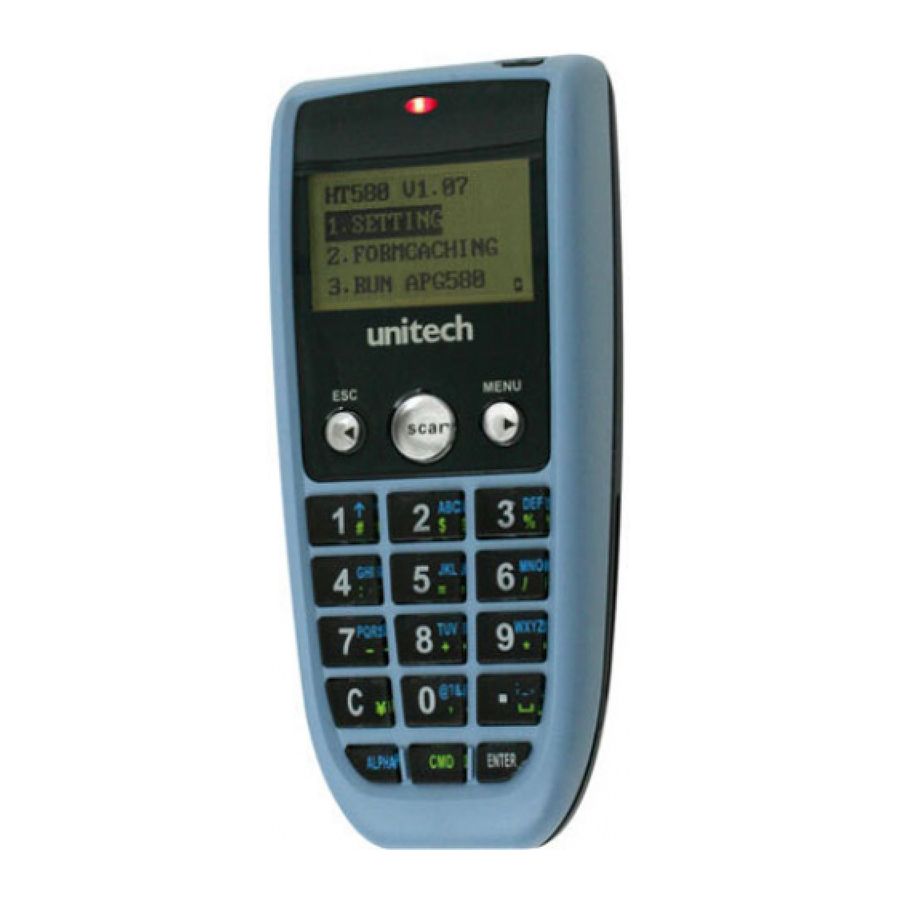
Unitech HT580 Software Manual
Application development with easyjob
Hide thumbs
Also See for HT580:
- User manual (37 pages) ,
- Getting started manual (21 pages) ,
- User reference manual (12 pages)
Advertisement
This guide will demonstrate how to develop a simple "Item/Quantity" application for the
HT580 using EasyJob. This application will allow the user to scan an "Item" and then
enter a "Quantity", it will then save all scanned data to a file labeled "data.txt". The end
of this demo will show how to transfer the file "data.txt" from the HT580 to the PC via
MultiEJ, the HT580 communication utility.
1. Run EayJob and click on Run New Project. Give the project a name of "Demo"
and use the default directory. Note that when a project name is saved, a folder with
the name will automatically be created. For example, saving a project name "Demo"
to "C:\Program Files\HT580 EasyJob" will automatically create a new directory,
meaning the project will be saved to "C:\Program Files\HT580 EasyJob\Demo".
2. Click the plus symbol next to the word "Project" to extend the list. Click on "Demo
(Demo.ejd)" to select the label. Right-click on "Demo (Demo.ejd)" and select "File
Define". File Define will allow the user to create a file for writing data.
1
Advertisement
Table of Contents

Summary of Contents for Unitech HT580
- Page 1 “Quantity”, it will then save all scanned data to a file labeled “data.txt”. The end of this demo will show how to transfer the file “data.txt” from the HT580 to the PC via MultiEJ, the HT580 communication utility.
- Page 2 We will not use this in this demo; do not check that box. Download File – This is used when the file defined is to be downloaded to the HT580 as the “lookup” file. We will not use this in this demo; do not check that box.
- Page 3 4. Next we will define the screen of EasyJob so we can identify menus easier later in this Quick Start Guide. We will call each location “Window 1”, “Window 2”, “Window 3”, and “Window 4”. 5. Next we will define the screen with labels and the ability to accept text from the user. In Window 1, right click on “Demo (Demo.ejd)”...
- Page 4 This will force the screen to look like the screen show below, there are four (4) printable lines on the screen of the HT580 (the 0,1,2,3 will not be printed on your final application, they are meant as a visual assist of the 4 printable lines): In Window 2, click on “Label Define 1”...
- Page 5 In Window 2, click on “Text Define1” and select “Basic” from Window 4. Set the Input Row to ( 0, 6 ). This will allow the scanned data to be displayed directly after the label “Item:”. Do the same for “Text Define2” but set the value to ( 2, 4 ). In Window 2, click on “Save Define1”...
- Page 6 In the Window 4, select “Record Define”. With your mouse right-click on the white area below and select “Add”. Select Value Type as “Reference Value” and Value as “Screen Define1->Text Define1” and click OK. Do this a second time (right click, select “Add”) but this time set your Value to “Screen Define1->Text Define2”.
- Page 7 1. Connect your HT580 to your PC 2. Run MultiEJ (From EasyJob click Tools Communication). 3. Click File Options. 4. Click New and select the correct COM port that your HT580 is connected to a. Select the correct Baudrate, Databits, Parity, Machine and Address.


Need help?
Do you have a question about the HT580 and is the answer not in the manual?
Questions and answers